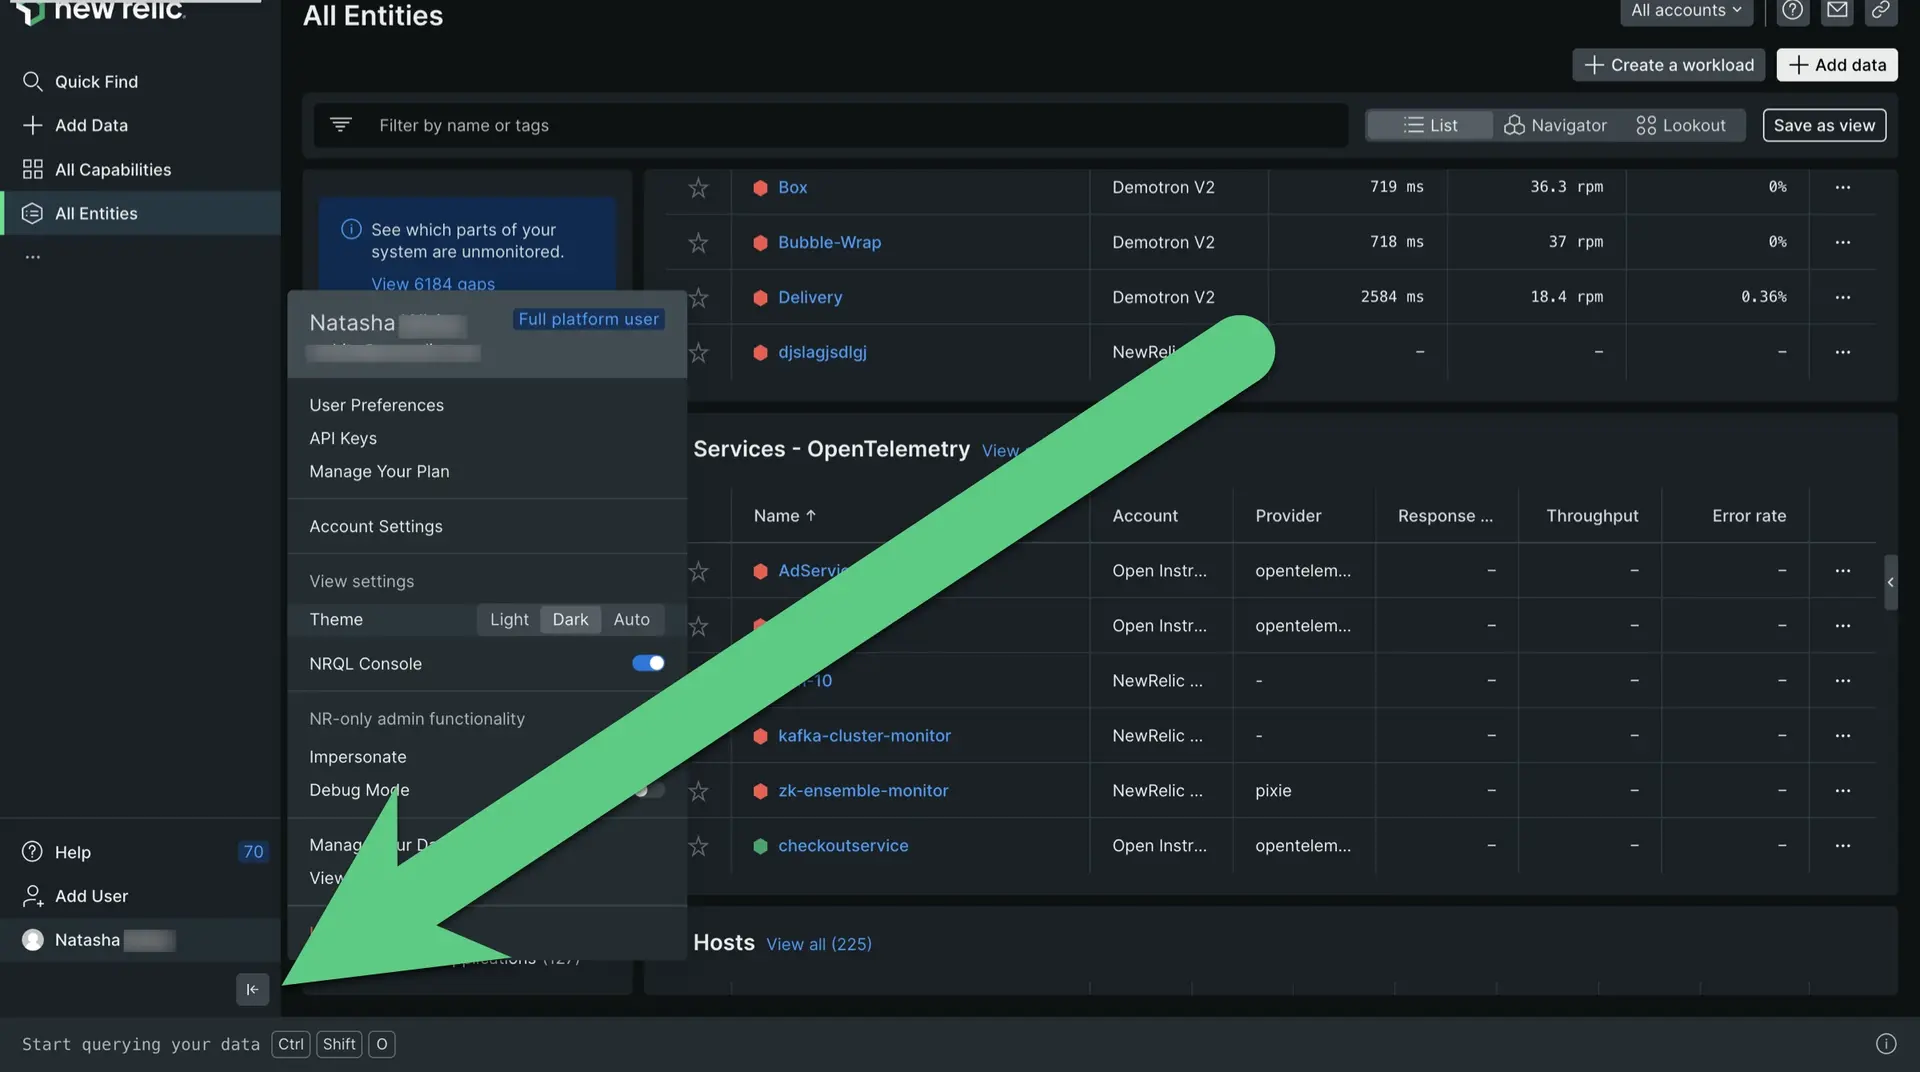
In the bottom left of the New Relic platform UI, you'll find your user menu, which gives you access to features related to managing your organization and users, managing your data, and more.
Find your account settings
From one.newrelic.com, go to the bottom left of the New Relic UI, and click your name. This will open up the user menu options. For details on the options in the user menu, see User menu.

Video tour of the administration UI
Here's a short video (2:30) with a tour of the administration UI. Note that this is from the perspective of a full platform user with all permissions.
Popular admin-related topics
Here are some of the most popular topics related to New Relic administration:
- Manage billing
- Manage users
- Manage Intelligent Observability features
- Add an account to your organization
- Manage data
- Manage API keys
User menu details
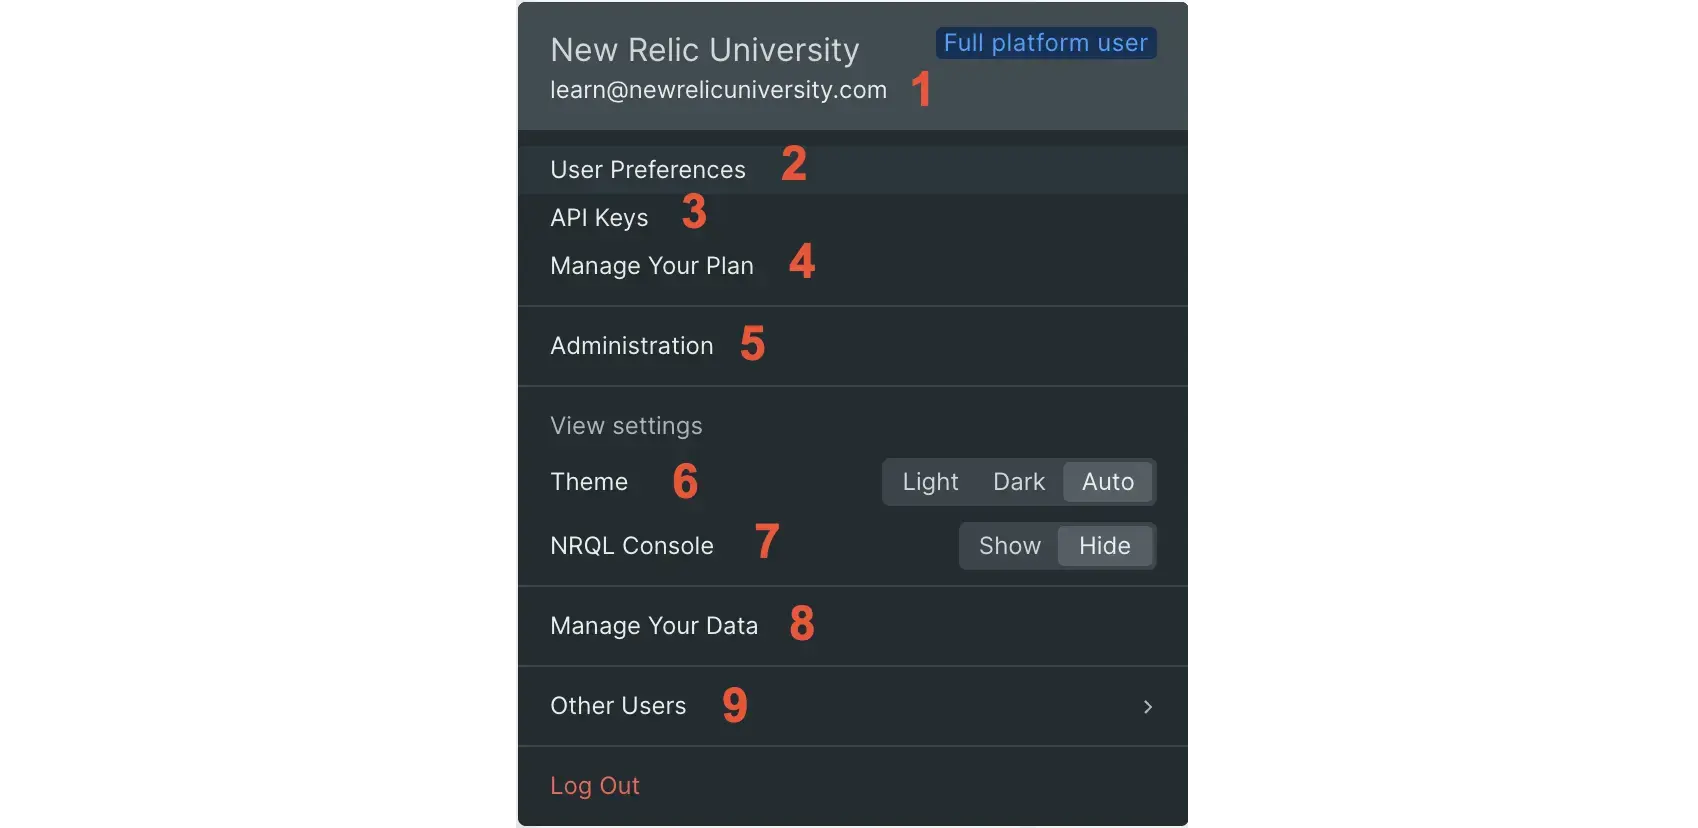
Here's an image of the user menu. Following the image, we explain what you can do with the different parts of the menu.

The New Relic user menu. (If your user menu is different, it might be because of permissions factors or because you're on our older user model.)
Here are details about the contents of the user menu. Note that the user menu is subject to change: this was last updated March 9, 2023.
- Your user name and email, and your user type.
- User preferences: your profile settings, including your name, your email settings, and your time zone.
- API keys: manage your New Relic API keys.
- Manage your plan: takes you to the UI related to your billing and usage.
- Administration: this is where you manage your users, manage your organization and accounts, and more. See a video tour of this UI.
- Theme: controls for light mode and dark mode display.
- Manage your data: learn how to understand, manage, and control your data.
- Other users: if you have multiple user records, this lets you switch between them.
Add users
In the lower right, above your name, is an Add user button. Use this to invite users to New Relic.