If your monitors are on an old runtime, we recommend updating them. The new runtime includes better features, such as improving the backend environment in which your public monitors are running.
Making the switch gives you these features:
- Access to Chrome version 100 and higher, so that your scripted browser monitors use browser versions like the ones used by your end users.
- Access to the updated scripted API runtime that uses
gotnode.js library instead of the deprecatedrequestlibrary. - Support for async or await syntax. This simplifies script creation and maintenance, diverging from the old runtime's
.thenpromise chaining. - Better support for shadow DOM objects.
- Custom timing library for scripted API monitors.
- Access to our NerdGraph API to automate the management of your synthetic monitors.
Important
As of August 26, 2024, you can no longer create new monitors using legacy runtimes on public or private locations. On October 22, 2024, we will end of life the containerized private minion (CPM) and legacy synthetics runtime versions.
- For public locations, use the runtime upgrade UI to update your monitors to the newest runtimes.
- For private locations, please review our recommended migration steps to avoid monitor degradation.
Private location requirements
Using new runtimes on private locations requires the installation of synthetics job manager.
Convert your monitors to the new runtime
Existing monitors default to the runtime used at their time of creation. We recommend converting your monitors sooner rather than later. This stops them from breaking during future end-of-life processes.
The runtime upgrades UI provides proactive runtime upgrade test results and allows you to make bulk runtime upgrades.
Convert multiple monitors
Go to one.newrelic.com > Synthetic monitoring.
Click Runtime upgrades on the left navigation pane.
Click Upgrade all.

Convert a single monitor
Go to one.newrelic.com > Synthetic monitoring.
Select the monitor you want to want to convert.
Click General on the left navigation pane.
Use the dropdown menu of the Runtime field to switch the current runtime view (use Node.js 16 for scripted API monitors or Chrome 100+ for scripted browser monitors).

Click Validate to check that your monitors function in the new runtime. Make any script modifications if needed.
Click Save monitor.
Tip
See our runtime upgrade troubleshooting guide for common upgrade errors and solutions.
Create a monitor in the new runtime
When you create a new simple browser monitor, scripted browser monitor, or scripted API monitor, the new runtime will be the default. But, if you're creating a monitor for a private location. And, if you're using containerized private minions instead of synthetic job managers, you may need the legacy runtime.
To create a monitor in the new runtime:
Go to one.newrelic.com > Synthetic monitoring.
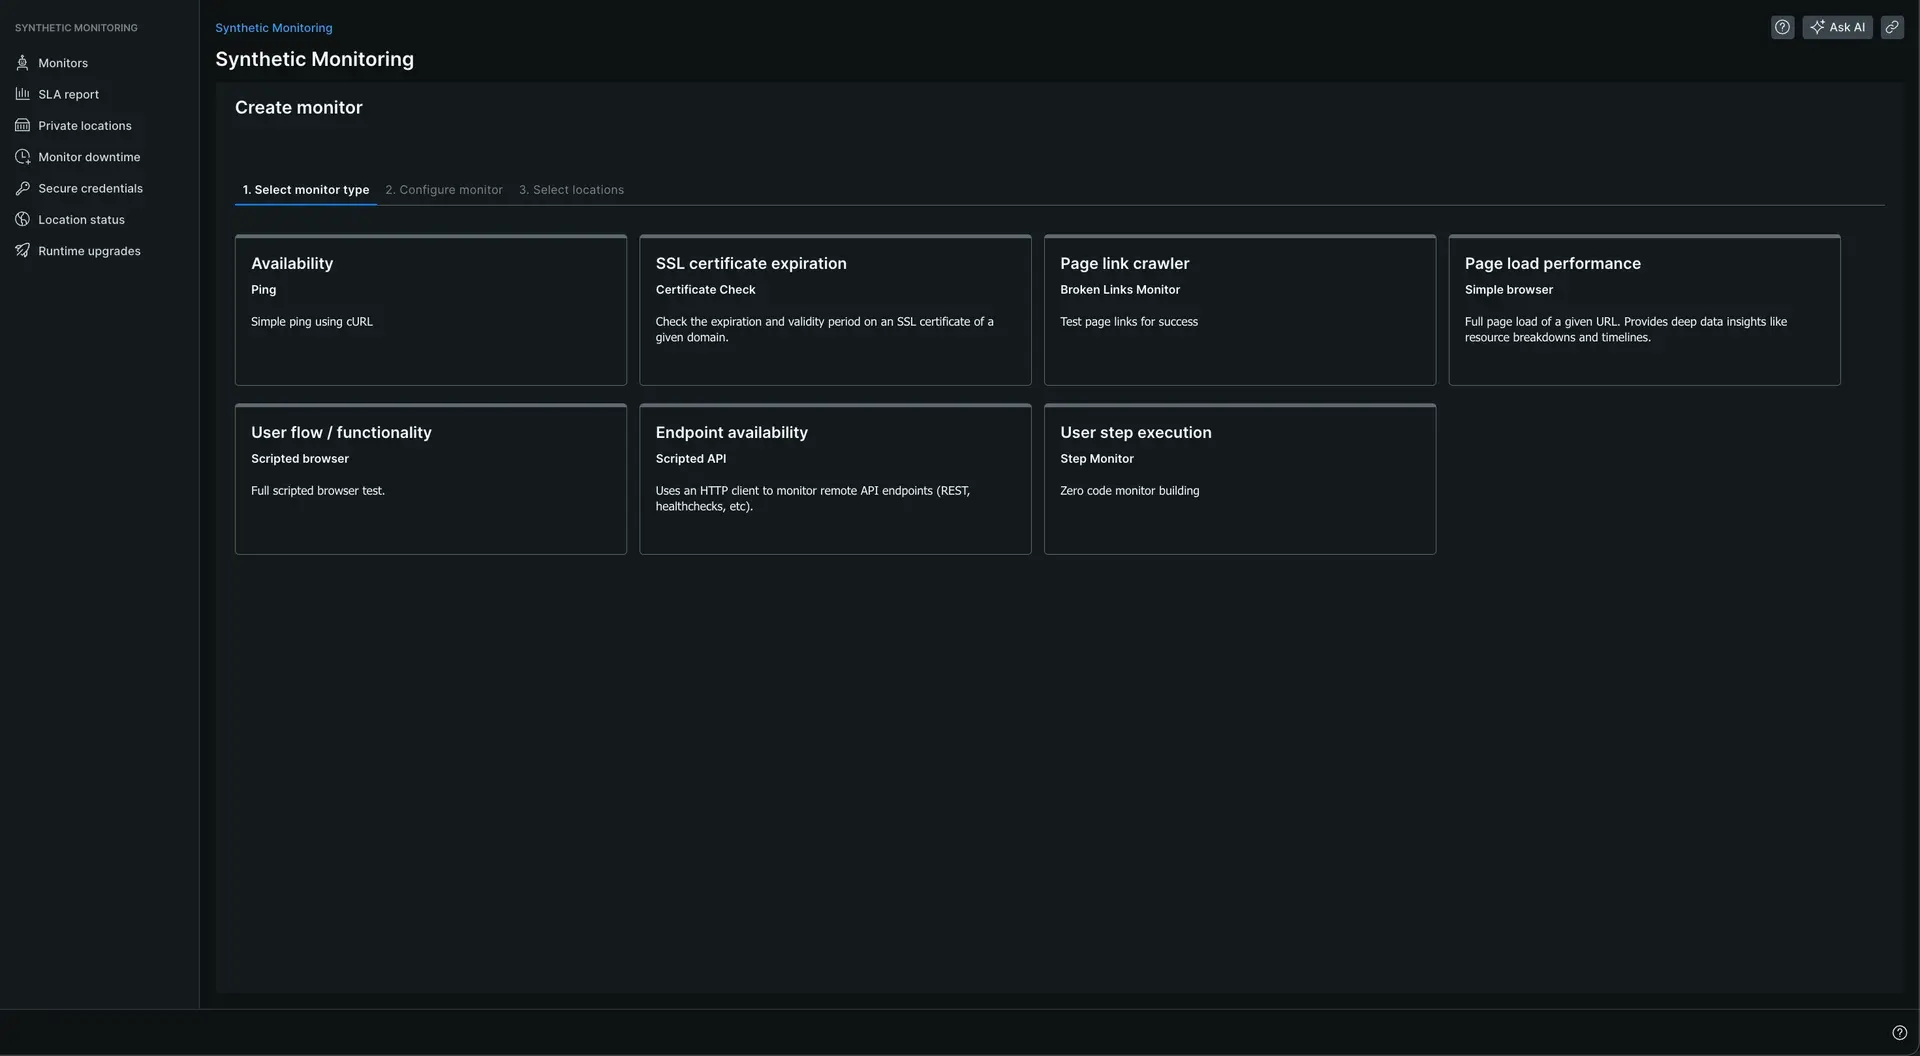
Click Create monitor.
Select the monitor type you want to create.

Set the fields you consider. Name is a required field.
Use the dropdown menu of the Runtime field to switch between the legacy and new runtime environment.
Click Select locations.
Click Define steps to configure the step builder.
Click Save monitor.
The new runtime is backward compatible with the old one. But, we recommend you switch to the new one as soon as possible.
Use NerdGraph to manage your monitors
You can manage synthetic monitors using our NerdGraph API to get:
- Management of your certificate check monitors, broken links monitors, and step monitors.
- Simplified processes for creating scripted monitors.
- The ability to attach scripts to scripted monitors with only one call (as opposed to two calls).
- The ability to add tags to your monitors.
NerdGraph also lets you create broken links, step, and certificate check monitors with code.
Get custom timing details with your scripted API monitors
Using the $http object or request module in the legacy runtime allowed some of your scripted API monitors to report timing details. The result details were limited to script logs, a check result (pass or fail), and were unavailable with Node.js modules.
The new synthetic monitoring runtime includes out-of-the-box timing details when using the default $http object. To get custom timing details when using other Node.js modules, you can use the $har library to report to New Relic.
Deprecated features
The new runtime includes syntax changes and other deprecations. We're introducing new language that changes the script syntax in your scripted browser monitors. The new runtime is backwards compatible with legacy runtime syntax in most cases. To avoid breaking monitors during the upgrade process, you may receive a deprecation warning in your script log output.
As of version 2.0.29 or higher of the browser runtime, you will no longer receive deprecation warnings for using the $browser or $driver syntax in the new runtime. You can continue to use this Selenium 3.6 compatible syntax in the Selenium 4.1 runtime. You can also choose to use the $webDriver and $selenium based Selenium 4.1 syntax.
Deprecated | New (if applicable) | Why? |
|---|---|---|
white/black list | allow/deny list | You can learn more about New Relic's commitment to inclusivity on our diversity, equity, and inclusion page. |
Selenium WebDriver promise manager / control flow | Use | Selenium WebDriver promise manager / control flow allowed some functions to execute in order, without manually managing promises / async functions. This was removed in Selenium WebDriver 4.0 and is not available in the new runtime. All async functions and promises need to be managed with |