• English日本語한국어
  • ログイン今すぐ開始

Kubernetesの使用を開始

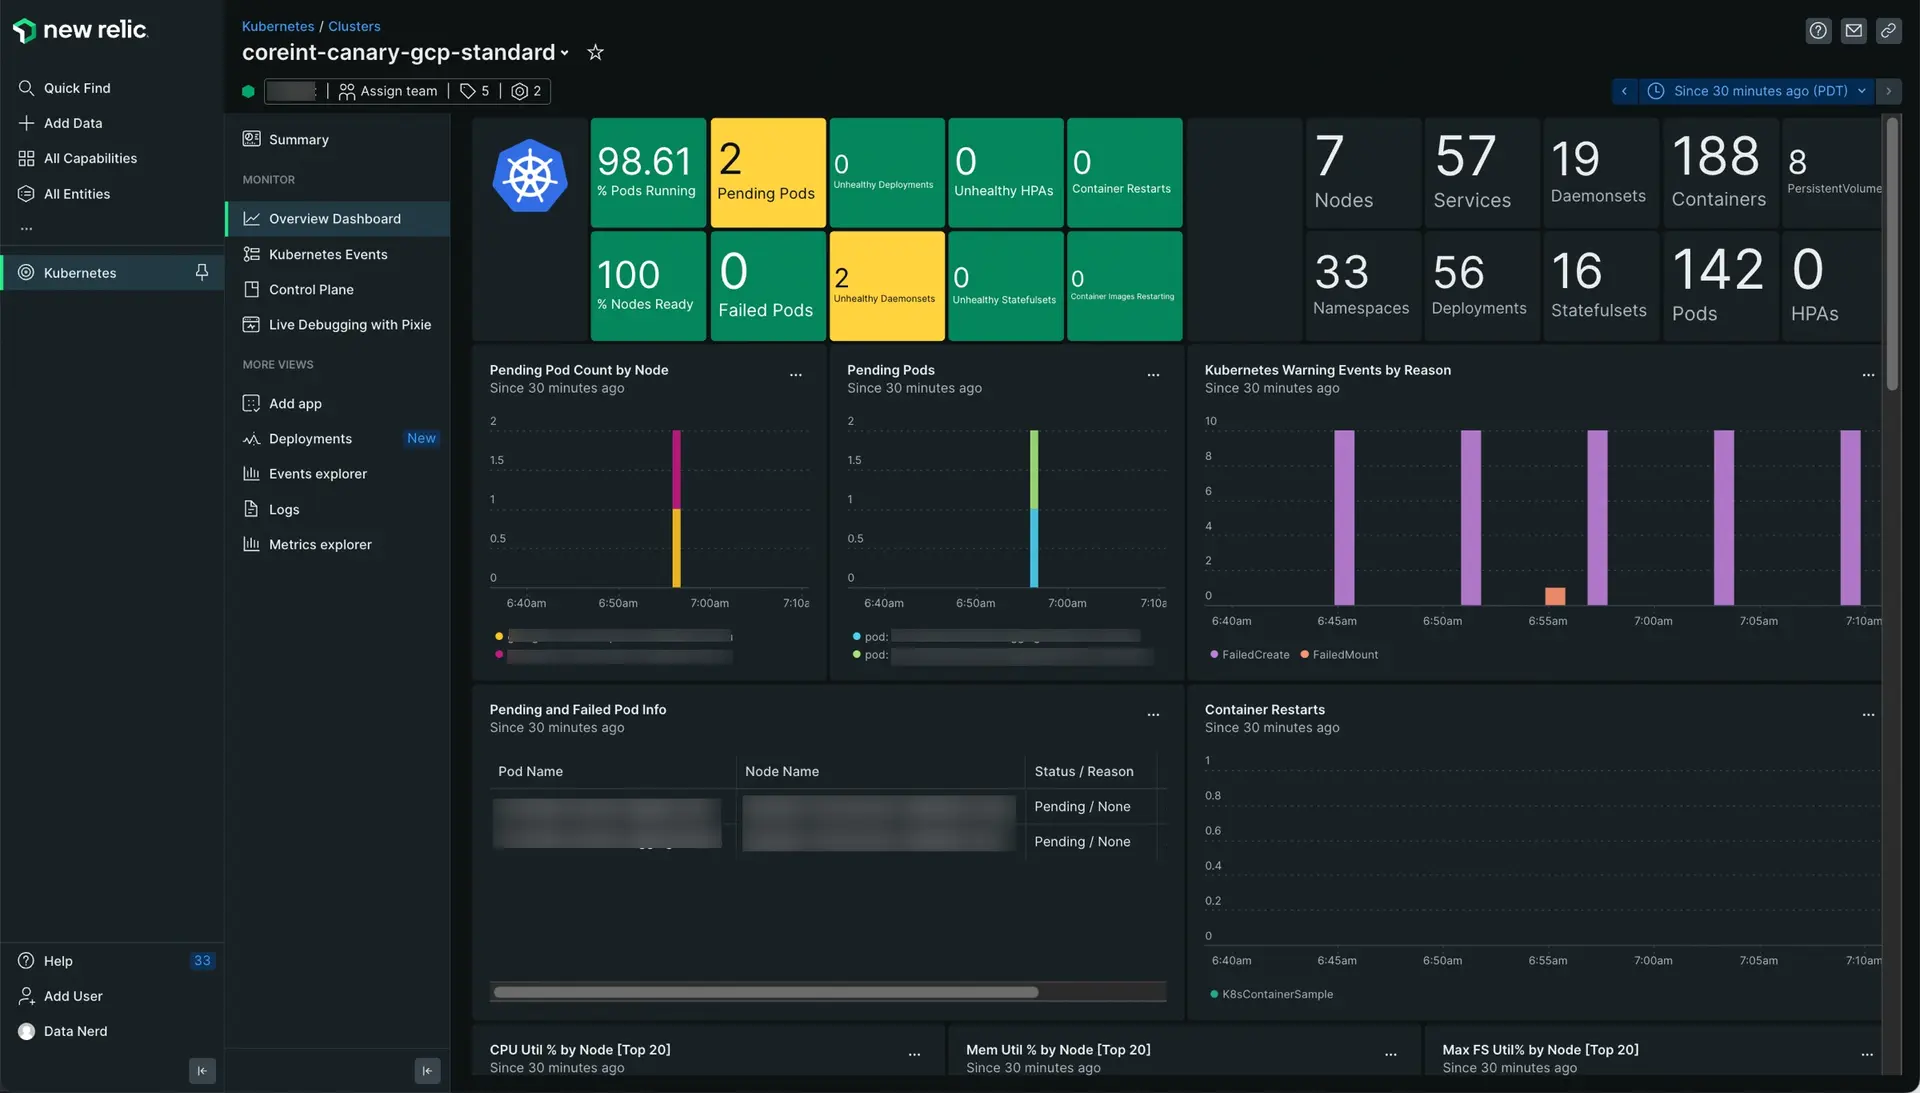
New Relic Kubernetesインテグレーションにより、New Relic Infrastructureエージェントを活用して、環境の健全性とパフォーマンスのフルオブザーバビリティを実現します。このエージェントは、KubernetesイベントインテグレーションPrometheusエージェントNew Relicログプラグインなど、その他のさまざまなNew Relicインテグレーションとともにクラスタからメトリクスを収集します。

Why use the guided install?

To install our Kubernetes integration, we recommend that you follow the instructions here for our guided install. We recommend this interactive installation tool for servers, VMs, and unprivileged environments. Here are some advantages of using the guided install:

  • It can provide either a Helm command with the required values filled, or a plain manifest if you don't want to use Helm.
  • It gives you control over which features are enabled and which data is collected.
  • It also offers a quickstart option that includes some optional, pre-built resources such as dashboards and alerts alongside the Kubernetes integration so that you can gain instant visibility into your Kubernetes clusters.

ヒント

For some environments, you may need (or prefer) to do a manual install instead of the guided install. We have docs for the following: Manual install with Helm, Windows, and EKS Fargate.

Before you start the guided install

Take a look at the following to make sure you're ready:

  • If you are installing our integration on a managed cloud, please take a look at these preliminary notes before proceeding.

  • カスタムマニフェストがHelmの代わりに使用されている場合、まずkubectl delete -f previous-manifest-file.ymlを使用して古いインストレーションを削除してから、ガイド付きインストーラを再度実行する必要があります。これにより、kubectl apply -f manifest-file.ymlを使用してデプロイできる一連のマニフェストが更新されます。

  • Make sure you are using the supported Kubernetes versions and make sure to check out the preliminary notes for your managed services or platforms on our compatibility and requirements page.

  • Make sure you have New Relic

    . You can set up an account that's free—no credit card required.

  • Make sure you whitelist the domains (newrelic dockerhub and Google's registry registry.k8s.io) from where the installation will pull container images. Note, you may need to follow the commands to identify the additional Google registry domain to be whitelisted, because registry.k8s.io is typically redirected to your local registry domain (e.g., asia-northeast1-docker.pkg.dev) based on your region.

Start the guided install

We have some links below that will take you to the guided install that is right for you. After you start the installation process, you can use the tips in the remainder of this guide to help you make decisions about the various setup options.

Guided install option

説明

ガイド付きインストール

Use this if your New Relic organization does not use the EU data center, and you don't need the bonus dashboards and alerts from the quickstart.

Guided install (EU)

Use this if your New Relic organization uses the EU data center, and you don't need the bonus dashboards and alerts from the quickstart.

Guided install with quickstart

Use this option if your New Relic organization does not use the EU data center, and you also want to install some bonus dashboards and alerts from the quickstart.

Navigating the Kubernetes integration guided install

Once you start the guided install, use the following information to help you make decisions about the configurations.

ヒント

The steps that follow skip the preliminary steps for the quickstart. If you chose the guided install with the quickstart, just click through the pages Confirm your Kubernetes quickstart installation and Installation plan to reach the main guided install pages described below.

Step 1 of 3

On the page Configure the Kubernetes Integration complete the following fields:

フィールド

説明

We'll send your data to this account

Choose the New Relic account that you want your Kubernetes data written to.

Cluster name

Cluster name is the name we will use to tag your Kubernetes data with so that you can filter for the data specific to the cluster you’re installing this integration in. This is important if you choose to connect multiple clusters to your New Relic account so choose a name that you’ll recognize!

Namespace for the integration

Namespace for the integration is the namespace we will use to house the Kubernetes integration in your cluster. We recommend using the default namespace of newrelic.

Step 2 of 3

On the page Select the additional data you want to gather, choose the options that are right for you:

Scrape Prometheus endpoints

By selecting this option, we will install Prometheus in agent mode to collect metrics from the Prometheus endpoints exposed in your cluster. Expand the collapsers to see details about each option:

Gather log data

Enable service-level insights, full-body requests, and application profiles through Pixie

Pixie is an open source observability tool for Kubernetes applications that uses eBPF to automatically collect telemetry data. If you don't have Pixie installed on your cluster, but want to leverage Pixie's powerful telemetry data collection and visualization on the New Relic platform, check Enable service-level insights, full-body requests, and application profiles through Pixie.

If you're already using Community Cloud, select Community Cloud hosted Pixie is already running on this cluster. Keep the following in mind about the different ways Pixie can be hosted. New Relic provides a different level of integration support for each Pixie hosting option.

Step 3 of 3

Finalize the Kubernetes installation setup by choosing one of the following:

  • Run the CLI command
  • Use the Helm chart
  • Use the manifest

マネージドサービスまたはプラットフォームに関する予備的な注意事項

ガイド付きインストールを起動する前に、以下のマネージドサービスまたはプラットフォームのメモを確認してください。

このドキュメントはインストールで役立ちましたか。

Kubernetesデータの使用

詳細:

Copyright © 2023 New Relic Inc.

This site is protected by reCAPTCHA and the Google Privacy Policy and Terms of Service apply.