Install the .NET agent
New Relic supports the most popular .NET application implementations. Once installed, our .NET APM agent monitors your app's performance and gives you insight into that performance. Want more context? See Introduction to APM.
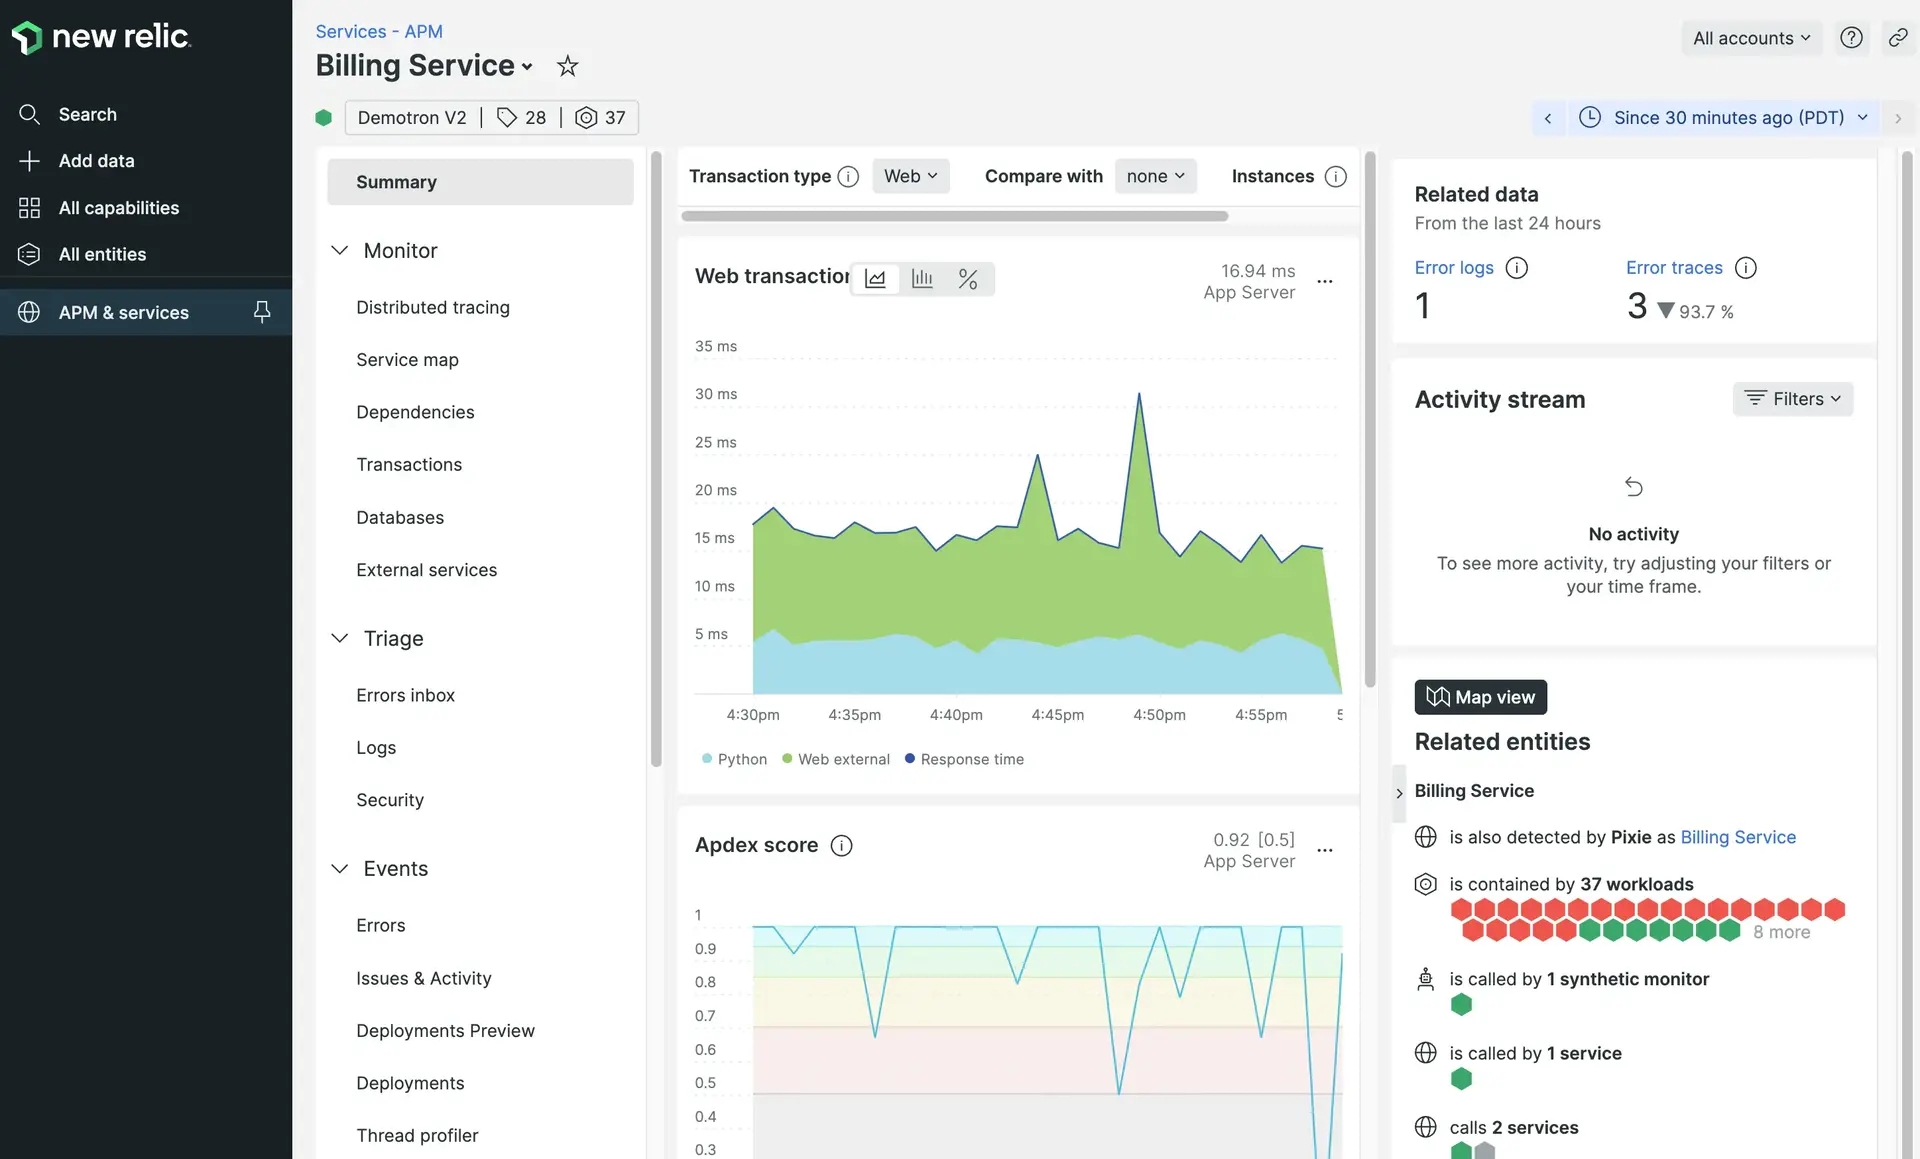
![Example .NET APM dashboards A screenshot of example .NET APM dashboards](/images/apm_screenshot-crop_overview-of-the-dotnet-agent.webp)
Installation options
The New Relic .NET agent has installation options for Linux, Windows, AWS elastic beanstalk, WCF, Nuget, and Azure cloud, web, and service fabric. Select your installation path using the form below for installation instructions based on your environment!
Tell us about your .NET app
Docker?
Remove existing monitors
Before installing the .NET agent, ensure that you have disabled any other monitoring agents you have to prevent interferance with .NET agent reporting.
Configure Docker
How you configure Docker to work with our .NET agent will depend on your setup. We'll give some example Docker files below but these are only examples. The Docker files are meant to accomplish the same things that our standard install procedures do.
Some notes about how to implement your Docker file:
- The .NET agent must be installed on the containers you want to monitor.
- The .NET agent must be installed and enabled at runtime.
- For .NET agent versions 10.0.0 or higher, the name of the package is
newrelic-dotnet-agent
. For .NET agent versions 9.9.0 or lower, the name of the package isnewrelic-netcore20-agent
. We'll usenewrelic-dotnet-agent
in this doc.
Here are example Docker files for Linux. Additional examples for multiple Linux distros can be found in our .NET agent samples repository.
Example Linux dockerfile
# Use the correct tagged version for your application's targeted runtime. See https://hub.docker.com/_/microsoft-dotnet-aspnet/ FROM mcr.microsoft.com/dotnet/aspnet:6.0
# Publish your application.COPY INSERT_NAME_OF_APP_TO_BE_PUBLISHED /app
# Install the agentRUN apt-get update && apt-get install -y wget ca-certificates gnupg \&& echo 'deb http://apt.newrelic.com/debian/ newrelic non-free' | tee /etc/apt/sources.list.d/newrelic.list \&& wget https://download.newrelic.com/548C16BF.gpg \&& apt-key add 548C16BF.gpg \&& apt-get update \&& apt-get install -y newrelic-dotnet-agent \&& rm -rf /var/lib/apt/lists/*
# Enable the agentENV CORECLR_ENABLE_PROFILING=1 \CORECLR_PROFILER={36032161-FFC0-4B61-B559-F6C5D41BAE5A} \CORECLR_NEWRELIC_HOME=/usr/local/newrelic-dotnet-agent \CORECLR_PROFILER_PATH=/usr/local/newrelic-dotnet-agent/libNewRelicProfiler.so \NEW_RELIC_LICENSE_KEY=INSERT_YOUR_LICENSE_KEY \NEW_RELIC_APP_NAME=INSERT_YOUR_APP_NAME
WORKDIR /app
ENTRYPOINT ["dotnet", "./YOUR_APP_NAME.dll"]
Example Linux multi-stage dockerfile
# This example uses .NET 6.0. For other versions, see https://hub.docker.com/_/microsoft-dotnet-sdk/FROM mcr.microsoft.com/dotnet/sdk:6.0 AS base
# Build your applicationWORKDIR /srcRUN dotnet new mvc -o YOUR_APP_NAMERUN dotnet publish -c Release -o /app ./YOUR_APP_NAME
# The runtime tag version should match the SDK tag versionFROM mcr.microsoft.com/dotnet/aspnet:6.0 AS final
# Install the agentRUN apt-get update && apt-get install -y wget ca-certificates gnupg \&& echo 'deb http://apt.newrelic.com/debian/ newrelic non-free' | tee /etc/apt/sources.list.d/newrelic.list \&& wget https://download.newrelic.com/548C16BF.gpg \&& apt-key add 548C16BF.gpg \&& apt-get update \&& apt-get install -y newrelic-dotnet-agent
# Enable the agentENV CORECLR_ENABLE_PROFILING=1 \CORECLR_PROFILER={36032161-FFC0-4B61-B559-F6C5D41BAE5A} \CORECLR_NEWRELIC_HOME=/usr/local/newrelic-dotnet-agent \CORECLR_PROFILER_PATH=/usr/local/newrelic-dotnet-agent/libNewRelicProfiler.so \NEW_RELIC_LICENSE_KEY=INSERT_NEW_RELIC_LICENSE_KEY \NEW_RELIC_APP_NAME=INSERT_YOUR_APP_NAME
WORKDIR /appCOPY /app .
ENTRYPOINT ["dotnet", "./INSERT_YOUR_APP_NAME.dll"]
Did this doc help with your installation?
What's next?
Look for your app data in the UI
Look for your app data on the APM Summary page (it can take a few minutes).
Read the APM docs
For example, read about the Summary page, the Errors page, and the Transactions page.