Install the .NET agent

New Relic supports the most popular .NET application implementations. Once installed, our .NET APM agent monitors your app's performance and gives you insight into that performance. Want more context? See Introduction to APM.
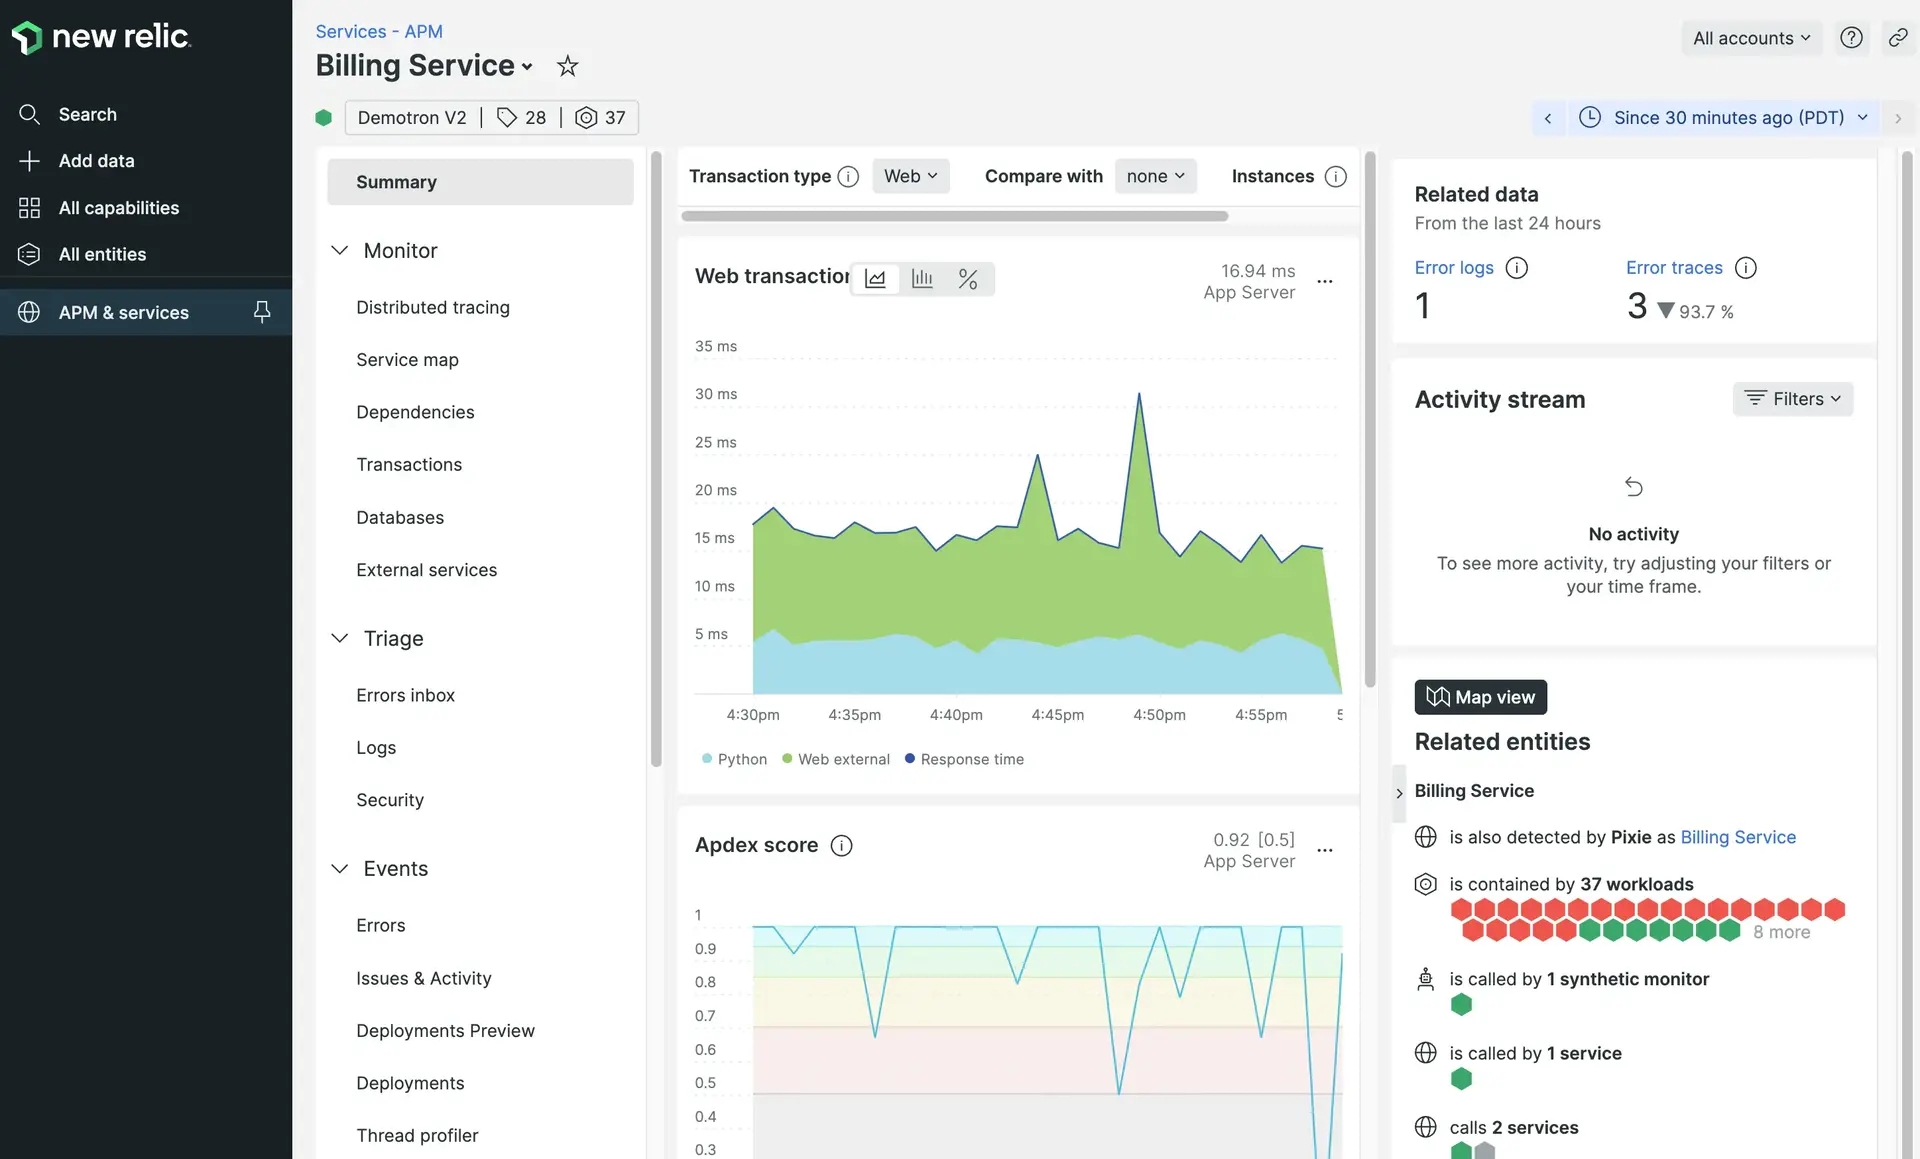
A screenshot of example .NET APM dashboards

Installation options

The New Relic .NET agent has installation options for Linux, Windows, AWS elastic beanstalk, WCF, Nuget, and Azure cloud, web, and service fabric. Select your installation path using the form below for installation instructions based on your environment!

Tell us about your .NET app

Docker?

Remove existing monitors

Before installing the .NET agent, ensure that you have disabled any other monitoring agents you have to prevent interferance with .NET agent reporting.

Optional: Guided install

Our guided install is an option available for:

  • Windows .NET apps on IIS
  • .NET Core applications on Linux

The guided install is a single CLI command you can run to monitor your .NET apps and your infrastructure components. It's a good option for small organizations, or for anyone who wants to test out New Relic.

For a more permanent and scalable solution, we recommend the standard manual install of the agent: keep reading for how to do that.

Learn some important details about installation

These install details are the same for all installations using a package manager:

  • For security purposes, ensure the location where you install the agent is configured to prevent unauthorized access.
  • Install location:
    • For agent versions 10.0.0 or higher: /usr/local/newrelic-dotnet-agent.
    • For agent versions 9.9.0 or lower: /usr/local/newrelic-netcore20-agent.

      Important

      This doc will use the newer name where applicable; if you're using an older agent, you'll need to replace that name.
  • The file newrelic-dotnet-agent-path.sh is placed in /etc/profile.d, and this will set the CORECLR_NEWRELIC_HOME environment variable on system start.
  • The path to newrelic.config file is ${CORECLR_NEWRELIC_HOME}/newrelic.config.

Install the agent

To start installing the agent, choose your package manager:

  1. Configure the New Relic APT repository by adding deb https://apt.newrelic.com/debian/ newrelic non-free to /etc/apt/sources.list.d/newrelic.list:

    bash
    $
    echo 'deb https://apt.newrelic.com/debian/ newrelic non-free' | sudo tee /etc/apt/sources.list.d/newrelic.list
  2. Enable New Relic's GPG key to allow apt to find New Relic packages. To avoid possible errors about public keys, run this command as root:

    bash
    $
    wget -O- https://download.newrelic.com/548C16BF.gpg | sudo apt-key add -
  3. Update the local package list:

    bash
    $
    sudo apt-get update
  4. Install the agent:

    bash
    $
    sudo apt-get install newrelic-dotnet-agent
  1. Go to download.newrelic.com/dot_net_agent/latest_release, and copy the URL that corresponds to your architecture and to the latest newrelic-dotnet-agent .deb package.

  2. Download the package with wget, replacing https://INSERT_LINK_TO_PACKAGE with the full URL of the package:

    bash
    $
    wget -L https://INSERT_LINK_TO_PACKAGE
  3. Install the agent, replacing VERSION and ARCHITECTURE:

    bash
    $
    sudo dpkg -i newrelic-dotnet-agent_VERSION_ARCHITECTURE.deb

Important

New Relic does not currently offer Linux RPM packages for ARM64. Instead, leverage the tarball to install on these platforms.

  1. Configure the New Relic YUM repository:

    bash
    $
    sudo curl -o /etc/yum.repos.d/newrelic-dotnet-agent.repo https://download.newrelic.com/dot_net_agent/yum/newrelic-dotnet-agent.repo
  2. Install the agent:

    bash
    $
    sudo yum install newrelic-dotnet-agent -y

Important

New Relic does not currently offer Linux rpm packages for ARM64. Instead, leverage the tarball to install on these platforms.

  1. Go to download.newrelic.com/dot_net_agent/latest_release, and copy the URL that corresponds to your architecture and to the latest newrelic-dotnet-agent .rpm package.

  2. Download the package with wget, replacing https://INSERT_LINK_TO_PACKAGE with the full URL of the package:

    bash
    $
    wget -L https://INSERT_LINK_TO_PACKAGE
  3. Install the agent, replacing VERSION with the current version:

    bash
    $
    sudo rpm -i newrelic-dotnet-agent_VERSION.x86_64.rpm
  1. Go to download.newrelic.com/dot_net_agent/latest_release, and copy the URL that corresponds to your architecture and to the latest newrelic-dotnet-agent-VERSION.tar.gz package.

  2. Download the package with wget, replacing https://INSERT_LINK_TO_PACKAGE with the full URL of the package:

    bash
    $
    wget -L https://INSERT_LINK_TO_PACKAGE
  3. Extract the agent:

    bash
    $
    tar xzf newrelic*.tar.gz
  4. Move the newrelic-dotnet-agent directory to /usr/local or your preferred install location.

  5. Verify that the environment variable CORECLR_NEWRELIC_HOME points to the newrelic-dotnet-agent directory and that the directory is readable by monitored .NET processes.

    Important

    If CORECLR_NEWRELIC_HOME does not exist, create it and point it to the newrelic-dotnet-agent directory.

  6. Verify that the logs directory in the agent home directory is writeable by monitored .NET processes.

Enable the agent

Next, you'll enable the agent. This involves setting some environment variables, including:

  • Your New Relic license key, which determines the account your data reports to.
  • Your app's name in New Relic. It's important to choose an optimal app name, especially if you'll be monitoring multiple apps. For guidance on that, see App names.

Choose a method. If you have an ASP.NET Core app targeting .NET Core, manually set the environment variables.

You can configure your environment using a custom script. The script must define the variables before your app starts.

Caution

Set the environment variables for each application that you want to instrument. If you set these environment variables globally, you could instrument .NET processes other than your apps.

  1. Set the following environment variables, replacing PATH_TO_AGENT_DIRECTORY with the actual path to the .NET Core agent installation folder:

    CORECLR_ENABLE_PROFILING=1
    CORECLR_PROFILER={36032161-FFC0-4B61-B559-F6C5D41BAE5A}
    CORECLR_NEWRELIC_HOME=PATH_TO_AGENT_DIRECTORY
    CORECLR_PROFILER_PATH="PATH_TO_AGENT_DIRECTORY/libNewRelicProfiler.so"
  2. Use one of the following methods to set your license key (required) and your app name (optional).

    • Set via environment variable:

      NEW_RELIC_LICENSE_KEY=YOUR_LICENSE_KEY
      NEW_RELIC_APP_NAME=YOUR_APP_NAME
    • Set in newrelic.config with the licenseKey and name elements.

  1. Use run.sh to start your app. For example:

    bash
    $
    CORECLR_NEWRELIC_HOME/run.sh dotnet MYAPP.dll
  2. Use one of the following methods to set your license key (required) and your app name (optional):

    • Set via environment variable:

      NEW_RELIC_LICENSE_KEY=YOUR_LICENSE_KEY
      NEW_RELIC_APP_NAME=YOUR_APP_NAME
    • Set in newrelic.config with the licenseKey and name elements.

Except for CORECLR_NEWRELIC_HOME, the source /usr/local/newrelic-dotnet-agent/setenv.sh script included with the .NET agent configures the environment variables automatically.

Tip

Set these environment variables before running any apps that you want instrumented. This sets the environment variables only for the current shell and any child processes of that shell.

  1. Set the CORECLR_NEWRELIC_HOME environment variable to the .NET agent installation directory.

  2. Use one of the following methods to set your license key (required) and your app name (optional):

    • Set via environment variable:

      NEW_RELIC_LICENSE_KEY=YOUR_LICENSE_KEY
      NEW_RELIC_APP_NAME=YOUR_APP_NAME
    • Set in newrelic.config with the licenseKey and name elements.

  3. Run the setenv.sh script located in the directory where you installed the .NET agent.

Did this doc help with your installation?

What's next?


Look for your app data in the UI

Look for your app data on the APM Summary page (it can take a few minutes).

Read the APM docs

For example, read about the Summary page, the Errors page, and the Transactions page.

Still not seeing data?

Follow our troubleshooting steps.