Install the .NET agent
New Relic supports the most popular .NET application implementations. Once installed, our .NET APM agent monitors your app's performance and gives you insight into that performance. Want more context? See Introduction to APM.
Installation options
The New Relic .NET agent has installation options for Linux, Windows, AWS elastic beanstalk, WCF, Nuget, and Azure cloud, web, and service fabric. Select your installation path using the form below for installation instructions based on your environment!
Tell us about your .NET app
How would you like to enable the .NET agent?
Disable Application Insights
Both New Relic's .NET agent and Microsoft Application Insights rely on the CLR Profiler, but only one may be active at a time. You must disable Application Insights in order for the .NET agent to function properly. For more information, see our Application Insights troubleshooting procedures.
Install using NuGet (.NET Framework)
If you're upgrading the .NET Framework agent using NuGet, any changes you made in the newrelic.config
will be overwritten. To preserve any changes, save your newrelic.config
outside of your project, then restore it after upgrading.
Tip
For multi-project solutions, make sure you've selected the correct project (for example, a specific web app project) before installing the NuGet package.
To install the .NET agent on an Azure Web App using NuGet:
- In the Azure portal, verify your Azure Platform (32-bit or 64-bit): From the Azure sidebar menu, select App Services > Your Application > Settings > Configuration > General settings.
- Open your application in Visual Studio, and install the New Relic NuGet package by running the appropriate command from the Package manager console:
- 32-bit:
Install-Package NewRelic.Azure.WebSites
- 64-bit:
Install-Package NewRelic.Azure.WebSites.x64
- 32-bit:
- Publish your application.
- In the Azure portal, open the web app you want to monitor, then select Settings > Configuration.
- From Configuration, select + New application setting and add these key/value pairs.
Important
These examples all assume that your Azure Web App uses a D:
file system root. If your Azure Web uses a C:
root, you need to use the correct drive letter when configuring these paths.
Key | Value |
---|---|
|
|
|
|
|
|
|
|
- In the Azure portal, add New Relic app settings to your Azure App Service.
- Restart your web app.
Add New Relic app settings to Azure App Services
To add your app settings:
Make sure you have your before adding the New Relic .NET agent's app settings.
In the Azure portal, search for and open App Services to go to the web app you want to monitor. Next, select Configuration > Application settings
From Application settings, select setting and add these key/value pairs:
Key
Value
NEW_RELIC_LICENSE_KEY
YOUR_LICENSE_KEY
NEW_RELIC_APP_NAME
YOUR_APP_NAME
If you need to use a previous .NET agent version, use this key/value pair:
Key
Value
NEWRELIC_AGENT_VERSION_OVERRIDE
DESIRED_AGENT_VERSION_NUMBER
Save and restart your web app.
Setting the and app name with Application settings will override the newrelic.config
.
To verify your app's environment variables in your app's Kudu diagnostic console, go to Environment > Environment variables.
For example:
https://myappname.scm.azurewebsites.net/Env.cshtml#envVariables
View your app's performance
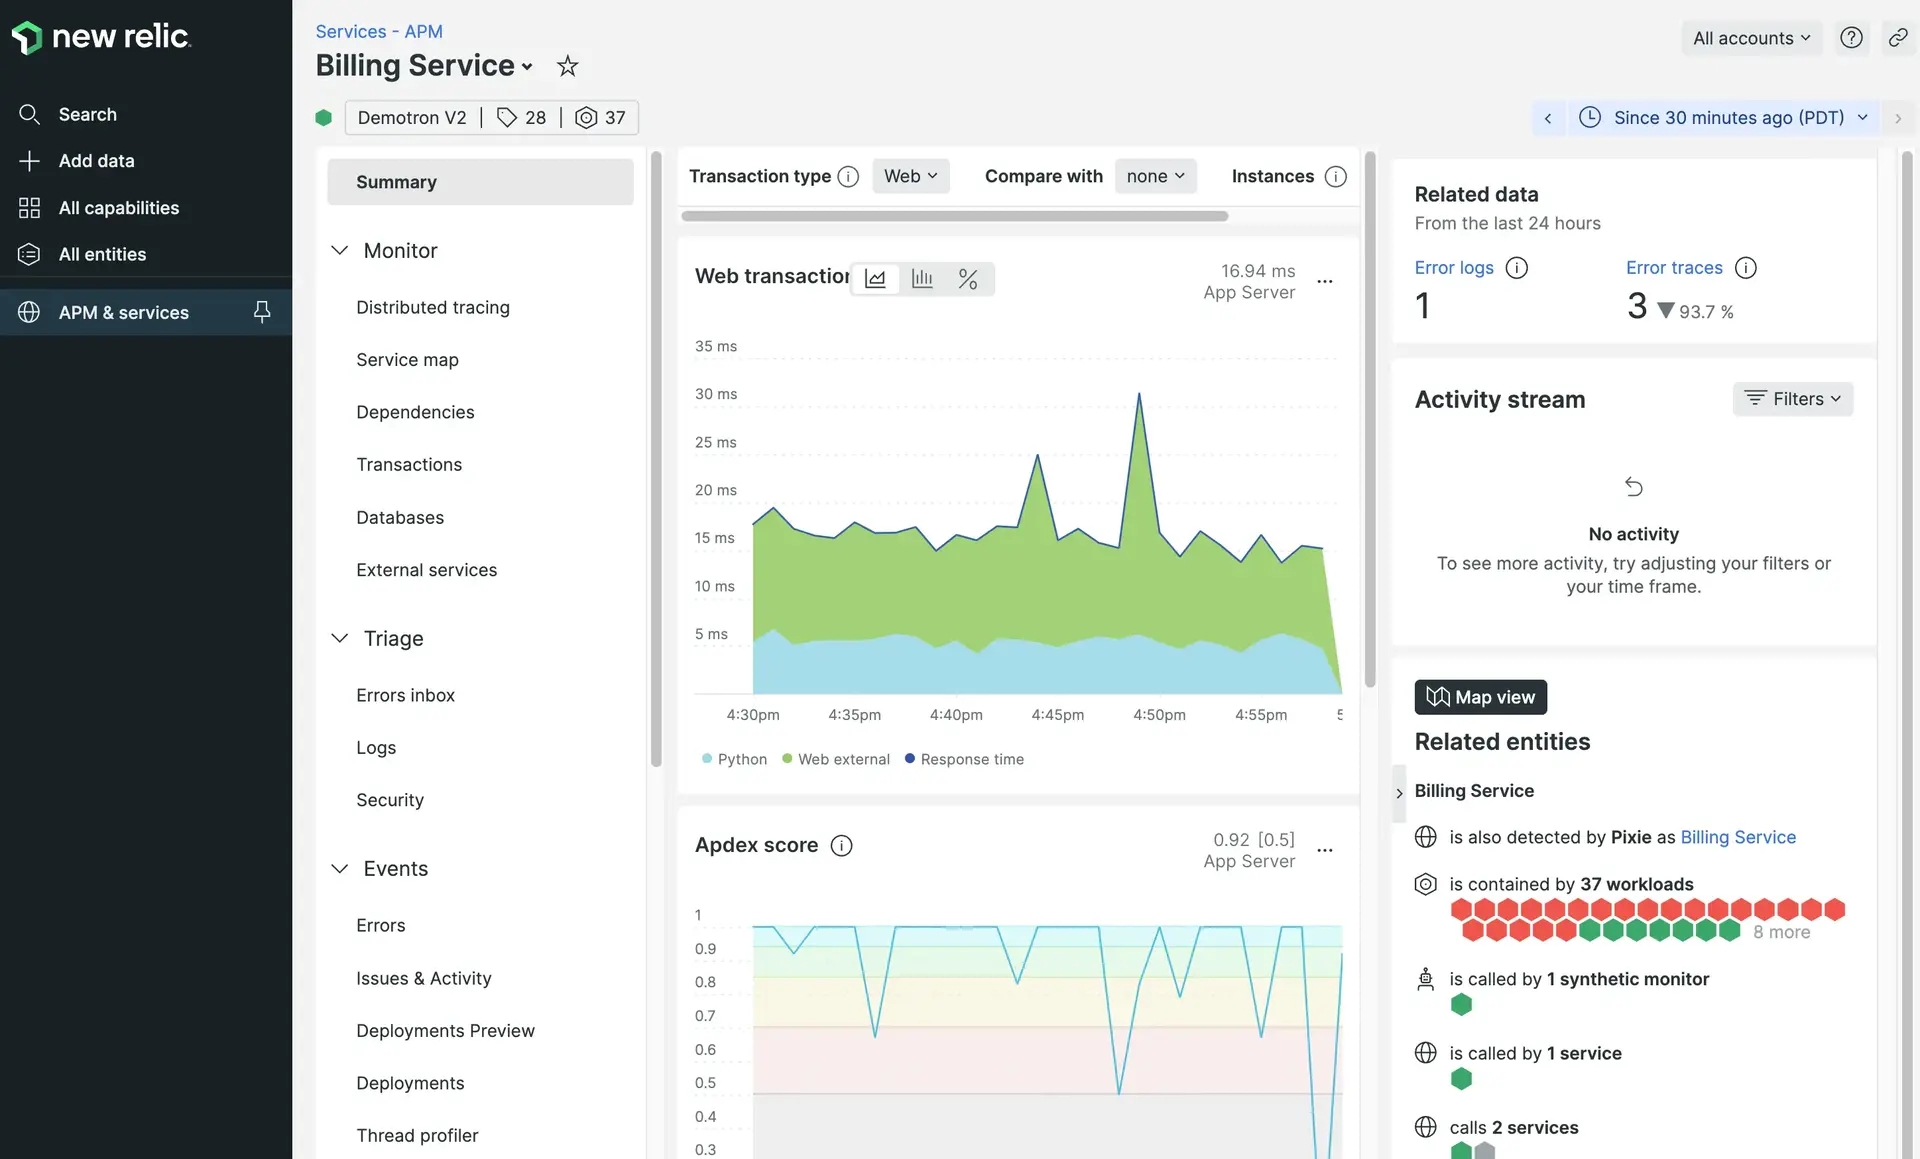
Your application must receive traffic in order for you to view its performance in New Relic. You may need to wait a few minutes for data to start appearing. If no data appears, see the troubleshooting procedures for Azure Web Apps. To view your app's performance in New Relic: Go to one.newrelic.com > All capabilities > APM & services > (select an app). The APM Summary page automatically appears.
If no data appears after installing the agent, generating traffic for your app, and waiting a few minutes, try these troubleshooting tips:
- Make sure that all files in the
newrelic
directory at the root of your app got published to Azure. - Make sure the environment variables are set correctly.
- Make sure Microsoft Application Insights is not installed and configured on the application. For more information, see the Application Insights troubleshooting procedures.
- Refer to additional Azure troubleshooting procedures as applicable.
Did this doc help with your installation?
What's next?
Look for your app data in the UI
Look for your app data on the APM Summary page (it can take a few minutes).
Read the APM docs
For example, read about the Summary page, the Errors page, and the Transactions page.