Important
As of August 26, 2024, you can no longer create new monitors using legacy runtimes on public or private locations. On October 22, 2024, we will end of life the containerized private minion (CPM) and legacy synthetics runtime versions.
- For public locations, use the runtime upgrade UI to update your monitors to the newest runtimes.
- For private locations, please review our recommended migration steps to avoid monitor degradation.
Use synthetic monitoring's API tests to monitor your API endpoint to ensure it is functioning correctly. New Relic uses the http-request module internally to make HTTP calls to your endpoint and validate the results.
Please refer to the [Node 16.10 or newer API runtime examples](Details for the writing scripts Node 16.10 runtime to create monitors using our latest synthetics runtimes.
Here we present some example functions showing how to use the $http object to submit your request. For detailed documentation on the options available for this object, see the http-request readme. (Note that Request is deprecated, but these options still apply.)
Tip
To view and share other API test examples, visit the Support Forum synthetics scripts section or the Synthetic monitoring quickstarts library.
Use API http-request module
API tests are powered by the http-request module, which is available through the $http object. Once each frequency interval, New Relic queries your endpoint from each of your selected locations. For instructions on creating a monitor, see Adding monitors.
Read on to learn how to define metadata for your request, make a GET request, make a POST request, and how to validate the results.
Important
After a maximum run time of three minutes, New Relic manually stops the script.

one.newrelic.com > Synthetic monitoring > Create monitor: The script editor suggests functions, selectors, and other elements to simplify scripting commands (available in GitHub).
Configure request options
To start your script:
- Declare a variable (such as
options) to store your request options object. - Define request options such as the URL endpoint, and custom headers.
- If you're setting SSL or agent options, see SSL and agentOptions requirements. We recommend using SSL to avoid exposing plain text credentials in your headers.
Tip
For a full list of supported request options, see request(options, callback) in the http-request documentation on GitHub.
Here's an example of optional metadata in the options object:
For SSL and agentOptions: If you are setting SSL options or providing an agentOptions object, the agent property in the request options object will need to be set to $globalAgents.https or $globalAgents.http to ensure your HTTP requests use the instrumented global agent.
Here's an example of using a SSL option or agentOptions:
Send a GET request
To make a GET request, use the $http.get method to submit your request. Define your request options, make your request using $http.get, then validate the response to ensure your endpoint is returning the correct results.
Send a POST request
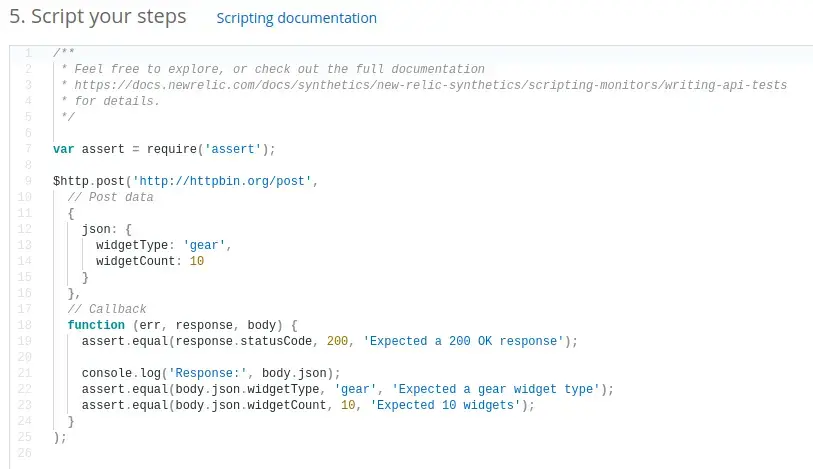
To make a POST request, use the $http.post method to submit your request. Define your request options, make your request using $http.post, then validate the response to ensure your endpoint is returning the correct results.
Validate results
To validate your results, import the assert module to define your test case. Call an assert method to validate your endpoint's response. If any assert functions fail, the entire monitor will be considered a failed check. This may trigger alert notifications and affect your metrics.
Important
Synthetic monitoring does not allow thrown exceptions. Thrown exceptions result in script failure. Use the assert module to validate your results, and use console.log() to log results to the synthetic's console.