Who can access Teams?
To ensure that all users can always identify team ownership, Teams will be managed at the organizational level rather than at the account level.
- Read Access: All users have read access to Teams, including metadata such as contact information, team members, and other relevant details.
- Modify Teams: Users with the Organization Product Admin role can modify Teams. This is a new role assigned to all users who currently have the All Product Admin role.
- Create & Delete Teams: Users with Organization Manager or Authentication Manager roles can create and delete Teams.
Tip
To enable additional users to create and delete Teams without granting them the Organization Manager or Authentication Manager roles, you can create a custom role. Please ensure that the permissions are scoped to your org and not to an account.
Create Teams
Tip
If you prefer to create Teams programmatically, you can also create Teams with our NerdGraph API.
Create a Team manually
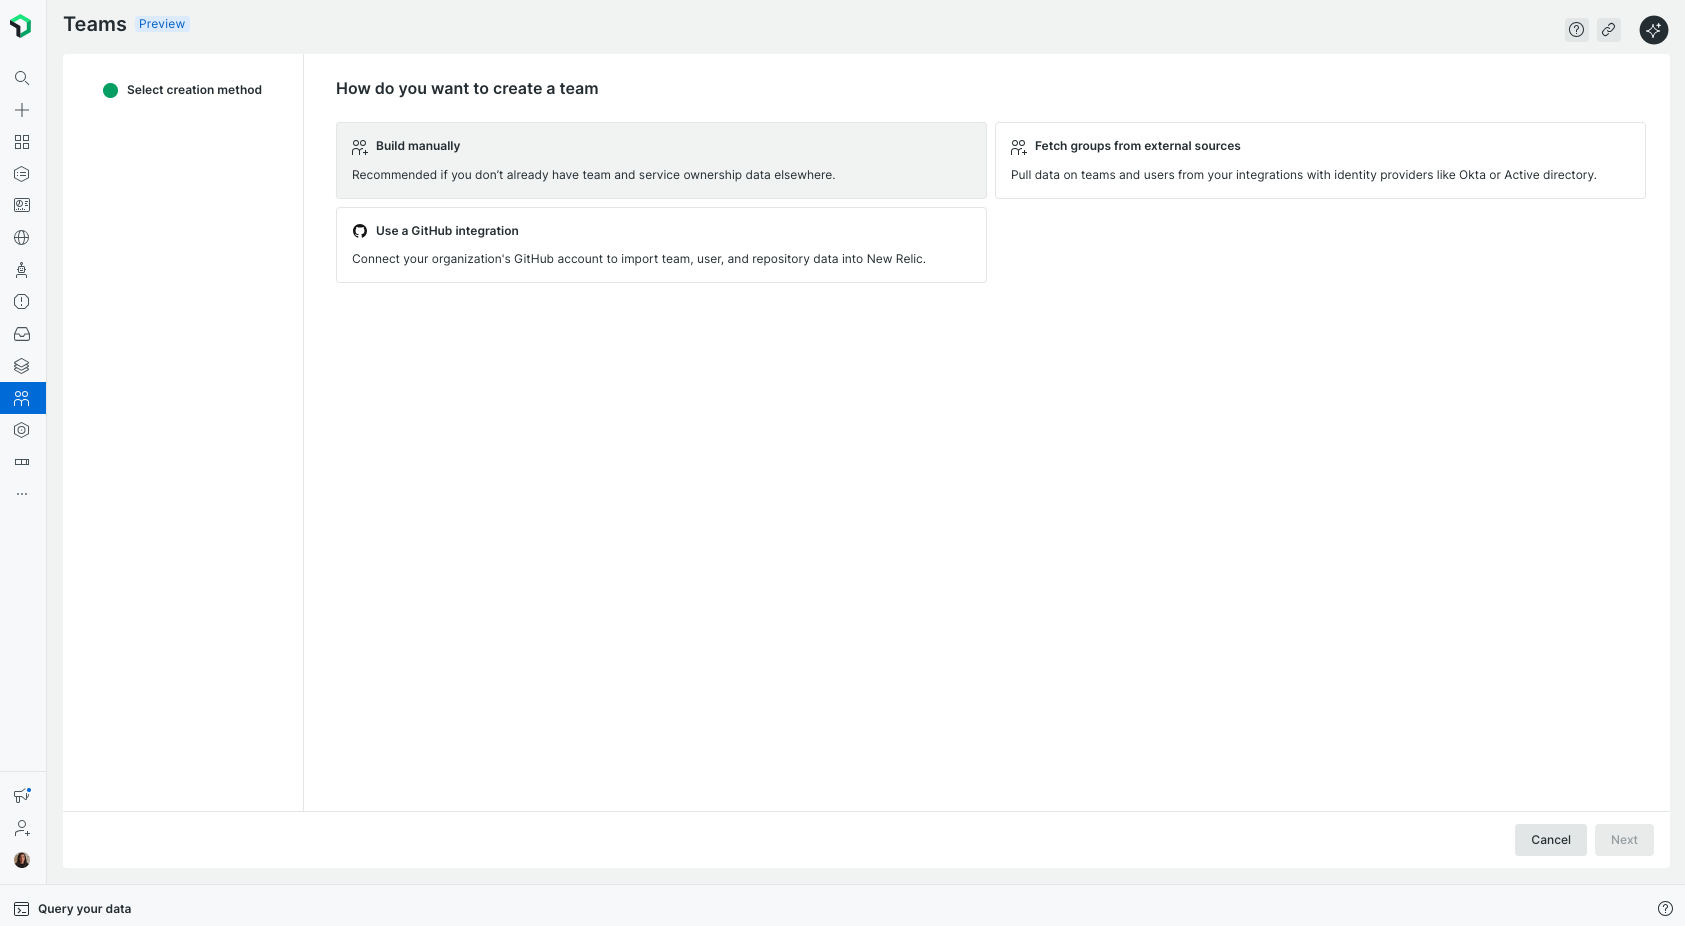
We recommend this option if you don't already have Team and service ownership data elsewhere.
Go to All Capabilities > Teams.
Enter a team name.
(optional) Add a description and an aliases for your team.
(optional) Add team members.
Click Create team.
Create Teams from GitHub teams
We recommend this option if you want to keep your New Relic teams synchronized with your existing GitHub teams.
- Go to All Capabilities > Teams.
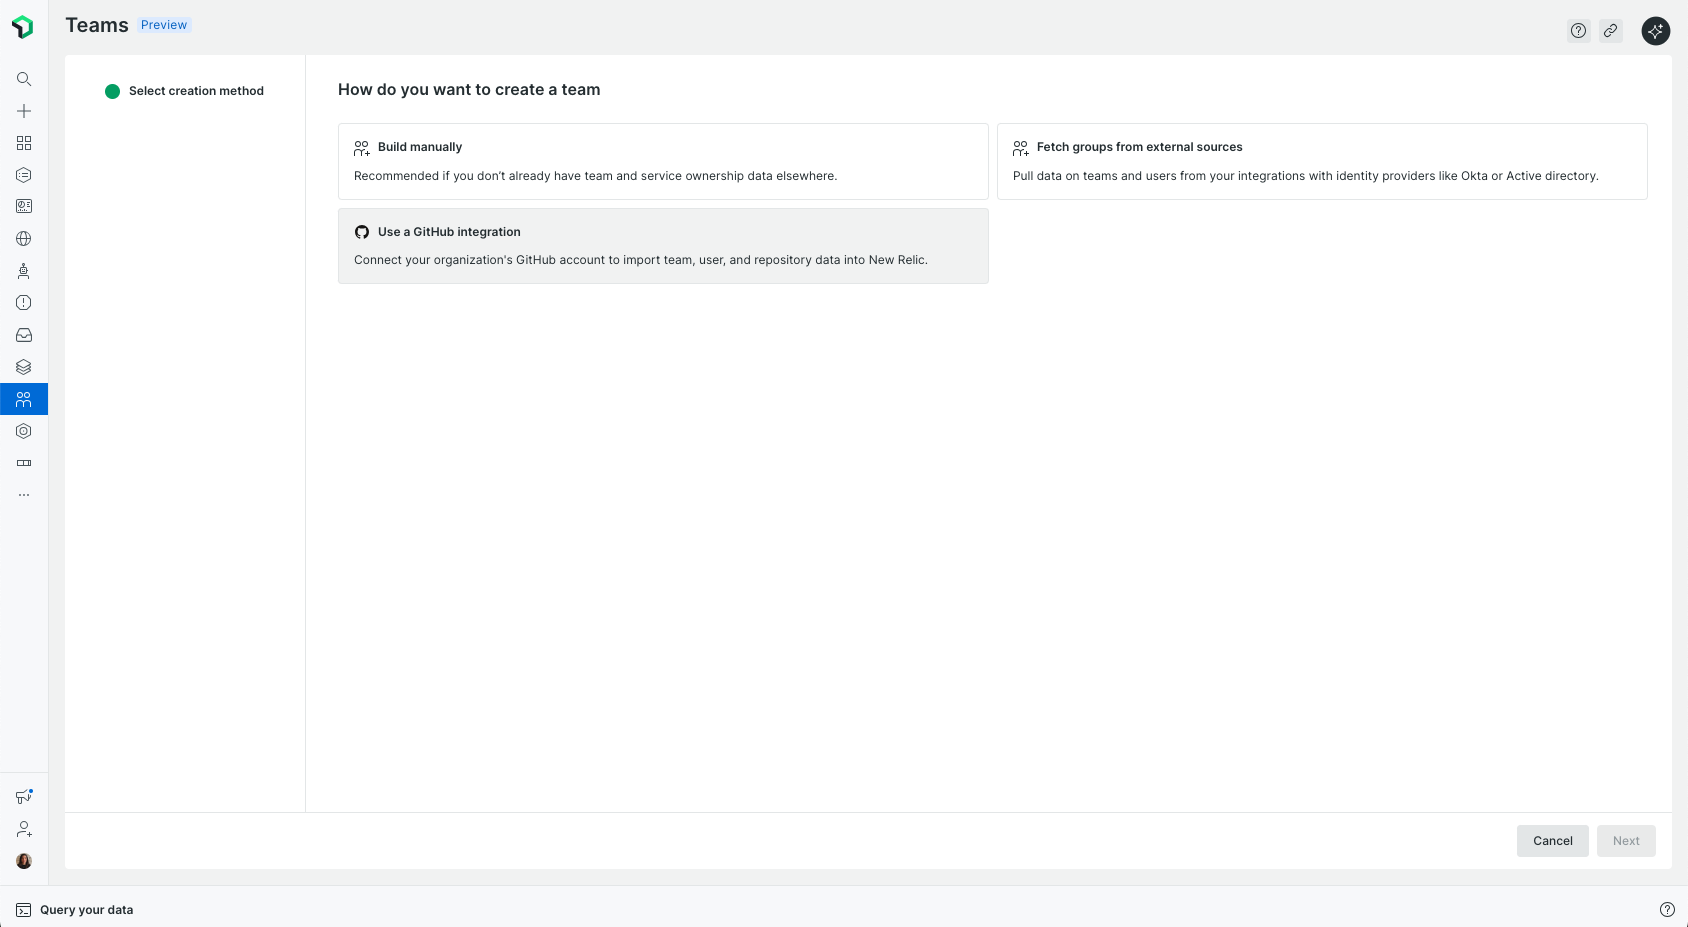
- Click Use a Github integration. You will be redirected to the GitHub integration configuration page.

Create Teams automatically from Your identity provider
To streamline team management and align New Relic with your organizational structure, you can automatically create and sync teams from your identity provider (IdP), such as Okta or Active Directory.
Prerequisites
- Ensure that you're assigned a user role that includes
authentication_domain.read.groupspermissions.
Do the following to set up automatic team creation from your IdP:
Set Up Groups in Your IdP.
- Begin by creating groups in your IdP that represent the teams you want to manage in New Relic. For example, you might create groups like team_backend, team_frontend, or team_data.
Sync groups via SCIM.
- Use the SCIM protocol to synchronize your IdP groups with New Relic. This allows New Relic to recognize and manage these groups dynamically.
Configure Team Creation in New Relic After your groups are synced.
- Navigate to All Capabilities > Teams in the New Relic UI.
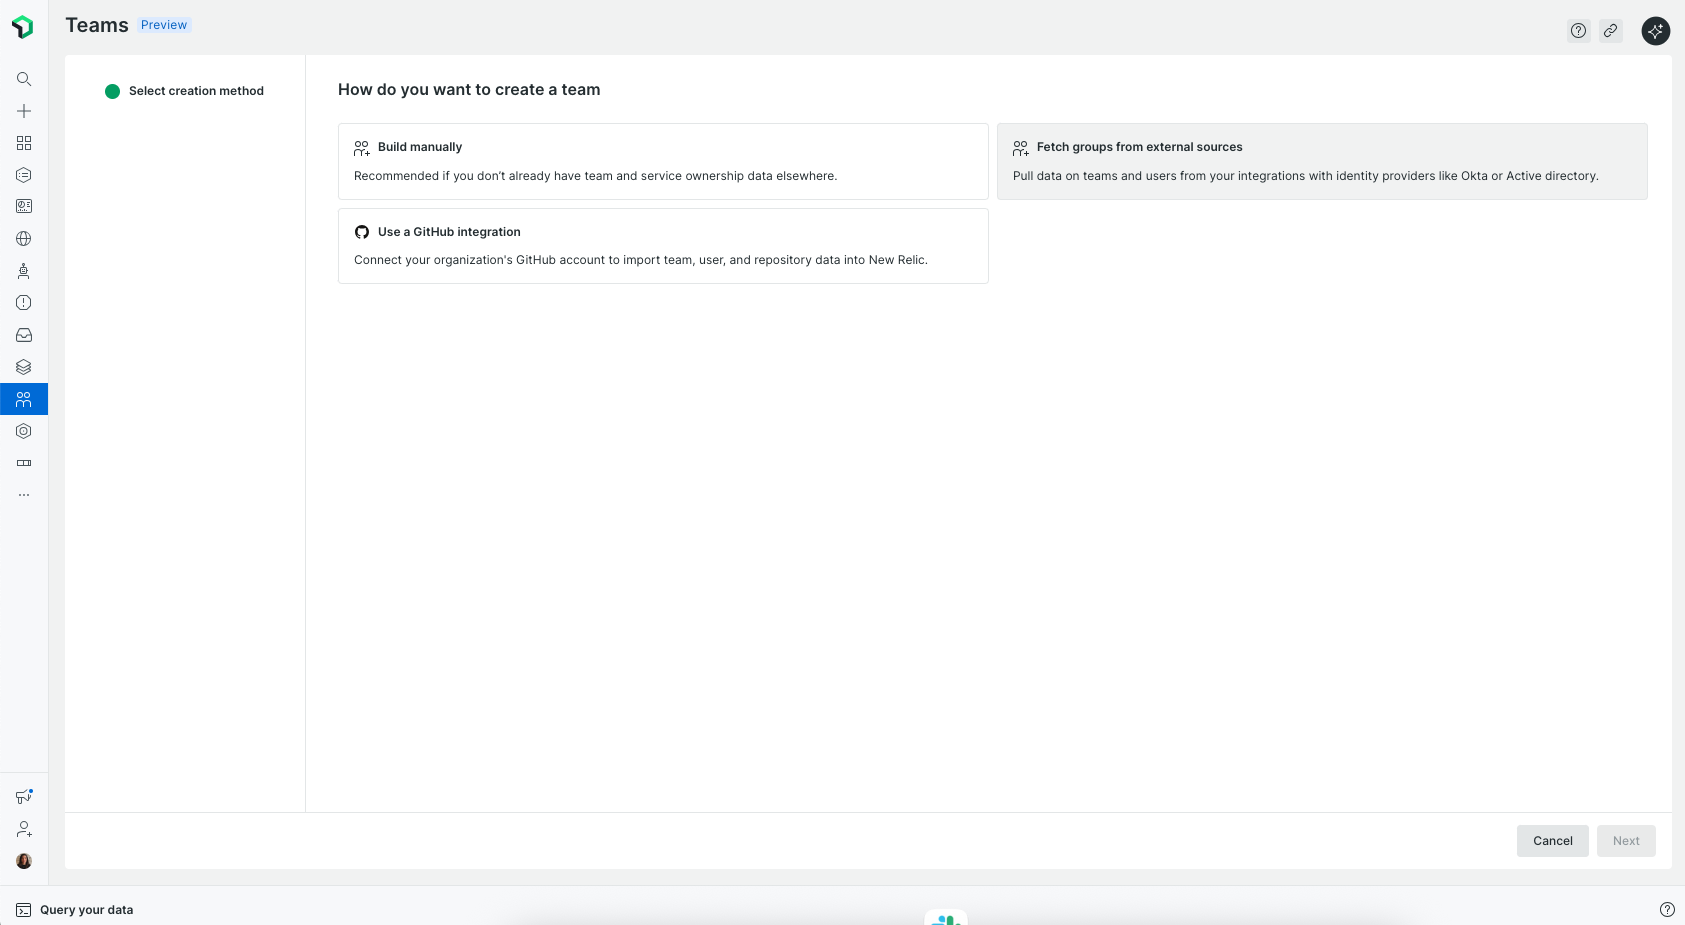
- Click Fetch groups from external sources.

- Choose Automate with a rule to translate groups into teams.
- Add a rule to match group names. For example, create a rule that applies to any group name starting with ‘team_’.
- Click Create rule. You can see your teams in the New Relic UI.
Note: If your group names don’t follow a clear pattern, you can choose to select the relevant groups manually instead of using a rule.
After setting this up, New Relic will automatically create and maintain teams that match your rule, keeping them synced with your IdP as changes occur, no manual updates needed.
Automating Team ownership
Assigning entities to teams in New Relic is key to establishing clear ownership and enabling effective collaboration. One of the simplest and most efficient ways to do this is by applying labels (tags) directly in your agent configuration files.
Tag entities in your agent configuration file
Start by adding a team label to your agent configuration to specify which team owns a given entity. For example, in a Java agent, you can add:
<labels>team:Backend</labels>This tag associates the entity with the “Backend” team.
Automate entity assignment to teams
To automate the assignment of tagged entities to their respective teams:
- Go to All Capabilities > Teams > Automation.
- Enable the Entity ownership feature. Once enabled, New Relic will automatically assign any entity with a matching team tag to the corresponding team.
(Optional) Use Team aliases
If your organization uses different identifiers for the same team (e.g., “Backend” and “BE”), you can configure aliases to ensure consistency. To do so:
- Open the Team Hub page for the relevant team.
- Go to the Settings section.
- Add aliases that map alternative tag values to the same team. With aliases in place, entities tagged with either "team:Backend" or "team:BE" will both be assigned to the “Backend” team.
Tip
You can also use any other ingested tags that represent ownership. This provides added flexibility and ensures alignment with your organization’s current tagging conventions.
Manually assign ownership
If you don’t have tags set up to represent ownership, you can manually assign ownership in the following places.
In Team hub page
To assign ownership from the Team Hub:
Go to the Team's hub page and click Entity management.
Select your entities you want to assign.
Click Save.
In entity pages
You can also assign an owner directly from any entity’s summary page header.

In Catalogs
Ownership can be assigned to unowned catalog entries that are not yet linked to a team.
