• English日本語한국어
  • Log inStart now

Forward logs using Cloudflare Logpush

Configure the Cloudflare Logpush service to send logs to New Relic using the Cloudflare dashboard or via API.

Important

Cloudflare announced a set of updates to security-related fields in Cloudflare logs that will start being rolled out on February 1st, 2023, and will conclude on August 1st, 2023. Please check the official Cloudflare announcement for more details. Any logs sent from Cloudflare to New Relic will be affected by these changes.

Manage via Cloudflare dashboard

To enable a Logpush service to New Relic via the Cloudflare dashboard:

  1. Log in to the Cloudflare dashboard, and select the Enterprise domain you want to use with Logpush.

  2. Go to Analytics > Logs.

  3. Click Connect a service to open the modal window.

  4. Select the dataset you want to push to a storage service.

  5. Select the data fields to include in your logs. You can add or remove fields later by modifying your settings in Logs > Logpush.

  6. Select New Relic.

  7. Enter New Relic's Logs Endpoint. Replace <NR_LICENSE_KEY> with your .

    • US: "https://log-api.newrelic.com/log/v1?Api-Key=<NR_LICENSE_KEY>&format=cloudflare"
    • EU: "https://log-api.eu.newrelic.com/log/v1?Api-Key=<NR_LICENSE_KEY>&format=cloudflare"

    Other tips:

    • Use the region you set for your New Relic account.
    • Having more than one Cloudflare zone may require a new for each zone.
  8. Click Validate access.

  9. Click Save and Start Pushing to finish enabling Logpush.

Once connected, Cloudflare lists New Relic as a connected service under Logs > Logpush. Edit or remove connected services from here.

Did this doc help with your installation?

Manage via Cloudflare API

1. Create a job

To create a job, make a POST request to the Logpush jobs endpoint with the following fields:

  • name (optional): Use your domain name as the job name.

  • logpull_options (optional): To configure fields, sample rate, and timestamp format, refer to the Logpush API options. In order to query Cloudflare logs, New Relic requires fields to be sent as a Unix timestamp.

  • destination_conf: A log destination consisting of an endpoint URL, a , and a format in the following string format:

    • <NR_ENDPOINT_URL>: The New Relic HTTP log ingest endpoint, which is https://log-api.newrelic.com/log/v1 for US or https://log-api.eu.newrelic.com/log/v1 for the EU, depending on the region that has been set on your New Relic account.
    • <NR_LICENSE_KEY>: Replace with your New Relic , which you can retrieve from the UI or API.
    • format: The format is cloudflare.

    For example:

    • US: "https://log-api.newrelic.com/log/v1?Api-Key=<NR_LICENSE_KEY>&format=cloudflare"
    • EU: "https://log-api.eu.newrelic.com/log/v1?Api-Key=<NR_LICENSE_KEY>&format=cloudflare"
  • max_upload_records (optional): The maximum number of log lines per batch. This must be at least 1,000 lines or more. Note that there is no way to specify a minimum number of log lines per batch. This means that log files may contain many fewer lines than specified.

  • max_upload_bytes (optional): The maximum uncompressed file size of a batch of logs. This must be at least 5 MB. Note that there is no way to set a minimum file size. This means that log files may be much smaller than this batch size. Regardless, we recommend you to set this parameter to 5,000,000.

  • dataset: The category of logs you want to receive. Refer to Cloudflare's log fields documentation for the full list of supported datasets.

Example request using cURL:

bash
$
curl -s https://api.cloudflare.com/client/v4/zones/<ZONE_ID>/logpush/jobs -X POST -d '
$
{
$
"name": "<DOMAIN_NAME>",
$
"logpull_options": "fields=ClientIP,ClientRequestHost,ClientRequestMethod,ClientRequestURI,EdgeEndTimestamp,EdgeResponseBytes,EdgeResponseStatus,EdgeStartTimestamp,RayID&timestamps=unix",
$
"destination_conf": "https://log-api.newrelic.com/log/v1?Api-Key=<NR_LICENSE_KEY>&format=cloudflare",
$
"max_upload_bytes": 5000000,
$
"dataset": "http_requests",
$
"enabled": true
$
}' \
>
-H "X-Auth-Email: <EMAIL>" \
>
-H "X-Auth-Key: <API_KEY>" | jq .

Response:

bash
$
{
$
"errors" : [],
$
"messages" : [],
$
"result" : {
$
"dataset" : "http_requests",
$
"destination_conf" : "https://log-api.newrelic.com/log/v1?Api-Key=<NR_LICENSE_KEY>&format=cloudflare",
$
"enabled" : true,
$
"error_message" : null,
$
"frequency" : "high",
$
"id" : 100,
$
"kind" : "",
$
"last_complete" : null,
$
"last_error" : null,
$
"logpull_options" : "fields=ClientIP,ClientRequestHost,ClientRequestMethod,ClientRequestURI,EdgeEndTimestamp,EdgeResponseBytes,EdgeResponseStatus,EdgeStartTimestamp,RayID&timestamps=unix",
$
"logstream" : true,
$
"max_upload_bytes" : 5000000,
$
"name" : "<DOMAIN_NAME>"
$
},
$
"success" : true
$
}

2. Enable (update) a job

To enable a job, make a PUT request to the Logpush jobs endpoint. Use the job ID returned from the previous step in the URL and send {"enabled": true} in the request body.

Example request using cURL:

bash
$
curl -s -X PUT \
>
https://api.cloudflare.com/client/v4/zones/<ZONE_ID>/logpush/jobs/100 -d'{"enabled":true}' \
>
-H "X-Auth-Email: <EMAIL>" \
>
-H "X-Auth-Key: <API_KEY>" | jq .

Response:

bash
$
{
$
"errors" : [],
$
"messages" : [],
$
"result" : {
$
"dataset" : "http_requests",
$
"destination_conf" : "https://log-api.newrelic.com/log/v1?Api-Key=<NR_LICENSE_KEY>&format=cloudflare",
$
"enabled" : true,
$
"error_message" : null,
$
"frequency" : "high",
$
"id" : 100,
$
"kind" : "",
$
"last_complete" : "null",
$
"last_error" : null,
$
"logpull_options" : "fields=ClientIP,ClientRequestHost,ClientRequestMethod,ClientRequestURI,EdgeEndTimestamp,EdgeResponseBytes,EdgeResponseStatus,EdgeStartTimestamp,RayID&timestamps=unix",
$
"logstream" : true,
$
"max_upload_bytes" : 5000000,
$
"name" : "<DOMAIN_NAME>"
$
},
$
"success" : true
$
}

What's next?

Get started in minutes with a pre-built dashboard to see key metrics from your Cloudflare network logs.
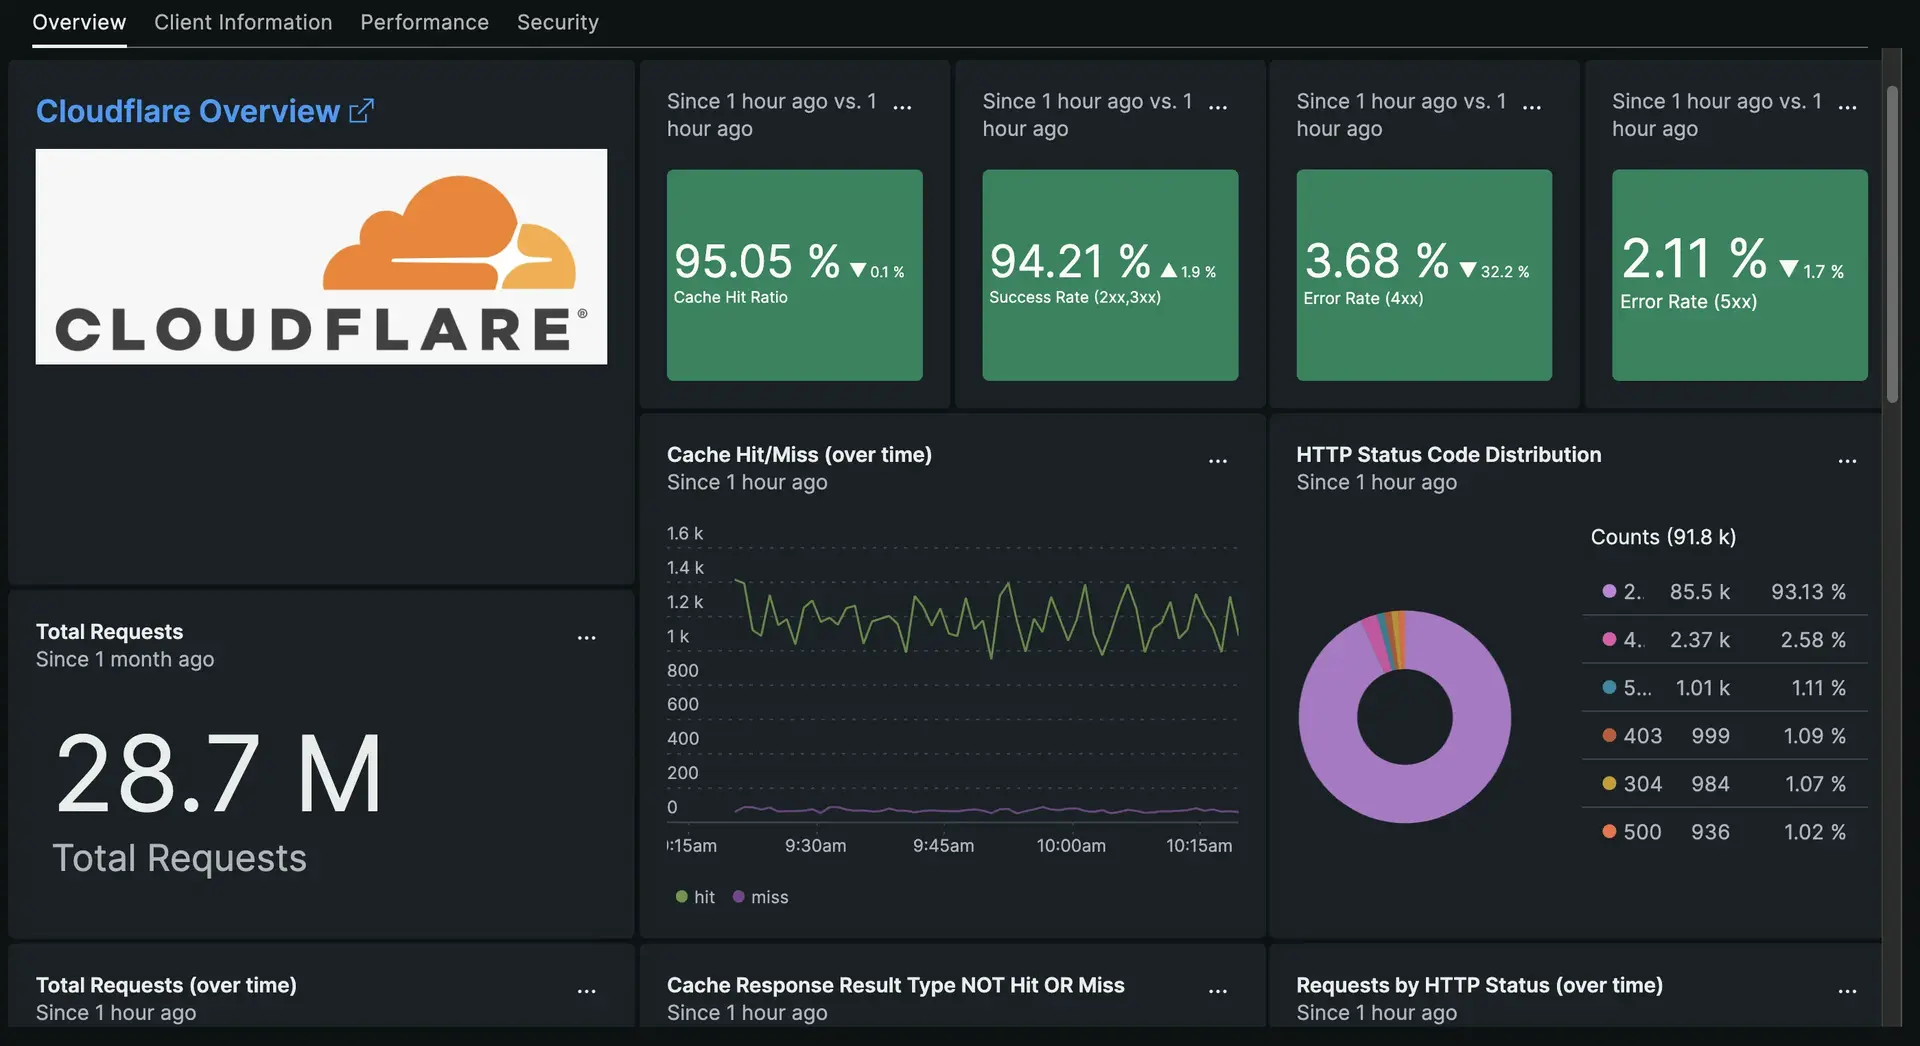
Our Instant Observability quickstart for Cloudflare network logs includes a pre-built dashboard.

Disable log forwarding

To disable log forwarding capabilities, follow standard procedures in Cloudflare Logpush documentation. You do not need to do anything else in New Relic.

Copyright © 2023 New Relic Inc.

This site is protected by reCAPTCHA and the Google Privacy Policy and Terms of Service apply.