• English日本語한국어
  • Log inStart now

Install the .NET agent on Azure Cloud Services

This document explains how to install APM's .NET agent on Microsoft's Azure Cloud Services platform. This is not the same as installing the Infrastructure integrations for Microsoft Azure. To make sure you are using the most relevant instructions, first see the .NET agent install.

Important

Before installing the NuGet package into a multi-project Visual Studio solution, make sure you have selected the correct project for your New Relic .NET application (for example, a specific website project).

Check Web or Worker role's location

If Service files are nested within a Solution folder, the NuGet installer cannot locate or update the necessary files. This will cause issues with the .NET agent setup, which will in turn prevent the agent from reporting metrics on your Cloud Service.

Recommendation: Place the Web or Worker role at the root of the solution before installing the NuGet package. Once the New Relic .NET agent is installed, you can move the Cloud role back into the Solution folder.

Install the NuGet package for Cloud Services

For multi-project solutions, make sure you have selected the correct project (for example, a specific website project) before installing the NuGet package.

  1. Open your Visual Studio solution, or create a new one by selecting File > New > Project. For multi-project solutions, make sure you have selected the correct project (for example, a specific website project).
  2. If you do not already have an Azure Cloud Service project in your solution, add one by right-clicking your app in the Solution Explorer and selecting Add Windows Azure Cloud Service Project.
  3. Open the Package Manager console by selecting Tools > Library Package Manager > Package Manager Console. Set your project as the default project.
  4. From the Package Manager command prompt, type Install-Package NewRelicWindowsAzure and press Enter.
  5. Follow the prompts to enter your New Relic license key and your application name as you want it to appear in the New Relic UI. Or, use your solution name as the default app name.
  6. From the Solution Explorer, right-click your Azure Cloud Service project, and select Publish.
  7. If this is your first time deploying this app to Azure, enter your Azure credentials.
  8. If applicable, instrument methods for Worker roles.

Instrument Worker role

A Worker role is a non-web process run as an Azure Cloud Service. To instrument a Worker role, you must create custom transactions.

The .NET agent automatically instruments external calls and database calls, but it does not instrument default methods for transactions. Creating custom transactions solves this. After the Worker role starts up and the method executes, transaction data will appear in the APM Summary and Transactions pages under the Non-web category.

The NuGet installer automatically adds the NewRelic.AppName parameter to the application config. This appears as <YOUR_WORKER_ROLE_NAME>.dll.config in E:\approot.

The .NET agent also automatically instruments WaWorkerHost.exe. This is the name of the actual Worker role process.

Optional: Create custom config file

You can create a custom configuration file in Visual Studio. This allows you to make changes to newrelic.config inside Visual Studio, without having to remote into your Azure Role instance every time you make a change. Whenever you publish your app, the config file in Visual Studio is automatically uploaded to the remote host.

The choices you make with the installation wizard do not matter. Installing locally does not affect your Azure development environment.

  1. In Visual Studio, select the Solution Explorer, then open NewRelicAgent_x64_XYZ.msi.

  2. Follow the steps to install the agent locally.

  3. Import newrelic.config into your project: In Solution Explorer > Cloud Project, right-click the Web Role, then select Add > Existing Item. Navigate to C:\ProgramData\New Relic\.NET Agent and select newrelic.config.

  4. From C:\ProgramData\New Relic\.NET Agent, edit newrelic.cmd.

  5. In the :INSTALL_NEWRELIC_AGENT section, find this statement:

    IF $ERRORLEVEL% EQU 0 (
  6. Add the following code as another statement inside the IF block, then save the file:

    copy /Y "%RoleRoot%\approot\newrelic.config" "%NR_HOME%" >> %RoleRoot%\nr.log

You can now edit the newrelic.config hosted in Visual Studio. Whenever you publish your app, the copy command will upload the config file to the remote host.

View your app's performance

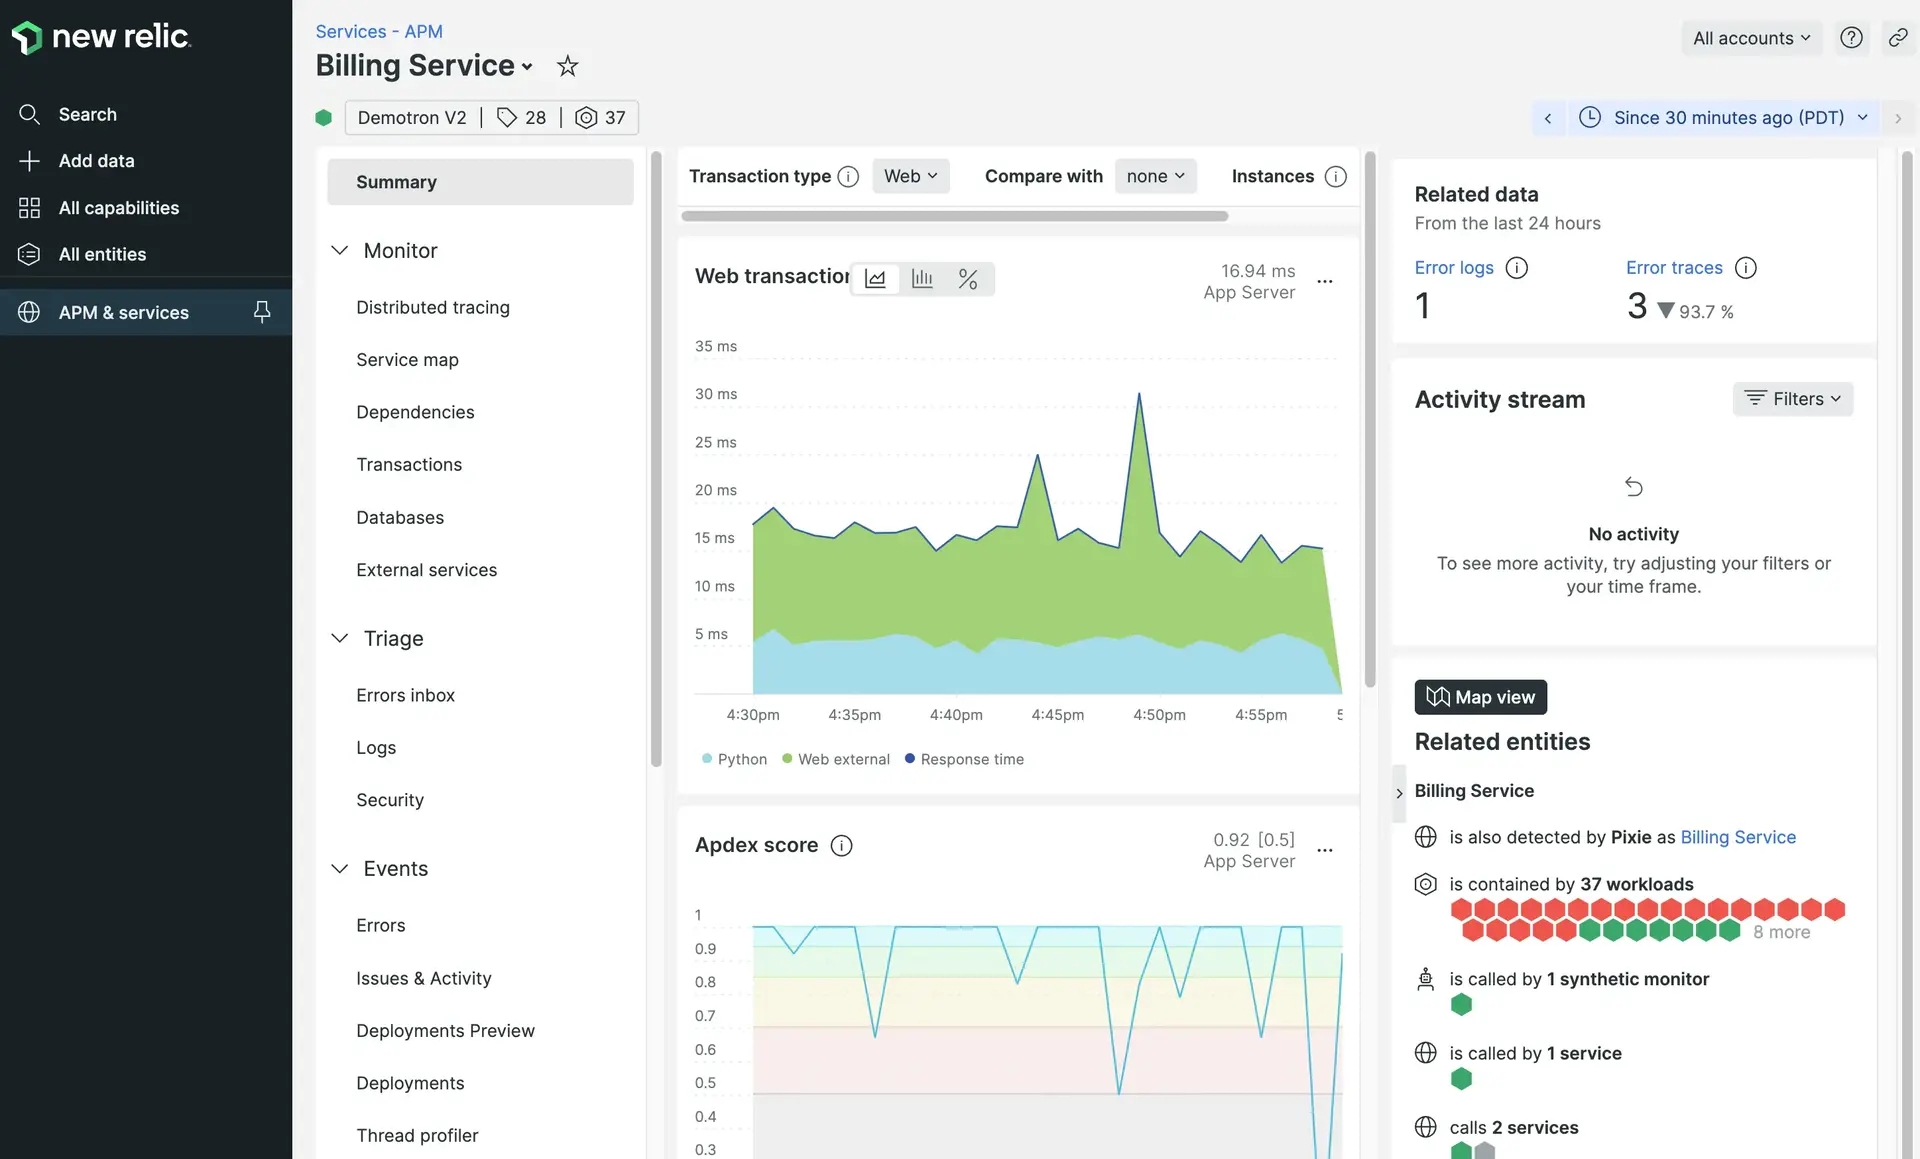
Your application must receive traffic in order for you to view its performance in New Relic. You may need to wait a few minutes for data to start appearing. If no data appears, see the troubleshooting procedures for Azure Cloud Services. To view your app's performance in APM: Go to one.newrelic.com > All capabilities > APM & services > (select an app). The APM Summary page automatically appears.

Did this doc help with your installation?

Copyright © 2024 New Relic Inc.

This site is protected by reCAPTCHA and the Google Privacy Policy and Terms of Service apply.