Syntheticsモニタリングを使用すると、アプリを監視しテストできるので、エンドユーザーに影響が生じる前に問題に対処できます。そのフルパワーを活用するための5つのヒントを以下にご紹介します。
Syntheticモニターの選択
Syntheticsモニターは、ウェブサイトのパフォーマンスを測定し、読み込み時間、稼働時間、平均ダウンロードサイズの集計値をキャプチャする仮想ブラウザです。また、ダウンタイムインシデントと各ページリソースに関する詳細な統計情報にもアクセスできます。
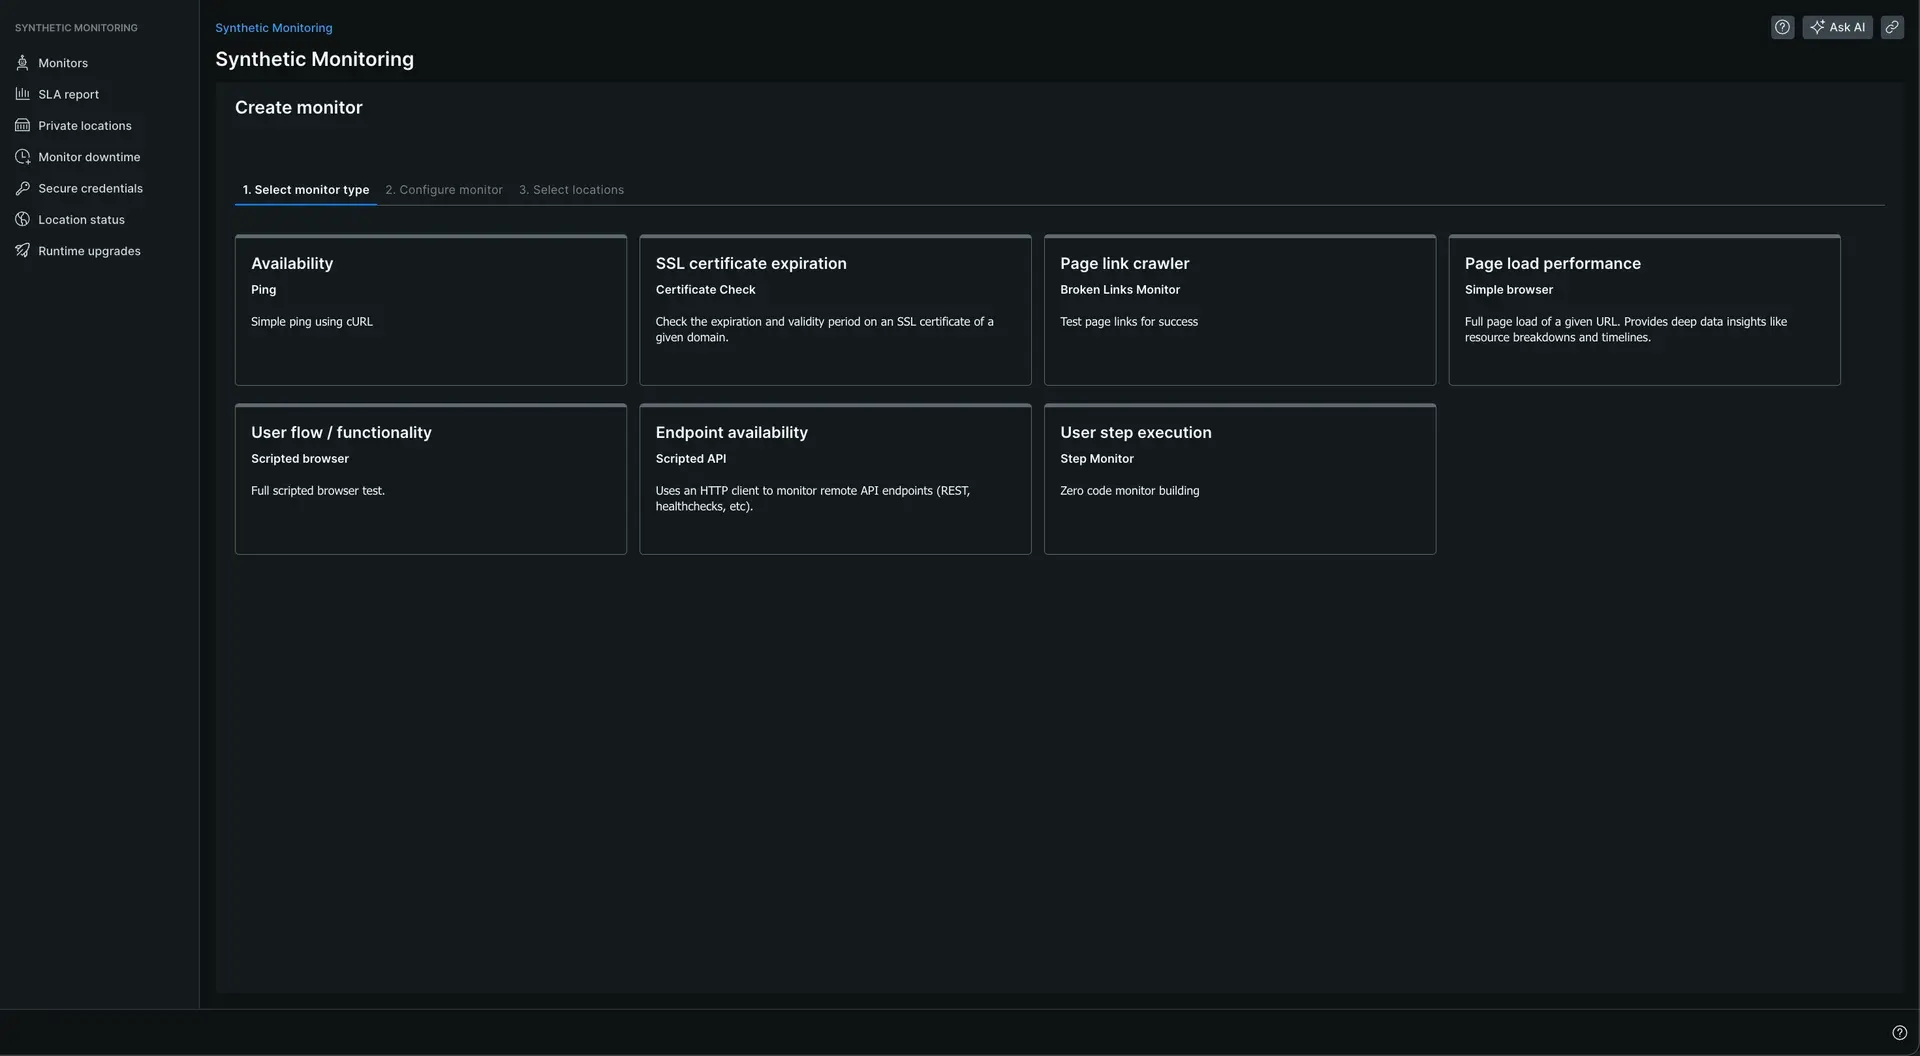
モニターの対象と方法に応じて、7種類のSyntheticモニターから選択できます。たとえば、ステップモニターは、コードを記述せずにスクリプト化されたブラウザとして、本質的に機能するものを作成するための優れた方法です。Syntheticモニターの自動管理をお探しの場合は、当社のNerdGraph APIを使用すると、API呼び出しを通じてSyntheticモニターを作成、更新、削除できます。
Syntheticモニターを追加する
モニターを追加するには、one.newrelic.com > All capabilities > Synthetic Monitoringの順に移動します。
EUベースのアカウントがある場合は、 one.eu.newrelic.comに移動します。
Create monitorをクリックします。

モニタータイプを選択し、すべての必須フィールドに入力します。
タグの追加、期間の変更、複数のブラウザやエミュレートされたデバイスの設定からの選択、または別のランタイムバージョンの選択ができます。pingおよび単純なブラウザモニターでは、検証文字列を追加できます。また、高度なオプションを使用して追加機能を有効にすることができます。
- Text validation (for ping and simple browser). このオプションは、指定されたテキストが応答に含まれていることを確認します。
- Verify SSL (for ping and simple browser). このオプションは、SSL証明書チェーンの有効性を検証します。次の構文を実行することによって複製することができます。
bash$openssl s_client -servername {YOUR_HOSTNAME} -connect {YOUR_HOSTNAME}:443 -CApath /etc/ssl/certs > /dev/null
- Bypass HEAD request (for ping monitors). このオプションは、デフォルトのHEADリクエストをスキップし、その代わりにpingチェックを含むGET動詞を使用します。HEADリクエストが失敗した場合、GETリクエストは常時発生します。
- Redirect is Failure (for ping).
Redirect is Failureが有効になっているときにリダイレクト結果が発生すると、Syntheticsモニターはリダイレクトにしたがって、結果のURLをチェックするのではなく、結果をエラーとして分類します。
- モニターを実行するロケーションを選択します。誤検出を避けるために、少なくとも3つの場所を選択するようにしてください。つまり、少なくとも1つの場所が成功した結果を返す場合、エンドポイントは稼働しており、アラートのトリガーを回避できます。
- モニターの種類に応じて、Save monitor、 Validate、Write scriptのいずれかを行うよう求められます。
- 結果を受け取ったら、概要ページで表示します。
アプリケーションのパフォーマンスの全体像を把握
アプリケーションのパフォーマンス結果を継続的に確認して、ウェブサービスが適切に機能し、期待どおりに動作し、エラーが発生しないようにする必要があります。外形監視では、選択した場所ごとにウェブアプリケーションで自動テストを実行することで確実にします。Syntheticsモニターは、ダウンタイムインスタンスを記録し、各ページリソースの集計数、結果、および詳細な統計情報を収集します。
モニターの障害をすばやく検出するには、Syntheticモニターページのインデックスページを使用して、未解決のインシデントがあるモニター、24時間にわたる成功率、障害が発生した場所の数、モニター期間、モニタータイプを確認できます。モニターをクリックすると、概要ページが表示され、特定のモニターがどこで故障しているか、なぜ故障しているか(最後のエラーメッセージ、エラーレスポンスコード、ドメイン別の期間)などを評価するための情報が見つかります。この情報により、経時的なアプリケーションのパフォーマンスに関する深い洞察が提供されます。
モニターをエンティティのリストで表示する
個々のモニター結果の表示
世界中のさまざまな地域からアクセスされるウェブアプリのパフォーマンスを確認できます。結果ページには、開発から本番までのすべてがユーザー体験にいかに影響するかが表示されます。リストされているものを並べ替えて、問題のある領域や異常結果を特定できます。場所別にフィルタリングして、さまざまな場所からのモニターのパフォーマンスを比較してみてください。これを行うには、以下を実行します。
one.newrelic.com > All capabilities > Synthetic Monitoringに移動します。
Monitorをクリックし、Resultsをクリックします。
監視対象の各場所に対して、最も遅いページロードの最新のビューを表示できます。
各リソースのロードタイムへの影響を把握
Syntheticsリソースページでは、サイトのさまざまなコンポーネントが全体的な負荷にどのような影響を与えるかを確認できます。これらのコンポーネントには、CSS、JavaScript、画像、HTMLなどがあります。 ランタイムに収集される詳細なメトリクスを掘り下げて調べ、サードパーティリソースによって費やされる時間に関するパフォーマンス情報を検出し、各リソースのHTTP応答コードを特定することができます。これを行うには、以下を実行します。
- one.newrelic.comに移動し、次にSynthetic Monitoringをクリックします。
- Monitorsドロップダウンメニューから、モニターを選択します。
- Monitorをクリックし、Resourcesをクリックします。
スクリプト化されたブラウザまたはスクリプト化されたAPIテストを設定して開発する
スクリプト化ブラウザモニターを使用すると、 Selenium JavaScript Webdriverで監視ワークフローを簡単に構築できます。たとえば、特定のページに移動し、ページ上の要素を見つけ、期待したテキストが見つかったことを確認し、スクリーンショットを撮ることができます。これを行うには、以下を実行します。
one.newrelic.com > All capabilities > Synthetic Monitoringに移動します。
Create monitorボタンをクリックします。
Scripted browserモニタータイプを選択します。
名前を入力し、実行時間を選択し、モニターの期間を選択します。
モニターを実行する場所を選択します。たとえば、ムンバイ、ソウル、コロンバス、モントリオールなどです。
これでスクリプトを記述する準備ができました。
newrelic.comのパフォーマンスをテストし、特定の要素が読み込まれたかどうかを確認するには、このサンプルスクリプトを参照してください。/*** Script Name: Best Practices Example - Chrome 100+* Author: New Relic* Version: 1.0* Purpose: A simple New Relic Synthetics scripted browser monitor to navigate to a page, find an element, and assert on expected text.*/// -------------------- DEPENDENCIESconst assert = require("assert")// -------------------- CONFIGURATIONconst PAGE_URL = "https://docs.newrelic.com/docs/synthetics/synthetic-monitoring/scripting-monitors/synthetic-scripted-browser-reference-monitor-versions-chrome-100/"const TEXT_TO_CHECK = "Synthetic scripted browser reference (Chrome and Firefox)"// Set timeouts for page load and element findingawait $webDriver.manage().setTimeouts({pageLoad: 30000, // 30 seconds for page load timeoutimplicit: 5000, // 5 seconds for element finding timeout})// -------------------- START OF SCRIPTconsole.log("Starting simplified synthetics script")// Navigate to the pageconsole.log("Navigating to: " + PAGE_URL)await $webDriver.get(PAGE_URL)// Find the element with the specified textconst By = $selenium.Byconst textElement = By.className("css-v50zng")console.log("Checking for presence of element with text: " + TEXT_TO_CHECK)const element = await $webDriver.findElement(textElement)const text = await element.getText()// Assert the text is presentconsole.log("Found text: " + text)assert.equal(text, TEXT_TO_CHECK, "Expected text not found on the page")// Take a screenshotconsole.log("Taking screenshot")await $webDriver.takeScreenshot()console.log("Script completed successfully")スクリプト化されたAPIモニターを使用すると、Node.jsと
gotモジュールで監視ワークフローを簡単に構築できます。たとえば、APIを使用して認証し、応答コードをアサートすることができます。one.newrelic.com > All capabilities > Synthetic Monitoringに移動します。
Create monitorボタンをクリックします。
Scripted APIモニタータイプを選択します。
名前を入力し、実行時間を選択し、モニターの期間を選択します。
モニターを実行する場所を選択します。たとえば、ムンバイ、ソウル、コロンバス、モントリオールなどです。
これでスクリプトを記述する準備ができました。APIリクエストを作成して応答を処理するこのサンプルスクリプトを参照してください。
/*** Script Name: Best Practices Example - Node 16.10.0* Author: New Relic* Version: 1.0* Purpose: A simple New Relic Synthetics scripted API monitor to make a GET request and assert on statusCode.*/const assert = require("assert")// Get secure credentialsconst applicationId = $secure.APP_IDconst apiKey = $secure.API_KEY// The URL for the API endpoint to get information about a specific applicationconst URL = `https://api.newrelic.com/v2/applications/${applicationId}.json`// Define headers, including the API key for authenticationconst headers = {"X-Api-Key": apiKey,}// Make a GET request$http.get({ url: URL, headers: headers }, function (error, response, body) {// If error handling is needed, check if an error occurred during the request// if (error) {// console.error("An error occurred:", error);// Handle the error as needed, or rethrow to fail the monitor// throw error;// }// Assert the response status code is 200assert.equal(response.statusCode, 200, "Expected HTTP status code 200")// Log the status code to the consoleconsole.log("Request Status Code:", response.statusCode)// If further processing of the response body is needed, it can be done here// For example, parsing JSON response (if response is in JSON format)// const jsonData =// typeof body === "string"// ? JSON.parse(body)// : body// Log the parsed JSON to the console// console.log("Parsed JSON data:", jsonData)// Check the application's health status// const healthStatus = jsonData.application.health_status// assert.equal(healthStatus, "green", "Expected the application's health status to be 'green'")// If the assertion passes, the script will continue; otherwise, it will fail the monitor})
