The New Relic Kubernetes integration gives you full observability into the health and performance of your environment by leveraging the New Relic infrastructure agent. This agent collects telemetry data from your cluster using several New Relic integrations such as the Kubernetes events integration, the Prometheus Agent, and the New Relic Logs Kubernetes plugin.
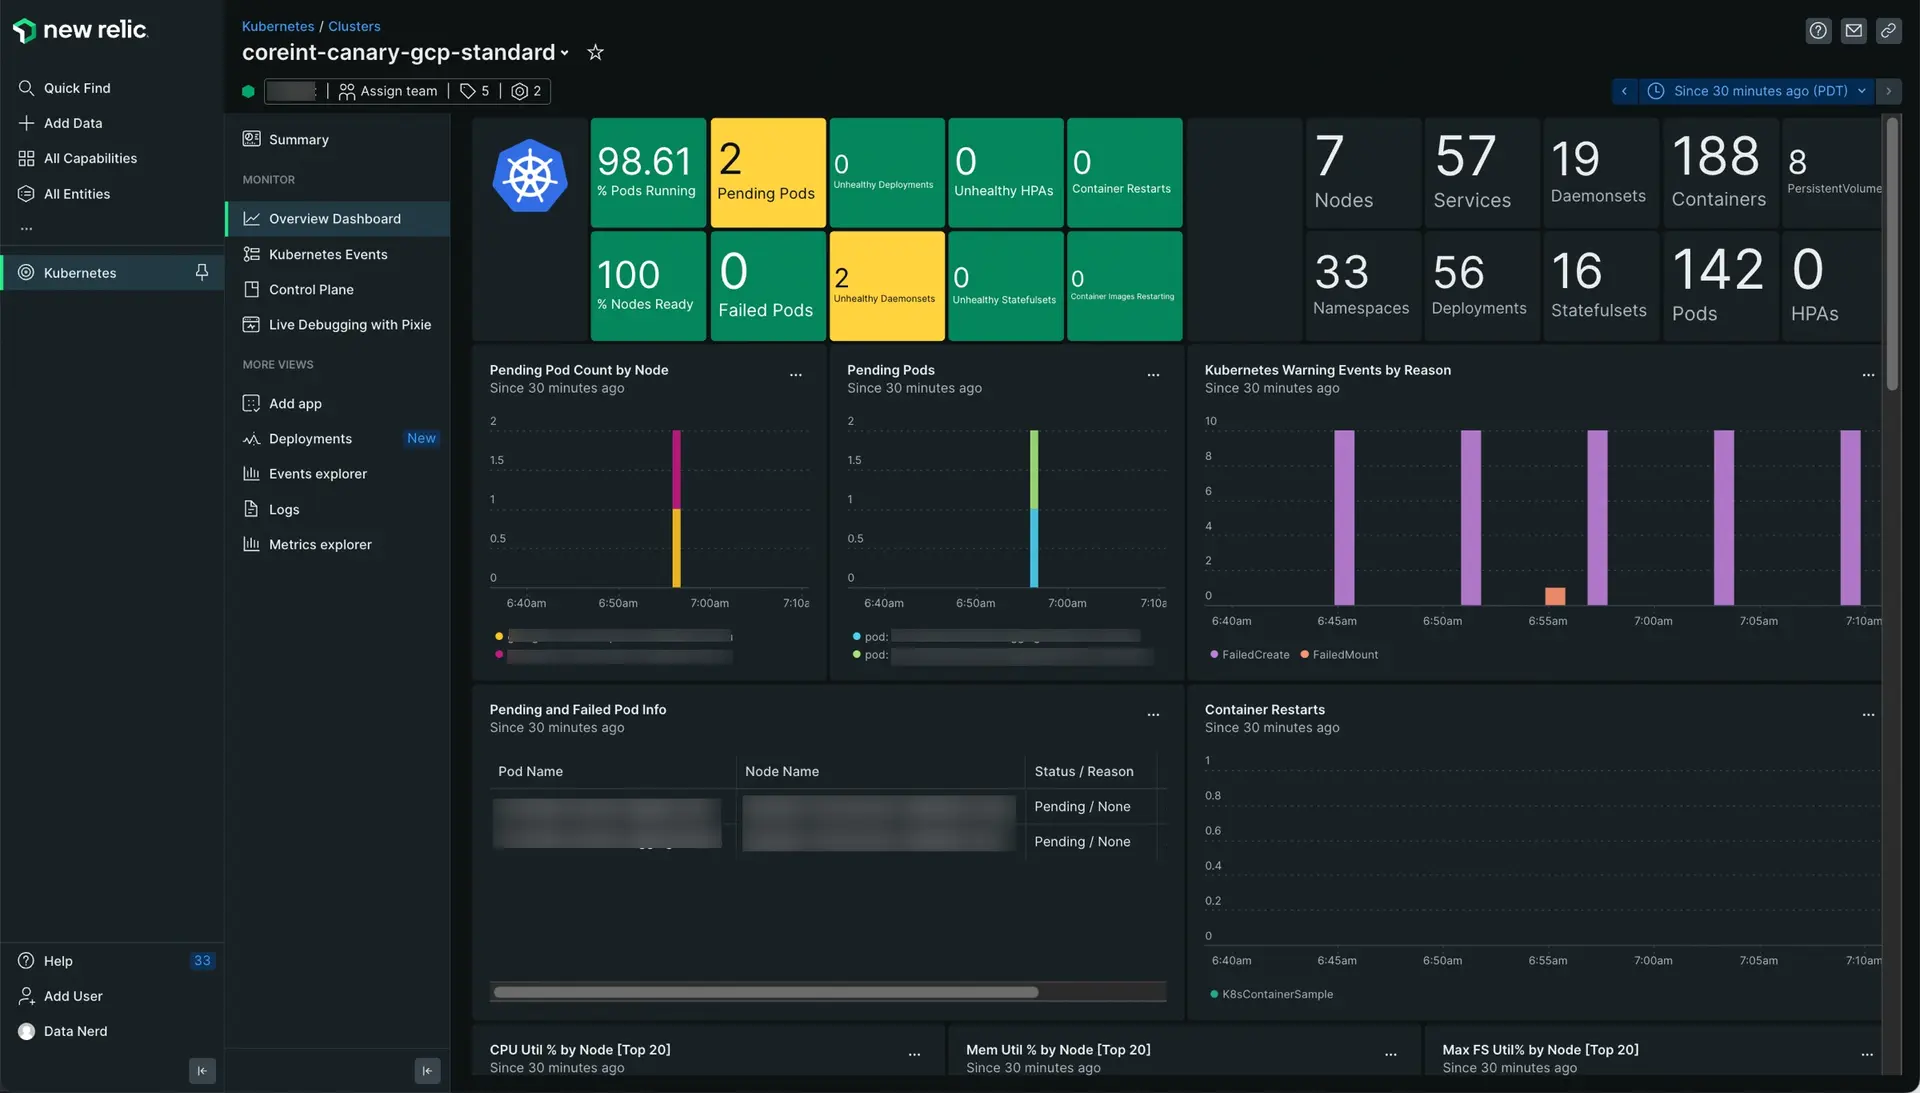
To install our Kubernetes integration, we recommend that you follow the instructions here for our guided install. We recommend this interactive installation tool for servers, VMs, and unprivileged environments.
Ways to integrate
Integration
When to use
Install
Guided install (recommended)
Guided install guides you through the integration process with either a Helm command with the required values filled, or a plain manifest if you don't want to use Helm. It gives you control over which features are enabled and which data is collected.
It also offers a quickstart option that includes some optional, pre-built resources such as dashboards and alerts alongside the Kubernetes integration so that you can gain instant visibility into your Kubernetes clusters.
Guided install with quickstart: Your New Relic organization does not use the EU data center, and you also want to install some bonus dashboards and alerts from the quickstart.
Guided install: Your New Relic organization does not use the EU data center.
This option is not recommended, as the guided install will prompt for some configuration options and autopopulate secrets and values for you. Additionally, our guided install also allows installing our integration as plain manifests rather than a Helm release.
When monitoring Kubernetes workloads on EKS Fargate. This integration automatically injects a sidecar containing the infrastructure agent and the nri-kubernetes integration in each pod that needs to be monitored.
Kubernetes operators help manage these complex applications by abstracting those Kubernetes resources into a set of custom configurations, or custom resources.
This reduces the burden on you as a user, as you would only need to interface with the custom resources to manage the application. You can then rely on the operator to deploy, upgrade, and manage the application for you.
Follow the instructions in the operator doc and refer back to this doc as needed.
The remainder of this doc will cover the guided install process.
Guided install
Take a look at the following to make sure you're ready:
If custom manifests have been used instead of Helm, you will need to first remove the old installation using kubectl delete -f previous-manifest-file.yml, and then proceed through the guided installer again. This will generate an updated set of manifests that can be deployed using kubectl apply -f manifest-file.yml.
Make sure you're using the supported Kubernetes versions and make sure to check out the preliminary notes for your managed services or platforms on our compatibility and requirements page.
Make sure you have New Relic . You can set up an account that's free—no credit card required.
Make sure the newrelic dockerhub (https://hub.docker.com/u/newrelic) and Google's registry (registry.k8s.io) domains are added to your allow list. This is where the installation will pull container images from. Note, you may need to follow the commands to identify the additional Google registry domains to be added to your white list, because registry.k8s.io typically redirects to your local registry domain (e.g., asia-northeast1-docker.pkg.dev) based on your region.
If you're installing our integration on a managed cloud, please take a look at these preliminary notes before proceeding:
The Kubernetes integration only monitors worker nodes into Amazon EKS as Amazon abstracts the management of master nodes away from the Kubernetes platform.
Before using our guided install to deploy the Kubernetes integration in Amazon EKS, make sure to install eksctl, the command line tool for managing Kubernetes clusters on Amazon EKS.
The Kubernetes integration only monitors worker nodes in GKE as Google abstracts the management of master nodes away from the Kubernetes platform.
Before starting our guided install to deploy the Kubernetes integration on GKE, ensure you have sufficient permissions:
Ensure you have permissions to create Roles and ClusterRoles: If you're not sure, add the Kubernetes Engine Cluster Admin role. If you cannot edit your user role, ask the owner of the GCP project to give you the necessary permissions.
To deploy the Kubernetes integration with OpenShift:
If you're using signed certificates, make sure they are properly configured by using the following variables in the DaemonSet portion of your manifest. Set the .pem file:
env:
-name: NRIA_CA_BUNDLE_DIR
value: YOUR_CA_BUNDLE_DIR
-name: NRIA_CA_BUNDLE_FILE
value: YOUR_CA_BUNDLE_NAME
Set your YAML key path to spec.template.spec.containers.name.env.
Save your changes.
The Kubernetes integration only monitors worker nodes in the Azure Kubernetes Service as Azure abstracts the management of master nodes away from the Kubernetes platform.
Navigating the Kubernetes integration guided install
Once you start the guided install, use the following information to help you make decisions about the configurations.
Tip
The steps that follow skip the preliminary steps for the quickstart. If you chose the guided install with the quickstart, just click through the pages Confirm your Kubernetes quickstart installation and Installation plan to reach the main guided install pages described below.
Step 1 of 3
On the page Configure the Kubernetes Integration complete the following fields:
Field
Description
We'll send your data to this account
Choose the New Relic account that you want your Kubernetes data written to.
Cluster name
Cluster name is the name we will use to tag your Kubernetes data with so that you can filter for the data specific to the cluster you're installing this integration in. This is important if you choose to connect multiple clusters to your New Relic account so choose a name that you'll recognize.
Namespace for the integration
Namespace for the integration is the namespace we will use to house the Kubernetes integration in your cluster. We recommend using the default namespace of newrelic.
Step 2 of 3
On the page Select the additional data you want to gather, choose the options that are right for you:
Scrape Prometheus endpoints
By selecting this option, we will install Prometheus in agent mode to collect metrics from the Prometheus endpoints exposed in your cluster. Expand the collapsers to see details about each option:
We recommend this configuration because various other components of the Kubernetes integration, such as kube-state-metrics, newrelic-infrastructure, and nri-prometheus will already collect these metrics and configuring Prometheus to exclude those metrics will save your data ingest costs by removing any metric redundancies.
Select Scrape all Prometheus endpoints if you prefer to preserve Prometheus' metric naming conventions across all Prometheus metrics regardless of any metric redundancies.
New Relic provides quickstarts, which are pre-made dashboards, alerts, and entities for various services. Select this option to have Prometheus only scrape for services which have a pre-made quickstart and are ready to go for instant observability.
Here's an example from newrelic-prometheus-configurator/charts/newrelic-prometheus-agent/values.yaml showing in the app_values field which services will be scraped for the Prometheus quickstart option:
kubernetes:
# NewRelic provides a list of Dashboards, alerts and entities for several Services. The integrations_filter configuration
# allows to scrape only the targets having this experience out of the box.
# If integrations_filter is enabled, then the jobs scrape merely the targets having one of the specified labels matching
# one of the values of app_values.
# Under the hood, a relabel_configs with 'action=keep' are generated, consider it in case any custom extra_relabel_config is needed.
integrations_filter:
# -- enabling the integration filters, merely the targets having one of the specified labels matching
# one of the values of app_values are scraped. Each job configuration can override this default.
enabled:true
# -- source_labels used to fetch label values in the relabel config added by the integration filters configuration
You'll find this option useful if you're an advanced user who has a good idea of what services you want to see Prometheus metrics from. Enter a comma-separated list of services you want Prometheus to scrape, and Prometheus will perform a wildcard match on the service name in order to find you metrics from your desired endpoint.
This option will only provide metrics from the services that match the submitted list, so be careful to validate the entry for correctness. To learn more about custom app labels, see Advanced configuration for the Prometheus agent.
The services you add to the submitted list will overwrite the data in app_values below, and Prometheus will only scrape metrics from those services.
Here is an example from newrelic-prometheus-configurator/charts/newrelic-prometheus-agent/values.yaml:
kubernetes:
# NewRelic provides a list of Dashboards, alerts and entities for several Services. The integrations_filter configuration
# allows to scrape only the targets having this experience out of the box.
# If integrations_filter is enabled, then the jobs scrape merely the targets having one of the specified labels matching
# one of the values of app_values.
# Under the hood, a relabel_configs with 'action=keep' are generated, consider it in case any custom extra_relabel_config is needed.
integrations_filter:
# -- enabling the integration filters, merely the targets having one of the specified labels matching
# one of the values of app_values are scraped. Each job configuration can override this default.
enabled:true
# -- source_labels used to fetch label values in the relabel config added by the integration filters configuration
"message":"[2021/09/14 12:30:49] [ info] [engine] started (pid=1)\n",
"plugin":{
"source":"kubernetes",
"type":"fluent-bit",
"version":"1.8.1"
},
"stream":"stderr",
"time":"2021-09-14T12:30:49.138824971Z",
"timestamp":1631622649138
}
]
If you want to prioritize data ingest costs, you can choose to gather log data with minimal enrichment, also known as low data mode. This option drops labels and annotations from your logs and only shares standard Kubernetes log data such as the name of the cluster, container, namespace, and pod, along with the message and timestamp.
When selecting the minimal enrichment mode, only the following log attributes are retained: cluster_name, container_name, namespace_name, pod_name, stream, message and log.
Here's an example of a log with minimal data enrichment:
[
{
"cluster_name":"api-test",
"container_name":"newrelic-logging",
"namespace_name":"nrlogs",
"pod_name":"nri-bundle-newrelic-logging-jxnbj",
"message":"[2021/09/14 12:30:49] [ info] [engine] started (pid=1)\n",
"stream":"stderr",
"timestamp":1631622649138
}
]
Enable service-level insights, full-body requests, and application profiles through Pixie
Pixie is an open source observability tool for Kubernetes applications that uses eBPF to automatically collect telemetry data. If you don't have Pixie installed on your cluster, but want to leverage Pixie's powerful telemetry data collection and visualization on the New Relic platform, check Enable service-level insights, full-body requests, and application profiles through Pixie.
If you're already using Community Cloud, select Community Cloud hosted Pixie is already running on this cluster. Keep the following in mind about the different ways Pixie can be hosted. New Relic provides a different level of integration support for each Pixie hosting option.
If you're already leveraging Pixie's Community Cloud, you can provide an API key to connect Pixie to New Relic. This approach will embed Pixie's live UI into your New Relic account for easy access (via Pixie's Live Debugging tool), as well as write Pixie data into New Relic through the New Relic OpenTelemetry endpoint.
If you're using Pixie with a self-hosted Pixie Cloud, you can also connect Pixie to New Relic. This approach will enable the export of Pixie telemetry data into New Relic via the OpenTelemetry endpoint for long-term data retention and visibility. Unfortunately, if you're self-hosting your Pixie Cloud, New Relic does not support embedding Pixie's Live UI.
If you're self-hosting Pixie Cloud and would like to enable the export of Pixie telemetry data into New Relic, simply enable Pixie in the Kubernetes Integration without checking the Community Cloud hosted Pixie option. The Kubernetes Integration will detect that Pixie is running in your cluster and enable the data export for instant data visibility and insight.
Step 3 of 3
Finalize the Kubernetes installation setup by choosing one of the following installation methods in the last step of the guided install:
Guided Install (recommended): This option will automatically download and use the newrelic-cli CLI to install and configure the Kubernetes integration.
Helm 3: Use this option if you prefer using Helm to install and configure the Kubernetes integration. This option installs the nri-bundle Helm chart, which you can further configure with the options described here. This is also where you can enable the New Relic operator.
Manifest: Select this option if you prefer generating a Kubernetes manifest in YAML format and manually installing it with kubectl.