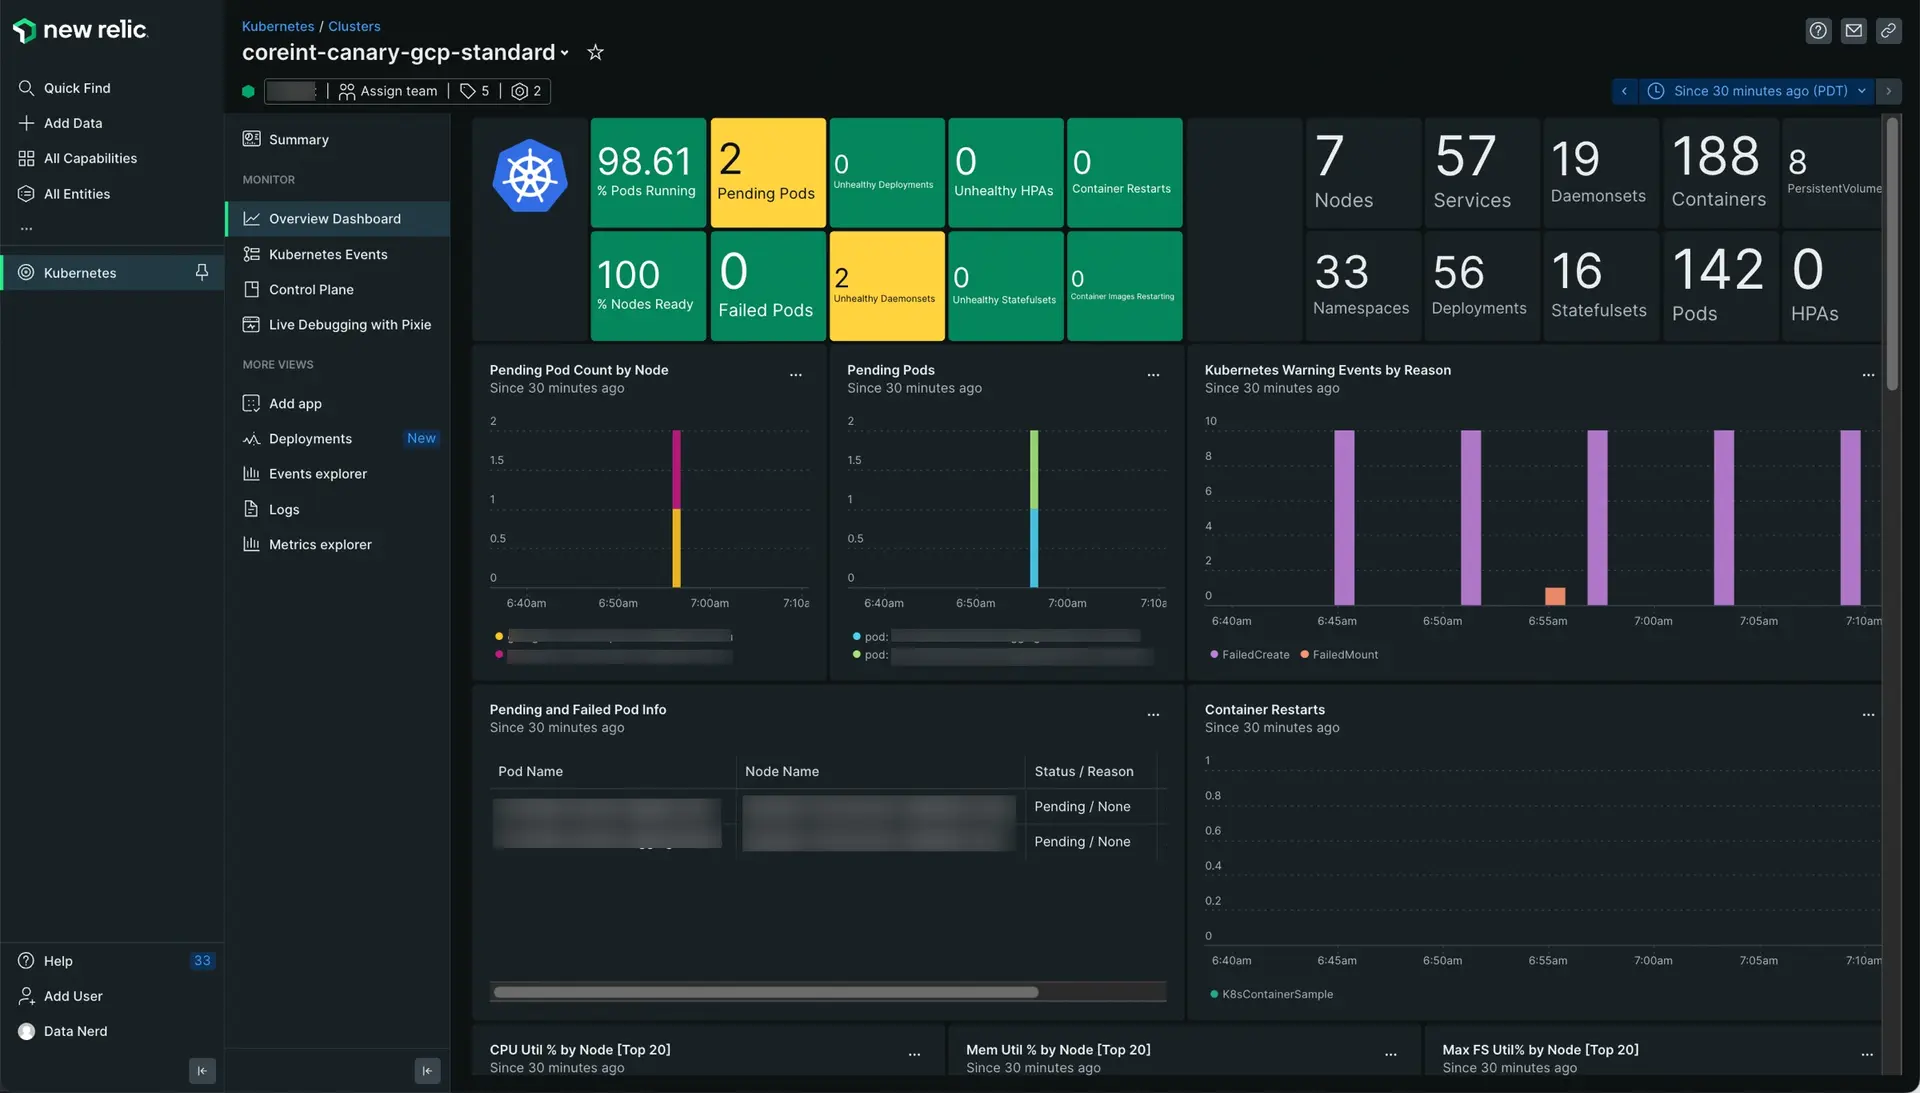
The easiest way to install the Kubernetes integration is to use our automated installer to generate a manifest. It bundles not just the integration DaemonSets, but also other New Relic Kubernetes configurations, like Kubernetes events, Prometheus OpenMetrics, and New Relic log monitoring.
Tip
To use Kubernetes integrations and infrastructure monitoring, as well as the rest of our observability platform, join the New Relic family! Sign up to create your free account in only a few seconds. Then ingest up to 100GB of data for free each month. Forever.
Use automated installer
You can use the automated installer for servers, VMs, and unprivileged environments. The installer can also help you with managed services or platforms after you review a few preliminary notes. We also have separate instructions if you need a custom manifest or prefer to do a manual unprivileged installation.
If your New Relic account is in the EU region, access the installer from one.eu.newrelic.com.
Installs for managed services and platforms
Before starting our automated installer, check out these notes for your managed services or platforms:
Custom manifest
If the Kubernetes automated installer doesn't provide the settings you need, you can download our manifest template and install the integration manually.
To activate the Kubernetes integration, you must deploy the newrelic-infra
agent onto a Kubernetes cluster as a DaemonSet
:
Install kube-state-metrics and get it running on the cluster. For example:
curl -L -o kube-state-metrics-1.9.5.zip https://github.com/kubernetes/kube-state-metrics/archive/v1.9.5.zip && unzip kube-state-metrics-1.9.5.zip && kubectl apply -f kube-state-metrics-1.9.5/examples/standard
Download the manifest file:
curl -O https://download.newrelic.com/infrastructure_agent/integrations/kubernetes/newrelic-infrastructure-k8s-latest.yamlIn the
DaemonSet
portion of your manifest, add your New Relic license key and a cluster name to identify your Kubernetes cluster. Both values are required.- Recommendation: Do not change the
NRIA_PASSTHROUGH_ENVIRONMENT
orNRIA_DISPLAY_NAME
value in your manifest. YOUR_CLUSTER_NAME
is your cluster’s id in New Relic Explorer. It doesn’t need to match the name of the cluster running in your environment.- YAML key path:
spec.template.spec.containers.name.env
env: - name: NRIA_LICENSE_KEY value: YOUR_LICENSE_KEY - name: CLUSTER_NAME value: YOUR_CLUSTER_NAME
- Recommendation: Do not change the
If you need to adapt the manifest to fit your environment, review the configure section in this doc.
Confirm that
kube-state-metrics
is installed.kubectl get pods --all-namespaces | grep kube-state-metricsCreate the
DaemonSet
:kubectl create -f newrelic-infrastructure-k8s-latest.yamlConfirm that the
DaemonSet
has been created successfully by looking fornewrelic-infra
in the results generated by this command:kubectl get daemonsets
To confirm that the integration is working: wait a few minutes, then look for data in the New Relic Kubernetes cluster explorer.
If you don't see data, review the configuration procedures again, then follow the troubleshooting procedures.
Important
In the future, the number of labels collected on Kubernetes objects will be limited per object type (containers, pods, nodes, etc.). If objects have labels above the limit, you will be able to configure important labels that should always be sent to New Relic. When the limitation is in place, this documentation will be updated.
Make sure New Relic pods can be scheduled
Some of the New Relic pods are set up as DaemonSet
in the manifest file so that they can run on every host. These include newrelic-infrastructure
and newrelic-logging
. In rare circumstances, other pods may be scheduled first and starve the New Relic pods of resources. Since each of these pods have to run on a specific host, they will stay in pending status until that host has enough resources, even if there are other hosts available. This could end up occurring for long periods of time and result in reporting gaps.
To prevent this scenario, you can configure the Kubernetes scheduler to give New Relic pods a higher priority. Using the default scheduler:
Ensure
kube-scheduler
flagdisablePreemption
is not set totrue
(by default it isfalse
).Create a PriorityClass for the New Relic
DaemonSet
pods:- Set the appropriate priority value, which should generally be higher than your other pods.
preemptionPolicy
is set toPreemptLowerPriority
by default. This allows New Relic pods assigned this priority class to remove lower-priority pods that are taking up resources.
Edit the manifest file to add
priorityClassName
to anyDaemonSet
specs. In the example below, the highlighted line sets the priority class fornewrelic-infrastructure
:apiVersion: apps/v1 kind: DaemonSet metadata: namespace: default labels: app: newrelic-infrastructure chart: newrelic-infrastructure-1.0.0 release: nri-bundle mode: privileged name: nri-bundle-newrelic-infrastructure spec: priorityClassName: your-priority-class ...
If you have already deployed the New Relic pods, re-deploy them and confirm they have been created:
kubectl delete -f newrelic-infrastructure-k8s-latest.yamlkubectl create -f newrelic-infrastructure-k8s-latest.yamlkubectl get daemonsets
Unprivileged installs of the Kubernetes integration
For platforms that have stringent security requirements, we provide an unprivileged version of the Kubernetes integration. Changes from the standard Kubernetes integration are:
- Runs the infrastructure agent and the Kubernetes integration as a standard user instead of root
- No access to the underlying host filesystem
- No access to
/var/run/docker.sock
- Container's root filesystem mounted as read-only
allowPrivilegeEscalation
is set tofalse
hostnetwork
is set tofalse
The tradeoff is that the solution will only collect metrics from Kubernetes, but it will not collect any metric from the underlying hosts directly. Kubernetes provides some data (metrics and metadata) about its nodes (hosts).
Tip
Optional: To collect the underlying host metrics, the non-containerized infrastructure agent can be deployed on the underlying host. The infrastructure agent already supports running as non-root. The combination of the Kubernetes integration in its unprivileged version and the agent running on the host will report all the metrics that our standard solution for monitoring Kubernetes receives.
Configure the integration
The Kubernetes integration comes with a default configuration that should work in most environments. To change the configuration, modify the manifest file:
Here are some additional configurations to consider:
- Do more configuration for control plane monitoring
- Link New Relic APM to the Kubernetes integration
- Monitor services that run on Kubernetes
Configure the infrastructure agent
The Kubernetes integration image comes with a default configurations for the agent that can be modified if needed. When installing with the manifest, you can modify the infrastructure agent configuration by editing the manifest and adding any needed configuration option of the agent as environment variables of the newrelic-infrastructure
DaemonSet.
When installing with Helm, you can specify the needed infrastructure agent configuration options in the values.yaml
as shown in the example in GitHub.
The config
object is used to populate the configMap
that is mounted automatically in the location of the infrastructure agent configuration file in the pods created by the newrelic-infrastructure
DaemonSet.
Update to the latest version
Using the automated installer
To update a Kubernetes integration installed with the automated installer, just run the installer again. It will always offer a manifest pointing to the last released version of the integration.
Using helm
See Install the Kubernetes integration using Helm
Custom manifest
If you are already running the Kubernetes integration and want to update the newrelic-infra
agent to the latest agent version:
Run this NRQL query to check which version you are currently running (this will return the image name by cluster):
SELECT latest(containerImage) FROM K8sContainerSample WHERE containerImage LIKE '%newrelic/infrastructure%' FACET clusterName SINCE 1 day ago
If you've set a name other than
newrelic/infrastructure
for the integration's container image, the above query won't yield results: to make it work, edit the name in the query.Download the integration manifest file:
curl -O https://download.newrelic.com/infrastructure_agent/integrations/kubernetes/newrelic-infrastructure-k8s-latest.yamlCopy the changes you made to the manifest. At a minimum, include
CLUSTER_NAME
andNRIA_LICENSE_KEY
, and paste your changes in the manifest you downloaded.Install the latest
DaemonSet
with the following command (Kubernetes will automatically do a rollout upgrade for the integration's pods):kubectl apply -f newrelic-infrastructure-k8s-latest.yaml
Uninstall the Kubernetes integration
To uninstall the Kubernetes integration:
Verify that
newrelic-infrastructure-k8s-latest.yaml
corresponds to the filename of the manifest as you have saved it.Example: If you are using the unprivileged version of the integration, the default filename will be
newrelic-infrastructure-k8s-unprivileged-latest.yaml
.After you verify the filename, use the following command:
kubectl delete -f newrelic-infrastructure-k8s-latest.yaml
You only need to execute this command once, regardless of the number of nodes in your cluster.
For more help
If you need more help, check out these support and learning resources:
- Browse the Explorers Hub to get help from the community and join in discussions.
- Find answers on our sites and learn how to use our support portal.
- Run New Relic Diagnostics, our troubleshooting tool for Linux, Windows, and macOS.
- Review New Relic's data security and licenses documentation.