The change tracking feature allows you to designate changes you want to monitor to see how they affect your customers and systems. While you can designate which changes you want to monitor by using GraphQL or our CLI, you can also record changes using pipelines in Jenkins.
A pipeline will call whatever build you specify and also pass additional environment variables to the build process. This populates the data that is needed for your deployment to show up in charts across New Relic. You'll see the results in the change tracking UIs, and you can use this information to understand the impact of changes on entity health.
Prerequisites
To install the Jenkins plugin, you'll need:
- Jenkins 1.580.1 or newer
- Jenkins administrator privileges
Install the Jenkins plugin
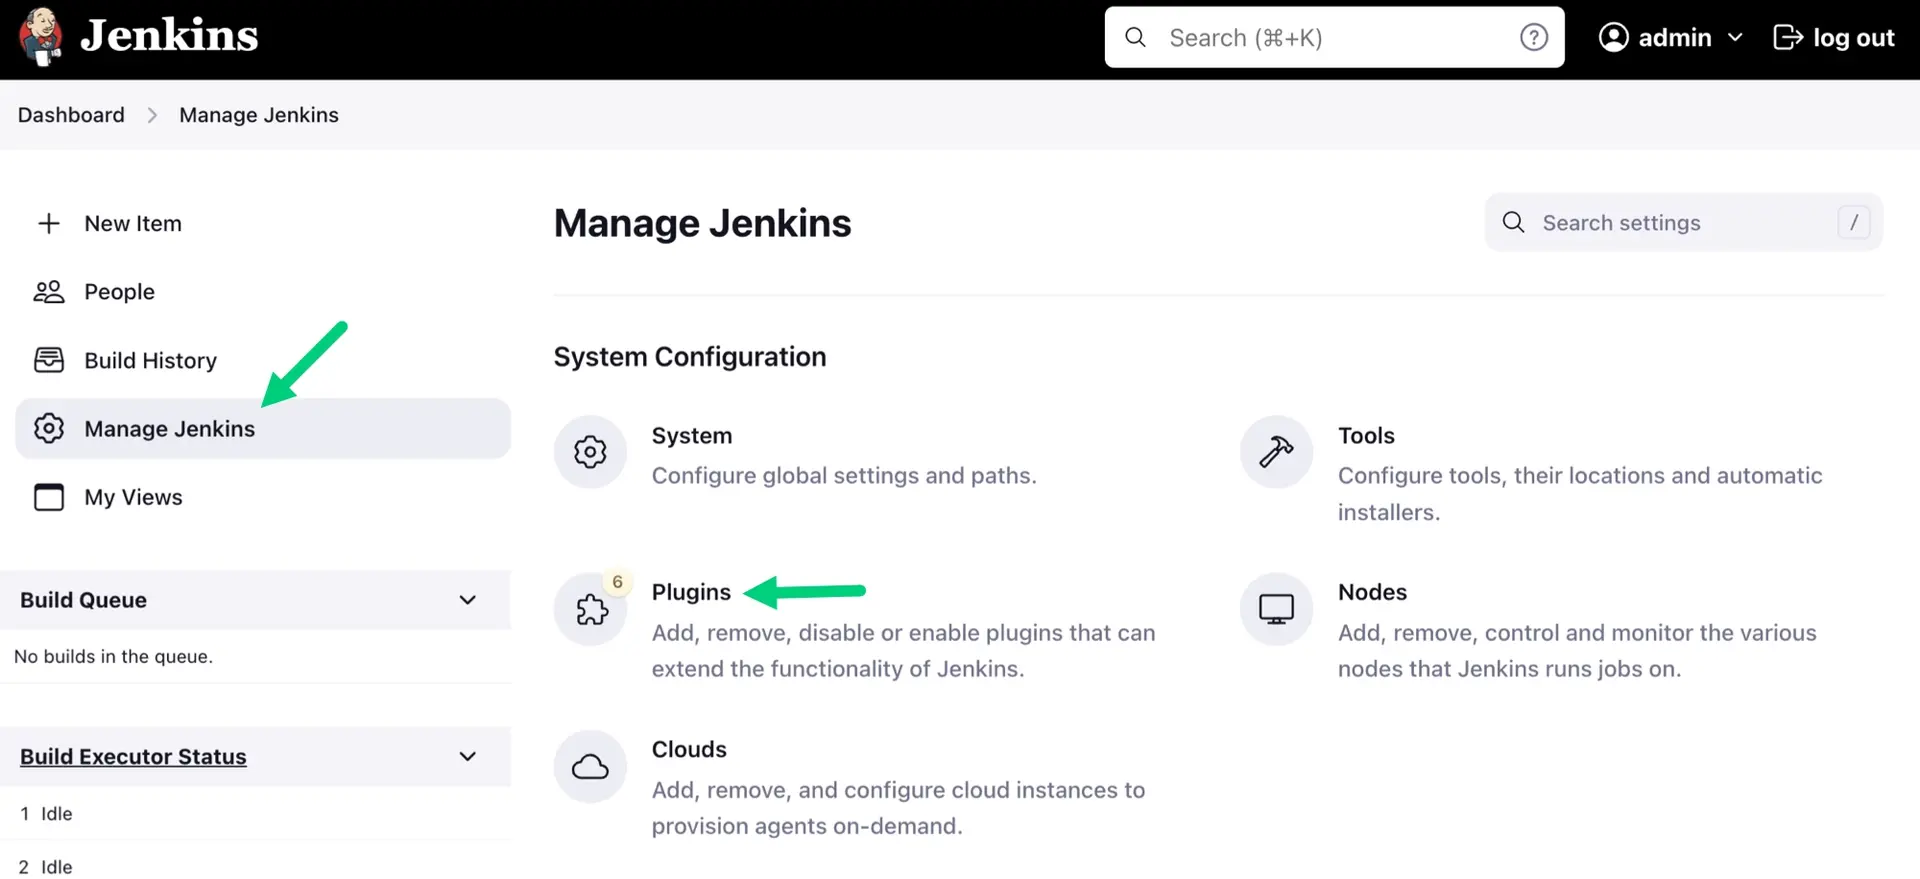
When you open Jenkins, go to Manage Jenkins, then Plugins.
Click Available plugins, then search
newrelic-deployment-notifier. Click Install.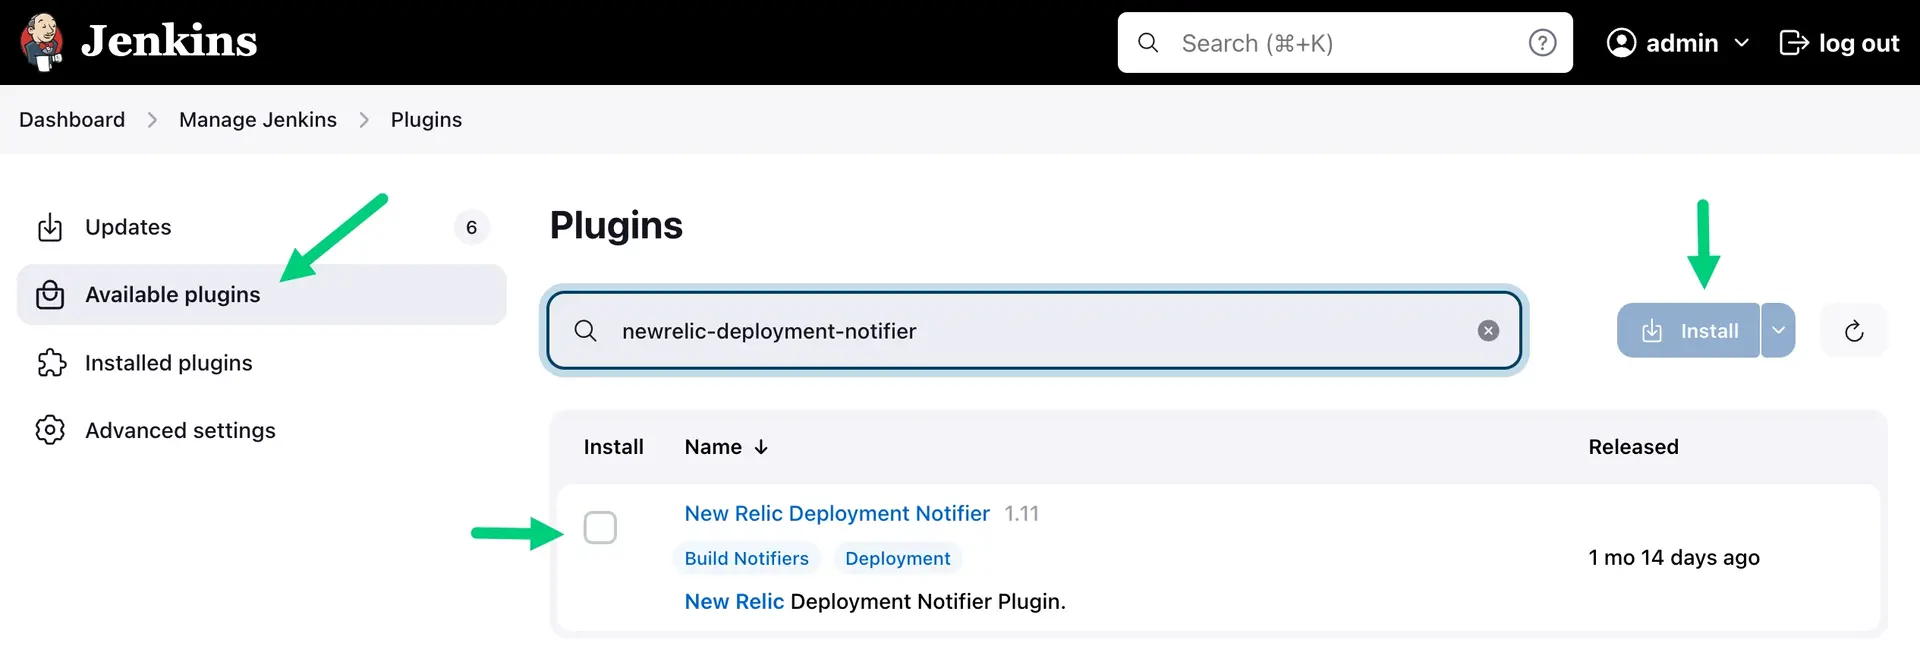
A new page appears with your installation's progress. No restart is needed for the plugin.
Create Post-build Action
To add the New Relic Deployment Notifier as a Post-build Action in your Jenkins build job configuration:
- In your Jenkins job configuration go to the Post-build Actions section, click on Add post-build action, then select New Relic Deployment Notifications.
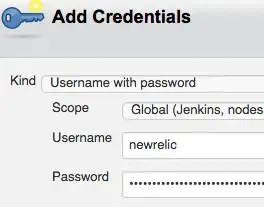
Create a username/password credential for the User API key. Enter the key as the password.
Select an entity in the dropdown list.
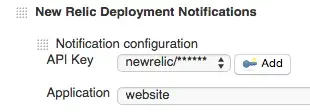
Add the required
VersionorRevisionvalue, and any of the optional values. You can use environment variables in these fields, like${BUILD_NUMBER}.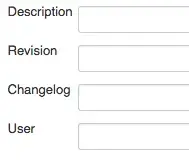
Field
Description
Description
Insert a description of what you are tracking.
Revision
Revision for the deployment.
${BUILD_NUMBER}could be a good value here.Changelog
Reference to the list of changes incurred in the deployment.
Commit
A hash to reference the commit ID.
Deeplink
A deep link to either the Jenkins job or any other reference to the deployment.
EntityGuid
The application entity in reference to the deployment (see More about the application GUID).
DeploymentType
The type of deployment that is being conducted.
GroupId
An identifier to reference a cluster of changes.
Timestamp
Optional timestamp in Unix Epoch long format. If not provided, then we will set it to the time we received the request, which will be the number of milliseconds since the Unix Epoch.
Version
Version of what's being deployed.
${BUILD_NUMBER}could be a good value here.User
The user conducting the deployment. Tip: You can install Build User Vars Plugin to have environment variables regarding the Jenkins user, and can use them in this field, like
${BUILD_USER}.
(Optional) If this Jenkins job affects multiple entities, they can be added to receive notifications as well. Click the Add another notification button to add more apps.
What's next?
After you've designated the changes you want to track, you can analyze the effect of those changes in the New Relic UI. For details, see How to view and analyze your changes in New Relic.