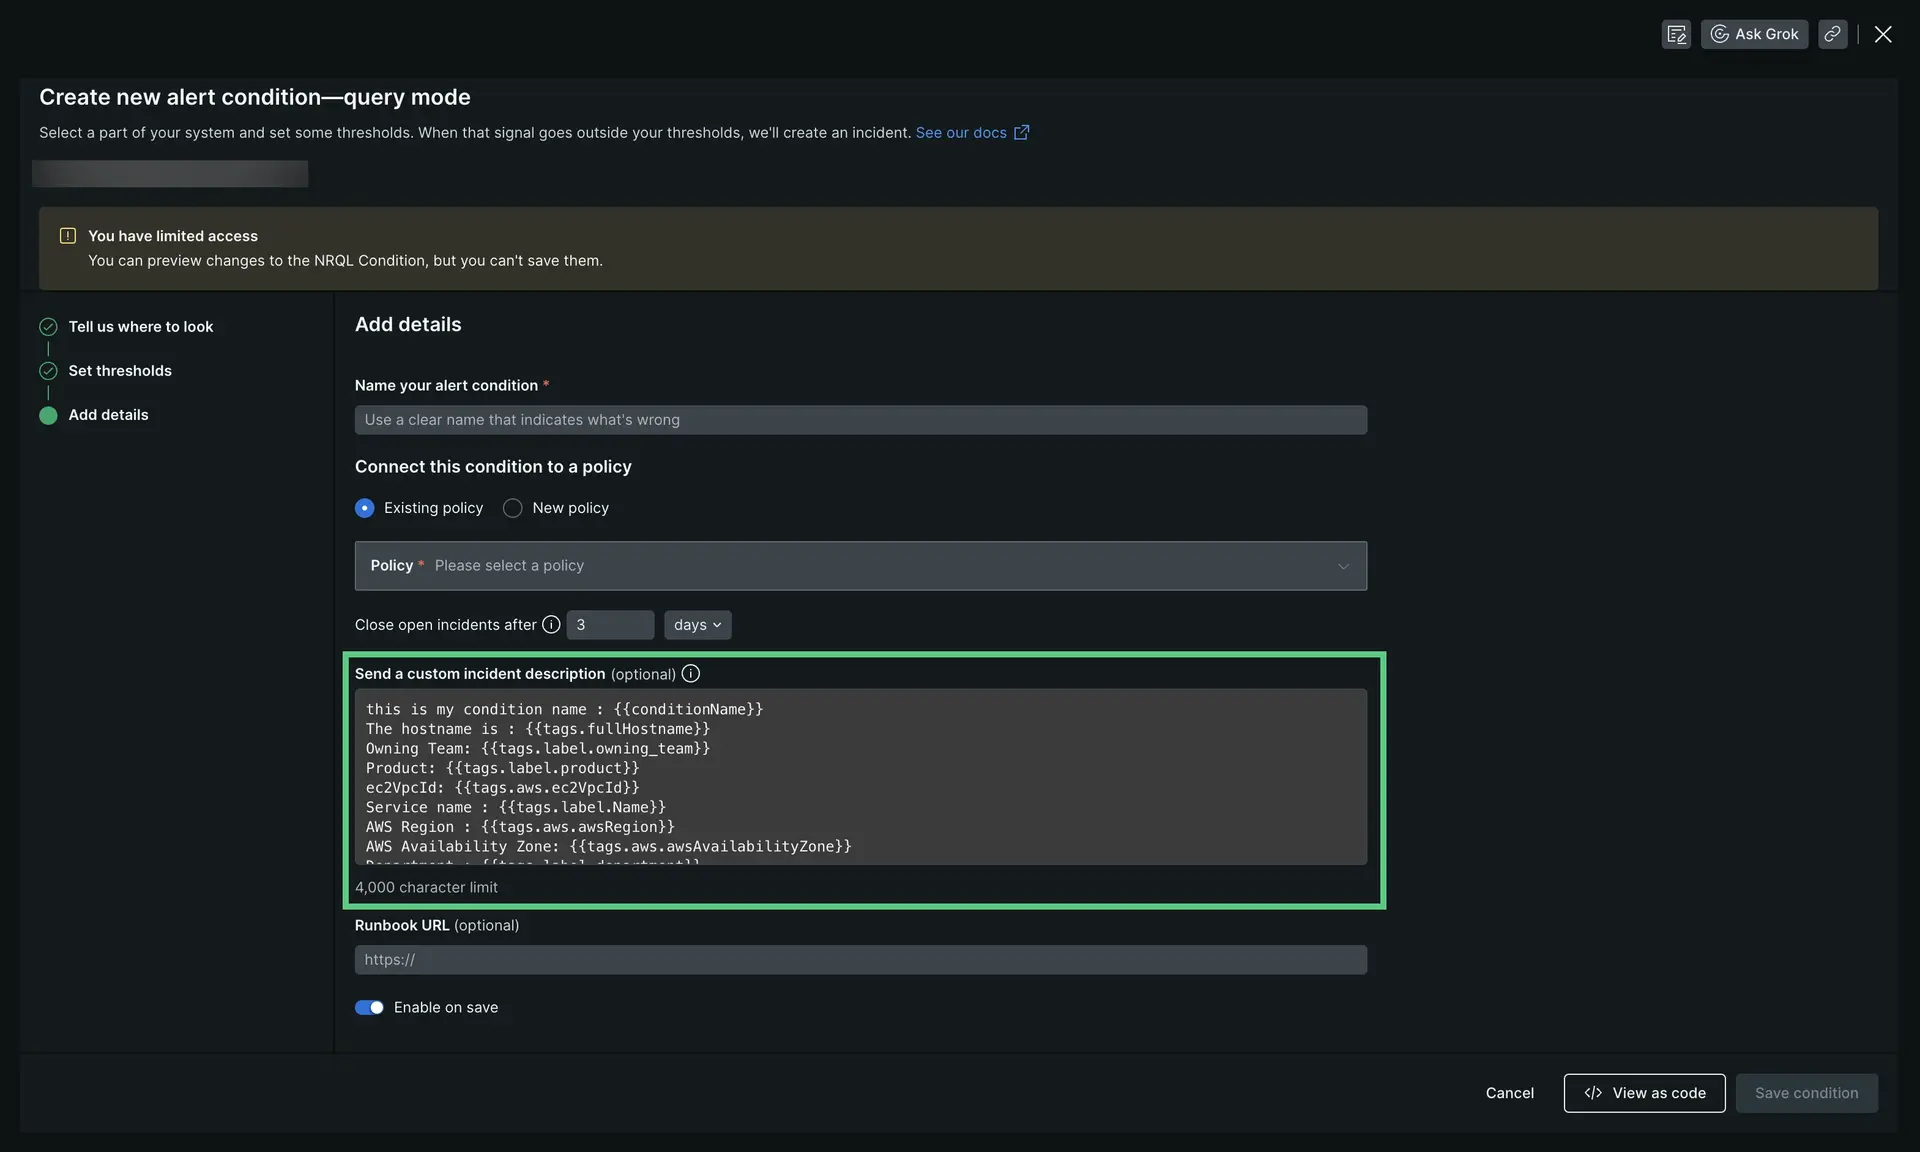
For some types of conditions, you can define a description template that passes useful information downstream for better incident responses or for use by other systems. You can create a description template in the UI or with GraphQL.
Requirements
The description template feature is available for:
- NRQL alert conditions
- Infrastructure monitoring alert conditions
The description template field has a maximum character size of 4000.
What is a description template?
For some types of conditions, you can create a description template that passes information about a condition and its incidents downstream. Using a description, you can:
- Capture the reason for the condition
- Define the signal being monitored
- Define next steps
- Add metadata to downstream systems
The Description template field allows you to use a general template structure that, when an incident is generated, substitutes the generic sections with specific values. For example, let's say you used this in a description:
This is my condition name : The hostname is : An incident resulting from this condition would fill in the details and you'd receive a notification like this:
This is my condition name : My Great Alert ConditionThe hostname is : ip-123-45-67-89.us-west-1.compute.internalCreate a description template

one.newrelic.com > All capabilities > Alerts & AI > Alert conditions (Policies) > (select a policy) > (select a condition): Click + Add description template to open the field.
You can create a description template using the dedicated field for NRQL alerts, or the Describe this condition section for infrastructure alerts.
Description template template example
Here's a description template template example:
This is my condition name : The hostname is : Owning Team: Product: ec2VpcId: Service name : AWS Region : AWS Availability Zone: Department : Environment: Cluster: Cluster Role: EC2 Instance Type: EC2 InstanceID: EC2 AmiId: EC2 Root Device Type: How to use attributes
The attributes you can use in a description template are a subset of attributes attached to the incident event. Here are some details about the available attributes and how to use them:
Incident event attributes: For any of the standard attributes available for use in a description template, use the format
{{AN_ATTRIBUTE}}. For example:The target name is :Tag attributes: For tags, you would use the format
{{tags.TAG_NAME}}. There are two types of tags:Entity-related tags: For infrastructure conditions only. You can find available entity-related tags by going to the entity explorer and looking under a service's Metadata and tags, or by viewing incident details. Here's an example of using tags in a description template:
The AWS region is :Responsible team :Facet clause tags: For NRQL conditions only. If a NRQL condition uses a
FACETclause, you can usetagsformatting to use those values in your description template. For example, if the NRQL query includedFACET hostName, cluster, you could then use this:The host is :The cluster is :
Please note that tag names cannot include whitespace. The expanded values can include whitespace, but not the names of the tags themselves.
Create a description template with GraphQL
You can create a description template on a NRQL alert condition through a GraphQL mutation with that description.
Here's an empty mutation template:
mutation { alertsNrqlConditionStaticUpdate( accountId: YOUR_ACCOUNT_ID id: "YOUR_CONDITION_ID" condition: { description: "" } ) { YOUR_CUSTOM_INCIDENT_DESCRIPTION }}Here's an example mutation with a description template:
mutation { alertsNrqlConditionStaticUpdate( accountId: 123456 id: "123456" condition: { description: "timestamp : {{timestamp}} \n accountId : {{accountId}} \n type : {{type}} \n event : {{event}} \n description : {{description}} \n policyId : {{policyId}} \n policyName: {{policyName}} \n conditionName : {{conditionName}} \n conditionId : {{conditionId}} \n product : {{product}} \n conditionType : {{conditionType}} \n RunbookUrl : {{runbookUrl}} \n nrqlQuery : {{nrqlQuery}} \n nrqlEventType : {{nrqlEventType}} \n targetID : {{targetId}} \n targetName : {{targetName}} \n commandLine : {{tags.commandLine}} \n entityGuid : {{tags.entityGuid}} \n entityName : {{tags.entityName}} \n fullHostname : {{tags.fullHostname}} \n instanceType : {{tags.instanceType}} \n processDisplayName : {{tags.processDisplayName}}" } ) { description }}- For more information on NRQL conditions and using the NerdGraph API, go to NerdGraph API: NRQL condition alerts.
- For infrastructure monitoring conditions, you can create the description template when creating an Infrastructure monitoring alert condition.
- To learn about how to structure a description template, see the example template and the attribute/tag instructions.
Mentioning users or notifying channel in Slack
When creating a description that you know will be sent to Slack, you may wish to @mention a user or generate a channel-wide notification (for example, @here or @channel). To achieve this, simply include the User ID or a channel-wide notification in the description surrounded by < and > characters.
Here's an example for mentioning a user:
Attention <@LewCirne>Here's an example for generating a channel-wide notification:
Attention <!channel>Important
Note that the Slack convention for channel-wide notifications in Incoming Webhooks is to use a ! prefix instead of @. For example, !here or !channel.