Esta sección proporciona instrucciones adicionales para configurar el sistema.
Rol de autorización de carga
Utilice
SAP transaction PFCG.Vaya a Role > Upload y cargue el archivo _NEWR_DATA_PROVIDER.SAP desde el paquete de instalación.
Confirme que se cargará el rol
/NEWR/DATA_PROVIDER.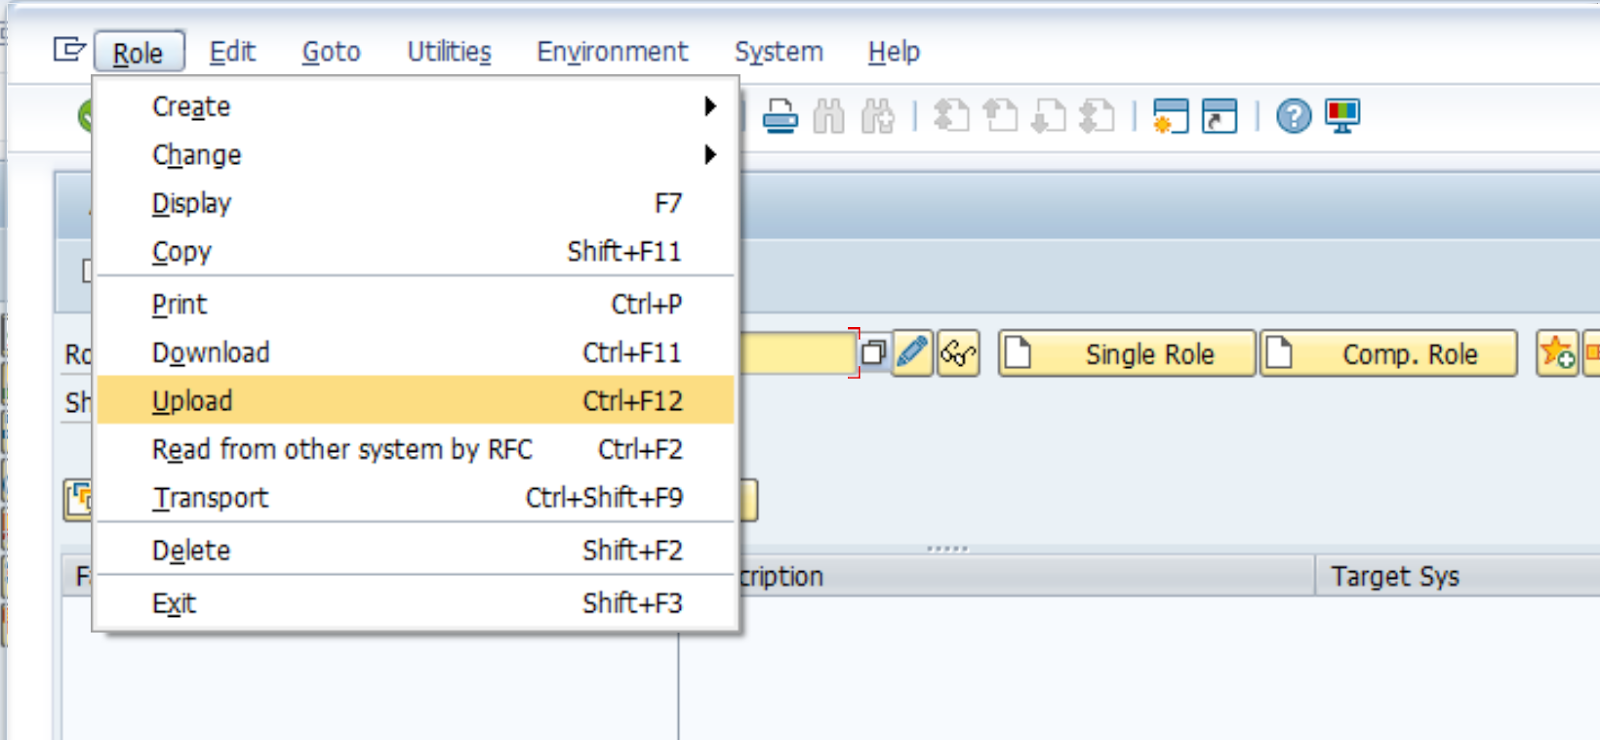
Haga clic en el

icono una vez cargado.
En la pestaña Authorizations, seleccione

Cambiar datos de autorización y activar mediante
 icono.
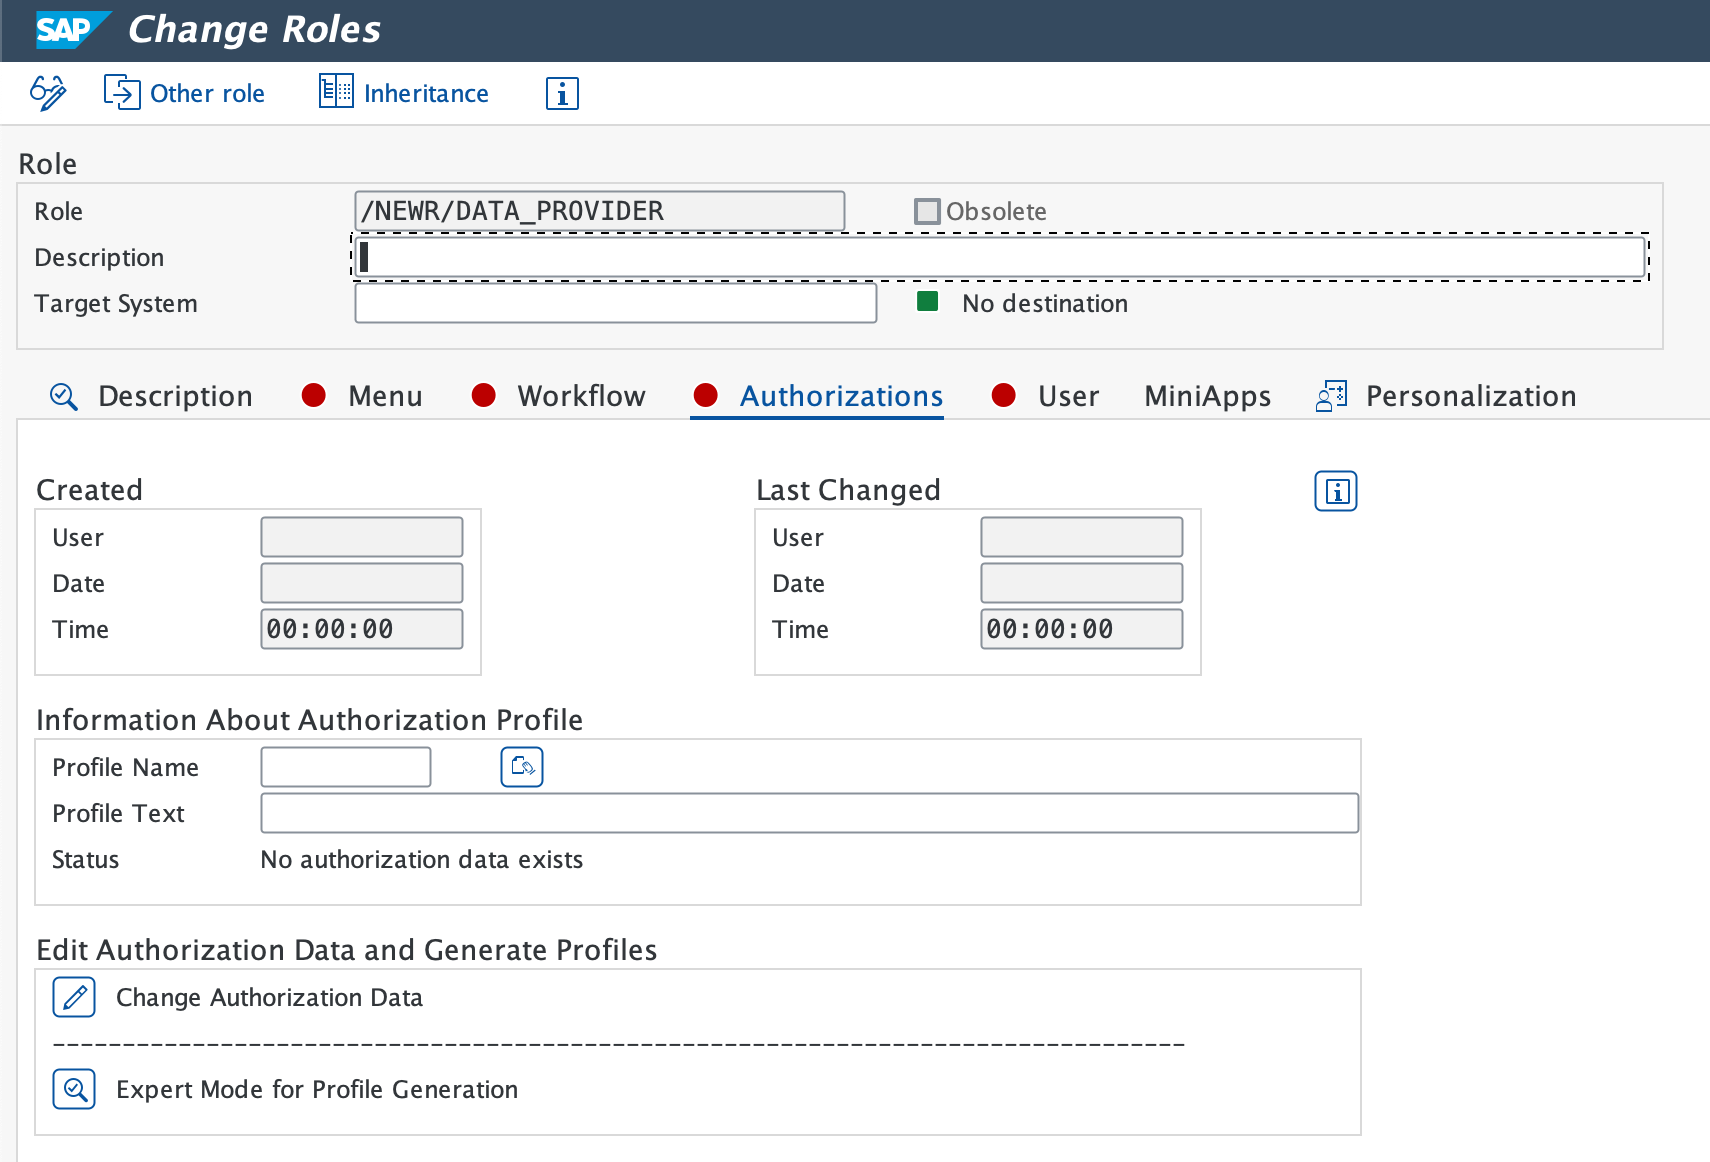
Si se sugiere un nombre de perfil, haga clic en el ícono de verificación verde.
Verifique que el mensaje Profile(s) were updated aparezca en la barra de estado.
Crear destinos RFC para sistemas monitoreados
Emplee la transacción SM59 para crear un destino RFC para cada sistema monitoreado.
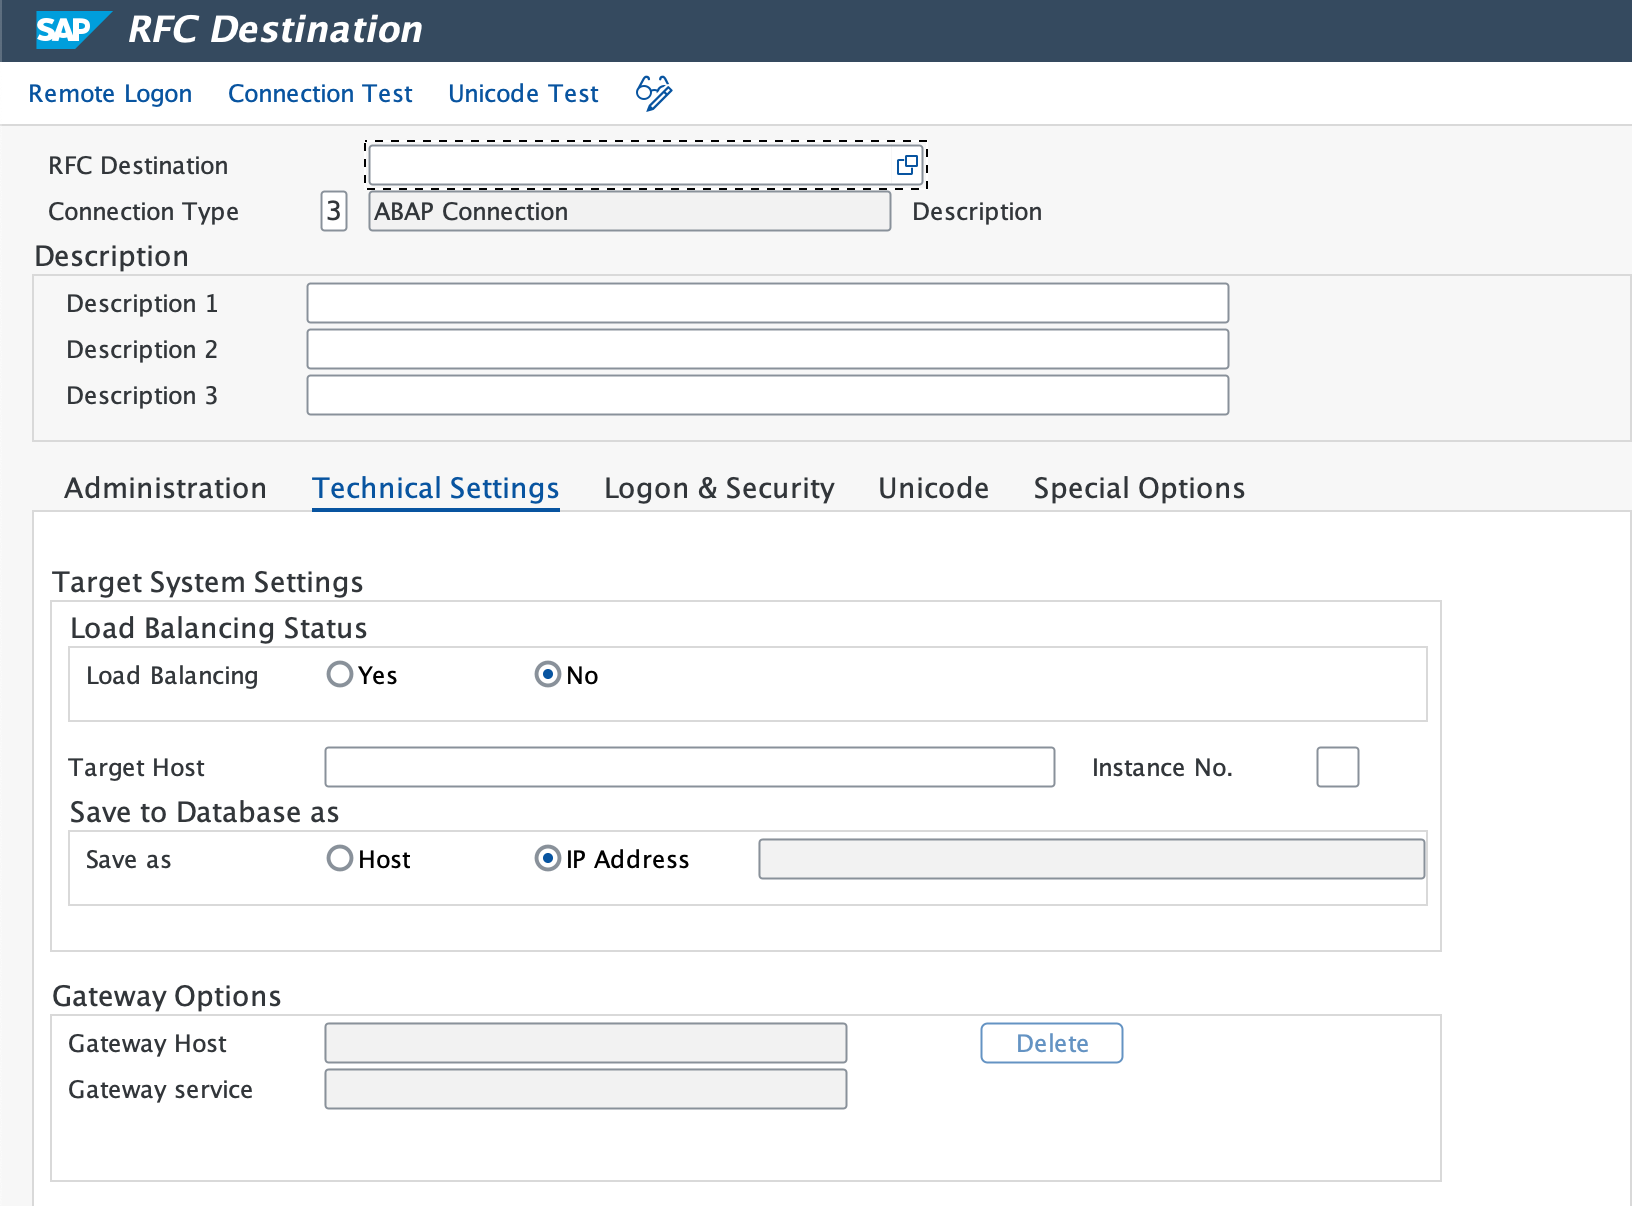
Seleccione las ABAP Connections y haga clic en el icono Create para configurar un nuevo destino RFC.
Introduzca un nombre de RFC Destination descriptivo. Recomendamos nombrar el destino RFC como
NR_<SYSID>CLNT<CLNT#>Establezca el Connection Type en
3 - ABAP Connection.En la pestaña Technical Settings, ingrese:
- Target Host (dominio completo o IP) y Instance No..
- Especifique el Gateway Host y el Service si es necesario.
En la pestaña Logon & Security, ingrese el usuario RFC (
NR4SAPDP) y la contraseña.Haga clic en Save.
Vaya a Utility > Test > Connection Test y Authorization Test para confirmar una conexión exitosa.
Importante
Cerciorar de que los resultados de la prueba sean exitosos.
Establecer el destino HTTP en cloud New Relic
Emplee la transacción SM59 para configurar conexiones HTTPS a los extremos de API de New Relic.
Importante
Cerciorar de crear un destino RFC individual para eventos, logs, métrica y traza por separado.
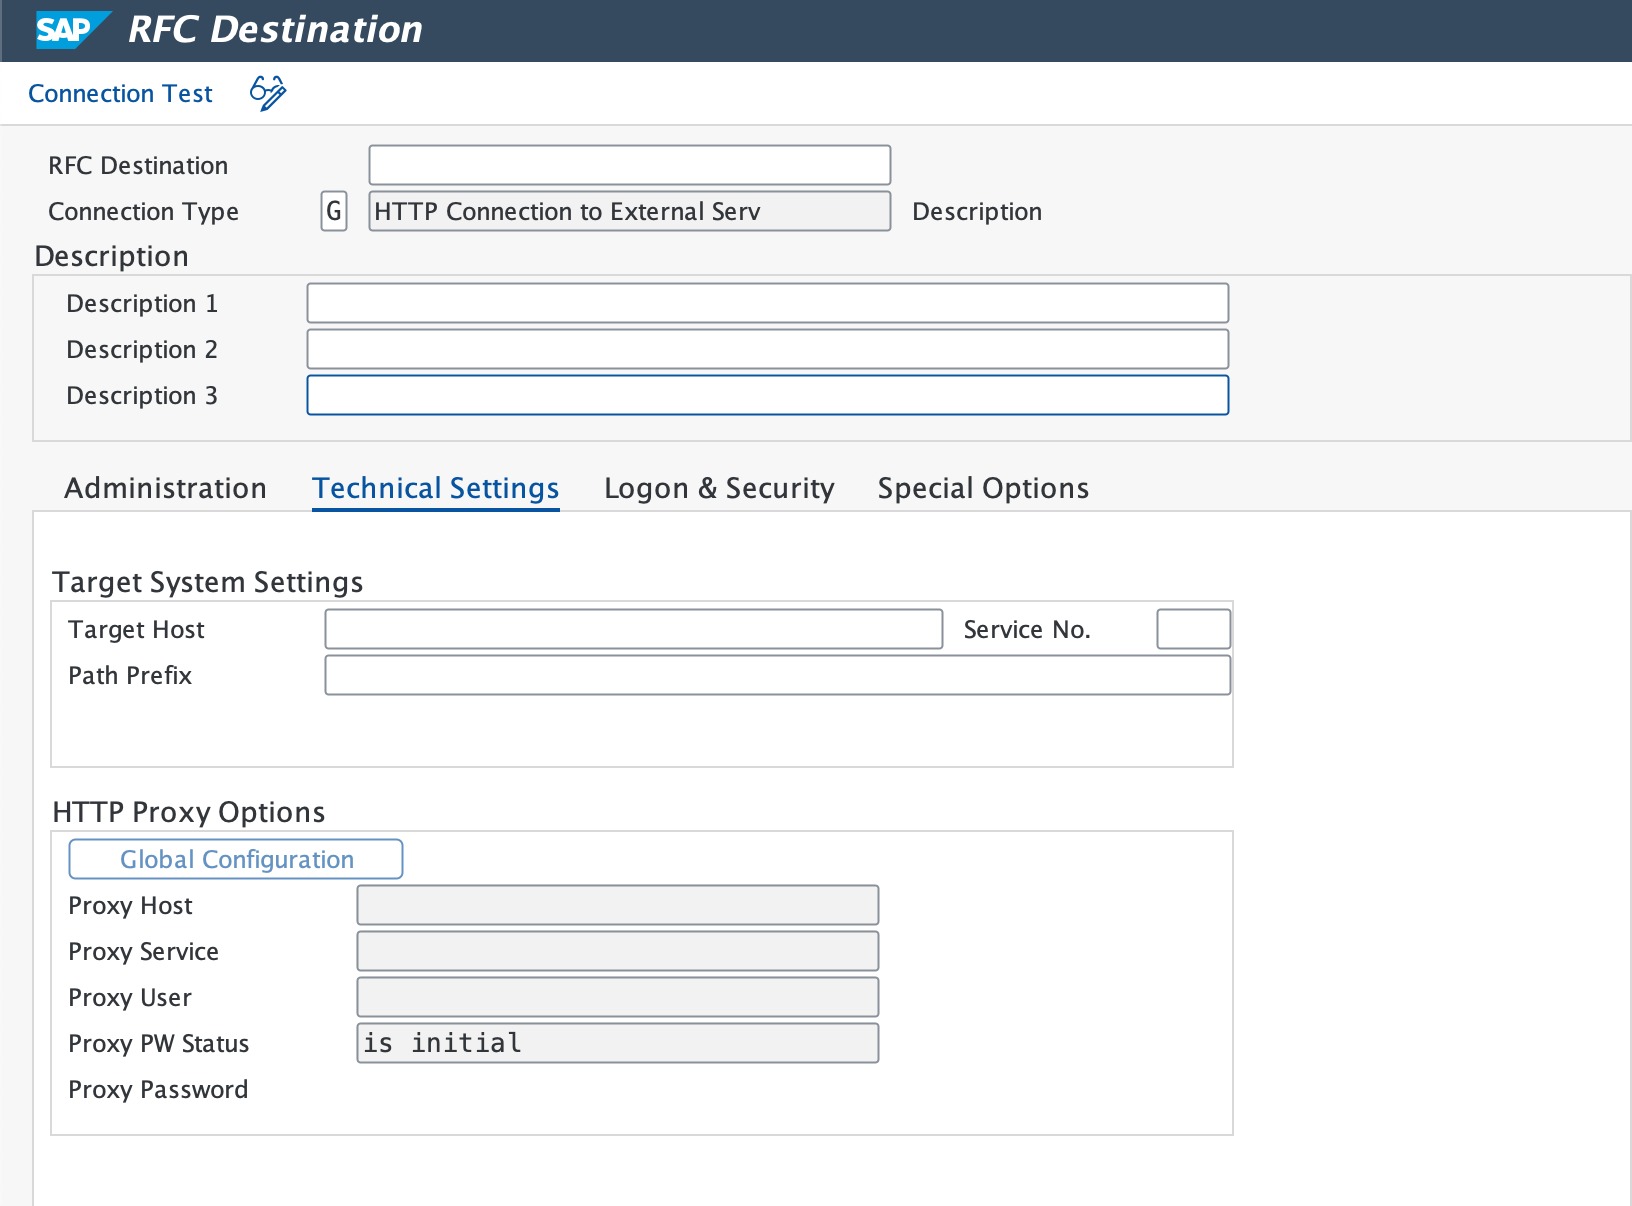
- Introduzca un Destination Name (por ejemplo,
NR_API_EVENT). - Establezca el Connection Type en
G(Conexiones HTTP a servidor externo). - Ingrese el Target Host, el Service No. como (443) (consulte el puerto estándar para HTTPS) y el Path Prefix (consulte la lista de verificación de preparación para la instalación para obtener más detalles).
- Si se requiere un proxy, configúrelo en la pestaña Technical Settings.
- En la pestaña Security Options, marque el botón Active para SSL.
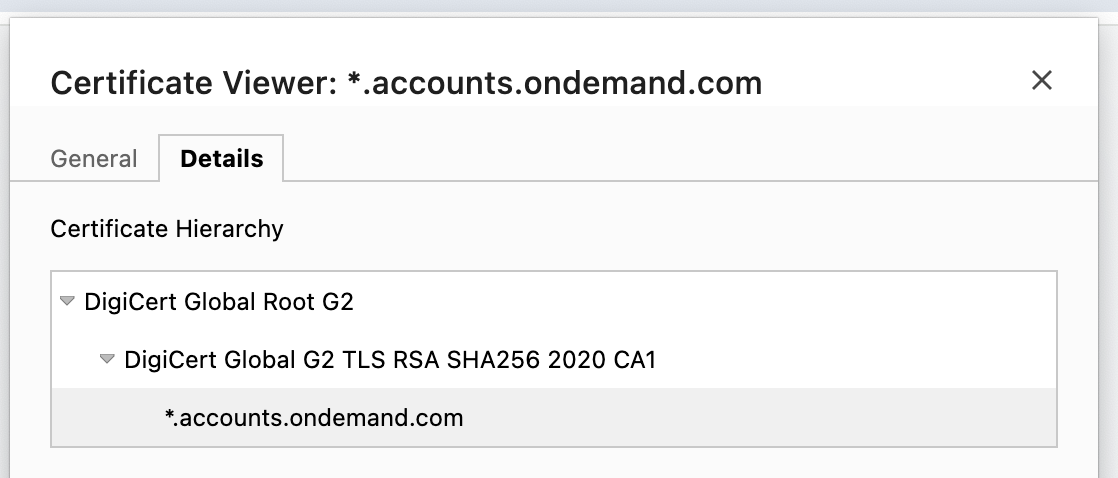
- Si es necesario, descargue el certificado raíz de New Relic y agréguelo a SAP mediante la transacción
STRUST. - Emplee la Connection Test para verificar la conexión. Una conexión exitosa simbolizará Enter Logon Data. Si la prueba caduca, verifique la configuración de su firewall.
- Repita este procedimiento para todos los extremos de API de New Relic.
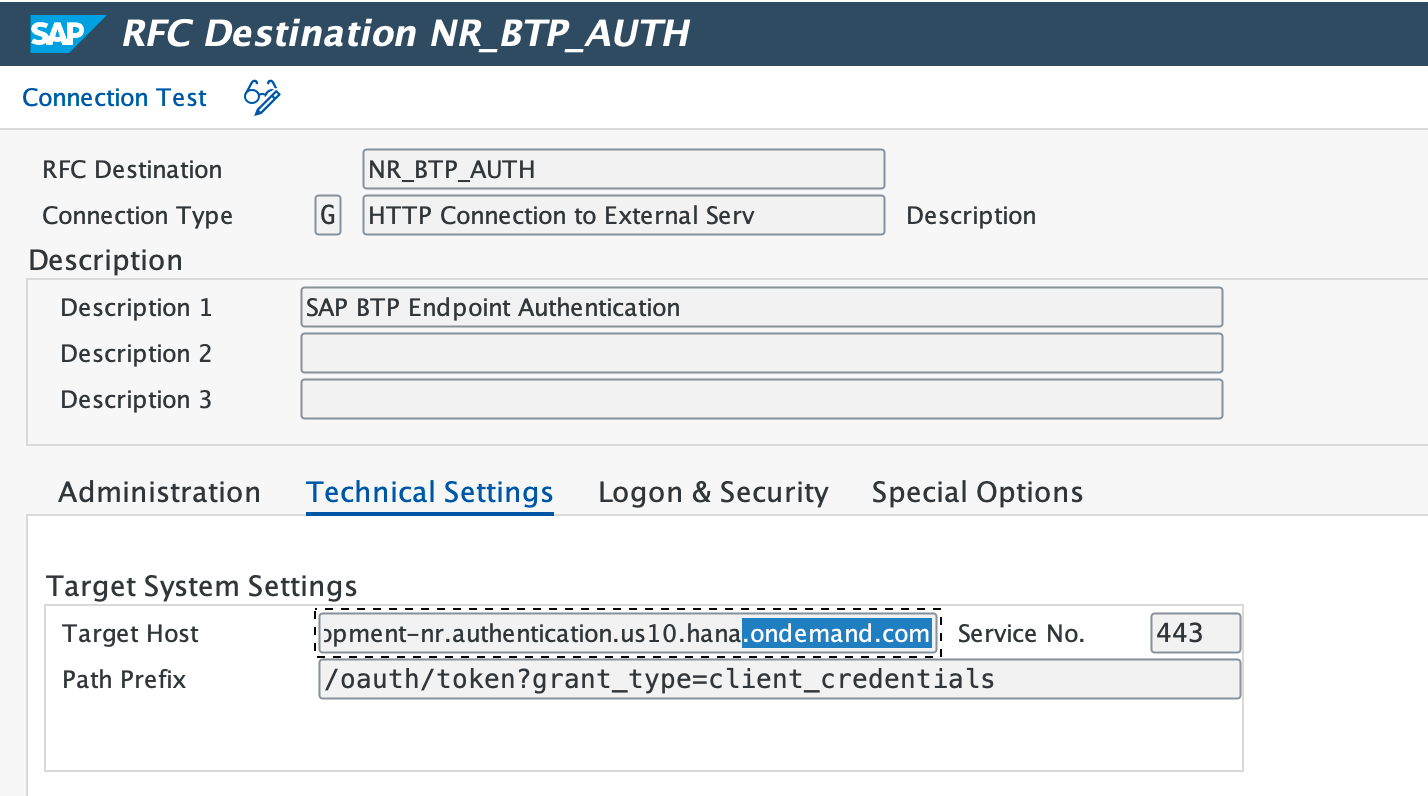
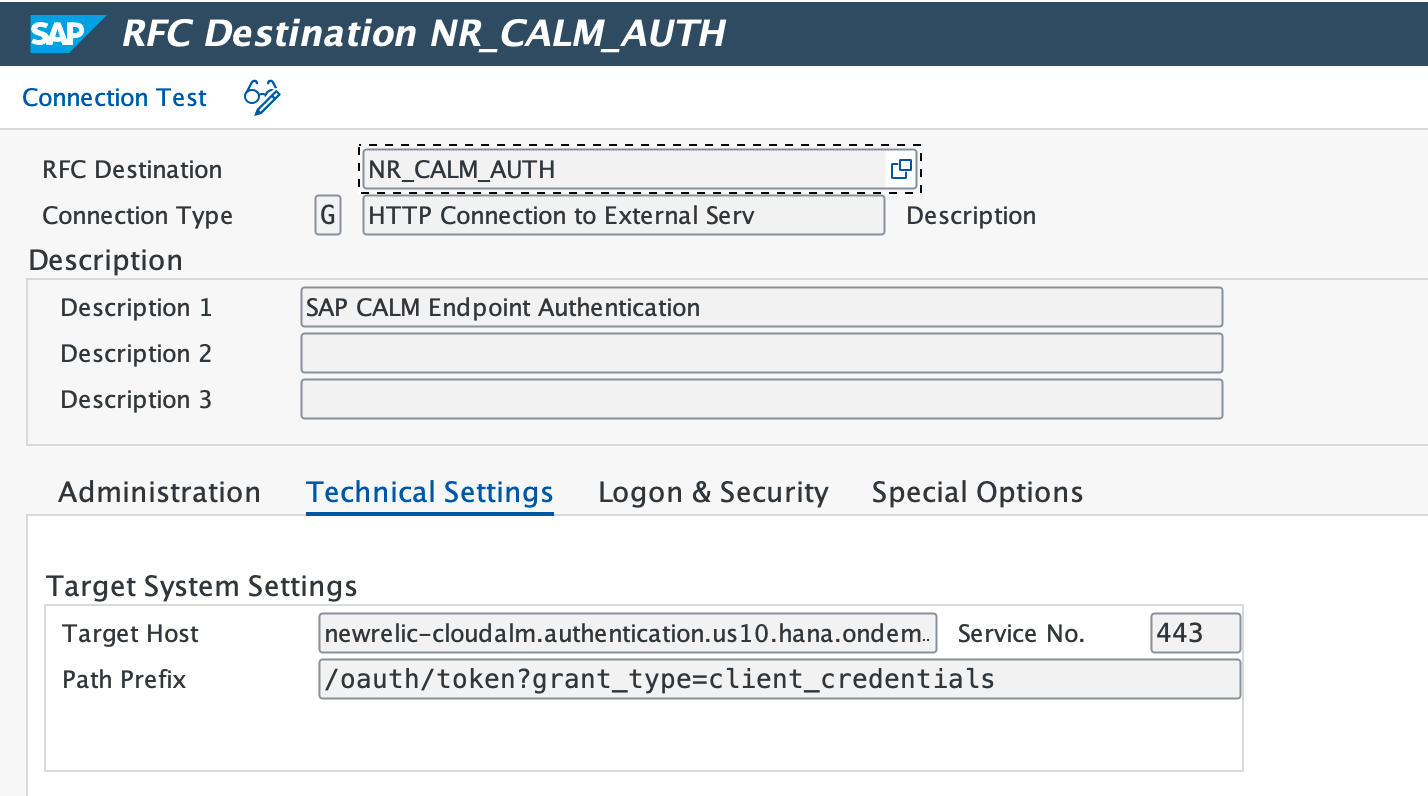
Crear autenticación BTP/CloudALM extremo
Siga las instrucciones a continuación según el servicio:
Crear una conexión a la base de datos
Emplee la transacción DBACOCKPIT para definir las conexiones de la HANA Database remota.
Haga doble clic en Database Connections y haga clic en Add.
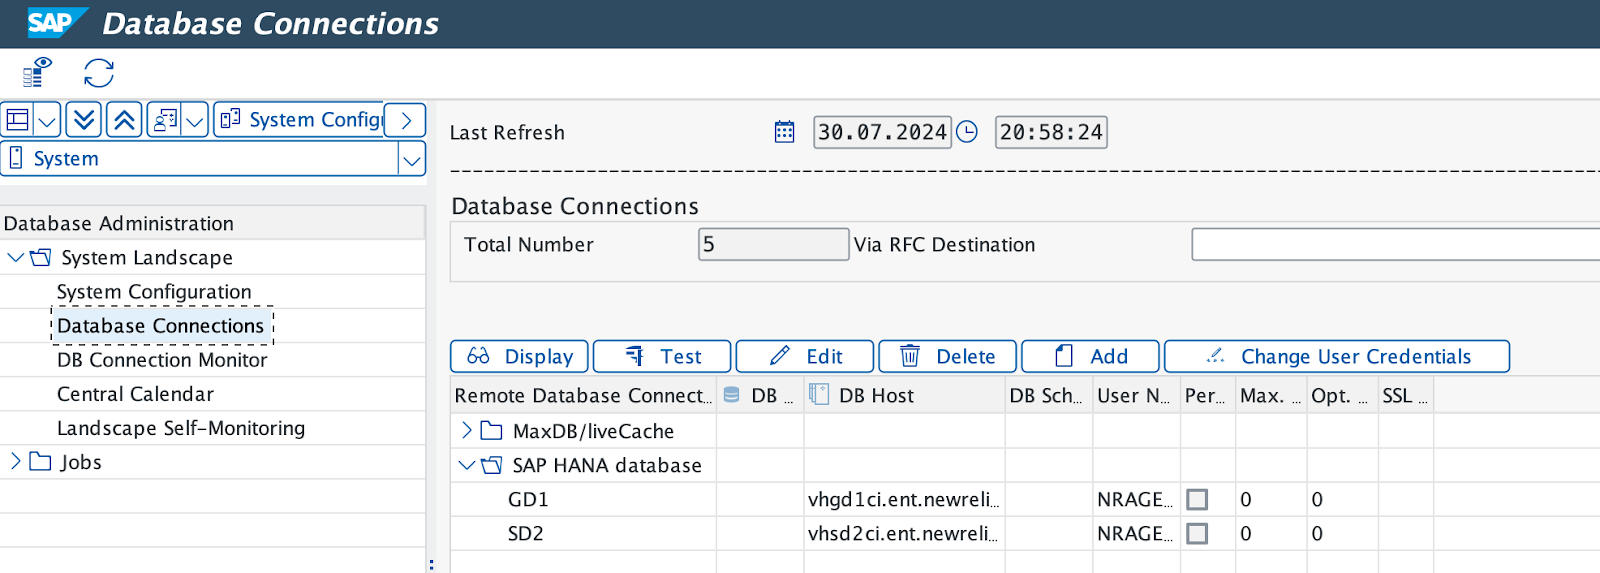
Introduzca un Connection Name (preferiblemente el mismo que el ID del sistema SAP).
Seleccione la HANA Database como Database System.
Introduzca el Database user ID (por ejemplo,
NRAGENT) y la contraseña.Ingrese el Database Host y el SQL Port.
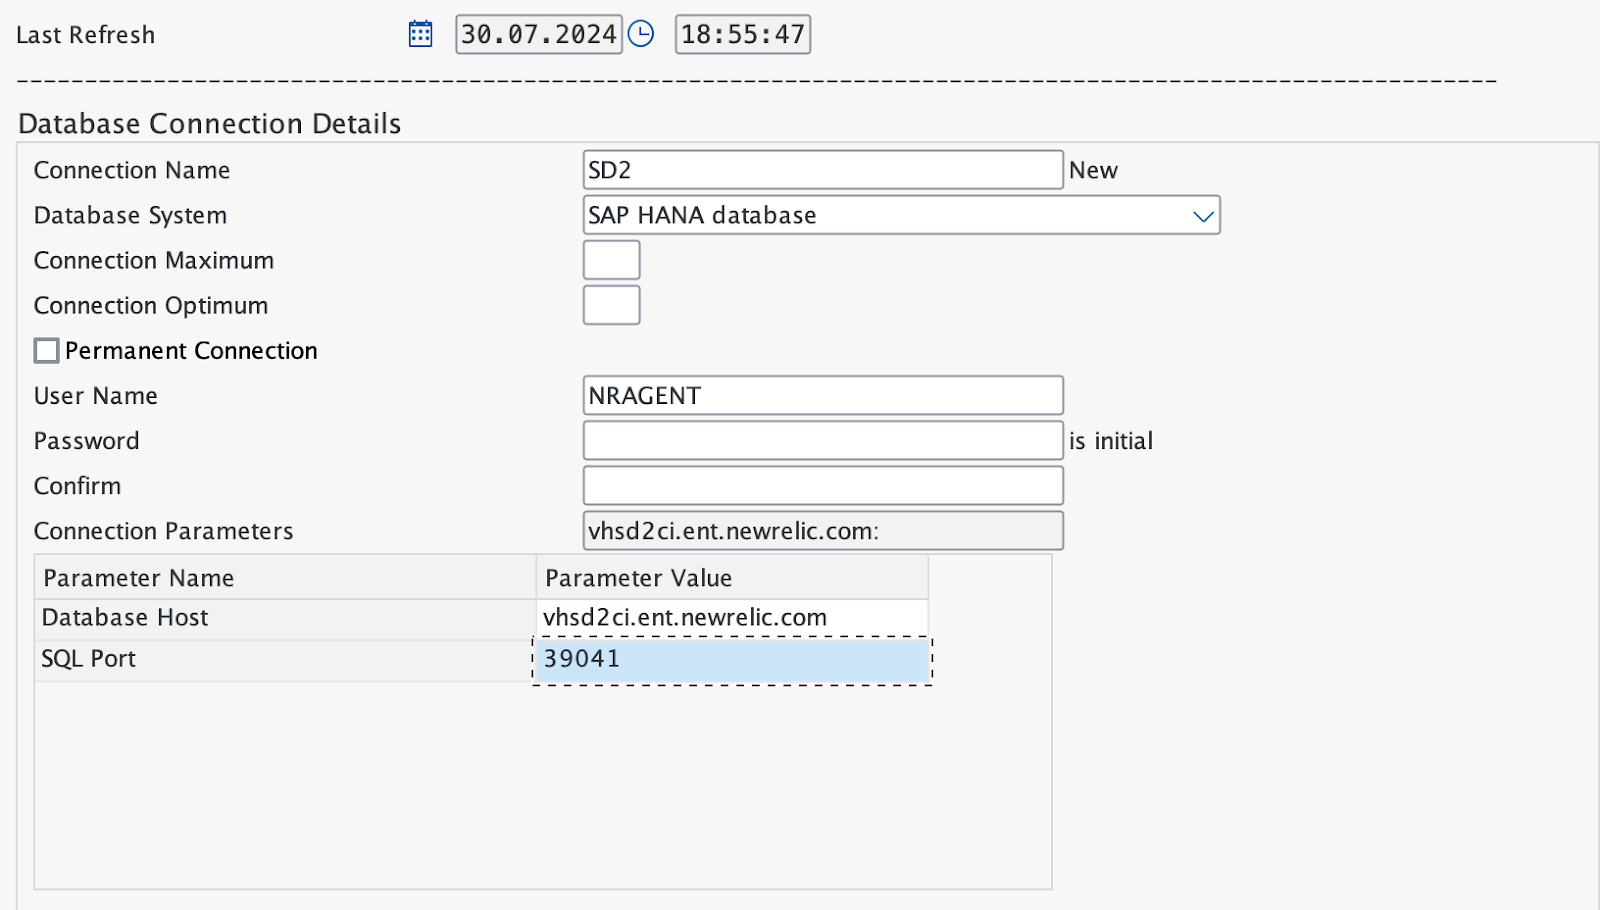
Almacene los datos y haga clic en Test para verificar la conexión.


