---
title: Lab part 1: Set up your lab environment
source: https://docs.newrelic.com/docs/browser/new-relic-browser/lab/set-up-env
---
> #### 💡 LAB
>
> This procedure is part of a lab that teaches you how to troubleshoot your web app with New Relic browser. If you haven't already, check out the [lab introduction](https://docs.newrelic.com/docs/browser/new-relic-browser/lab/over-view/).
Before you can walk through the lab proper, you need to spin up your React application. Here, you:
- Spin up your React application
- Send traffic to your app with a simple load generator
1. Open a terminal window and clone the lab repository.
````bash
git clone https://github.com/newrelic-experimental/relicstaurants.git
```
````
2. Navigate to the root directory of your application and switch to the lab directory.
````bash
cd relicstaurants
git switch browser-pro-lab-material
```
````
3. Next, install dependencies, and run the application.
````bash
npm install
npm run build
npm run newstart
```
This opens your Relicstaurants application in your browser.
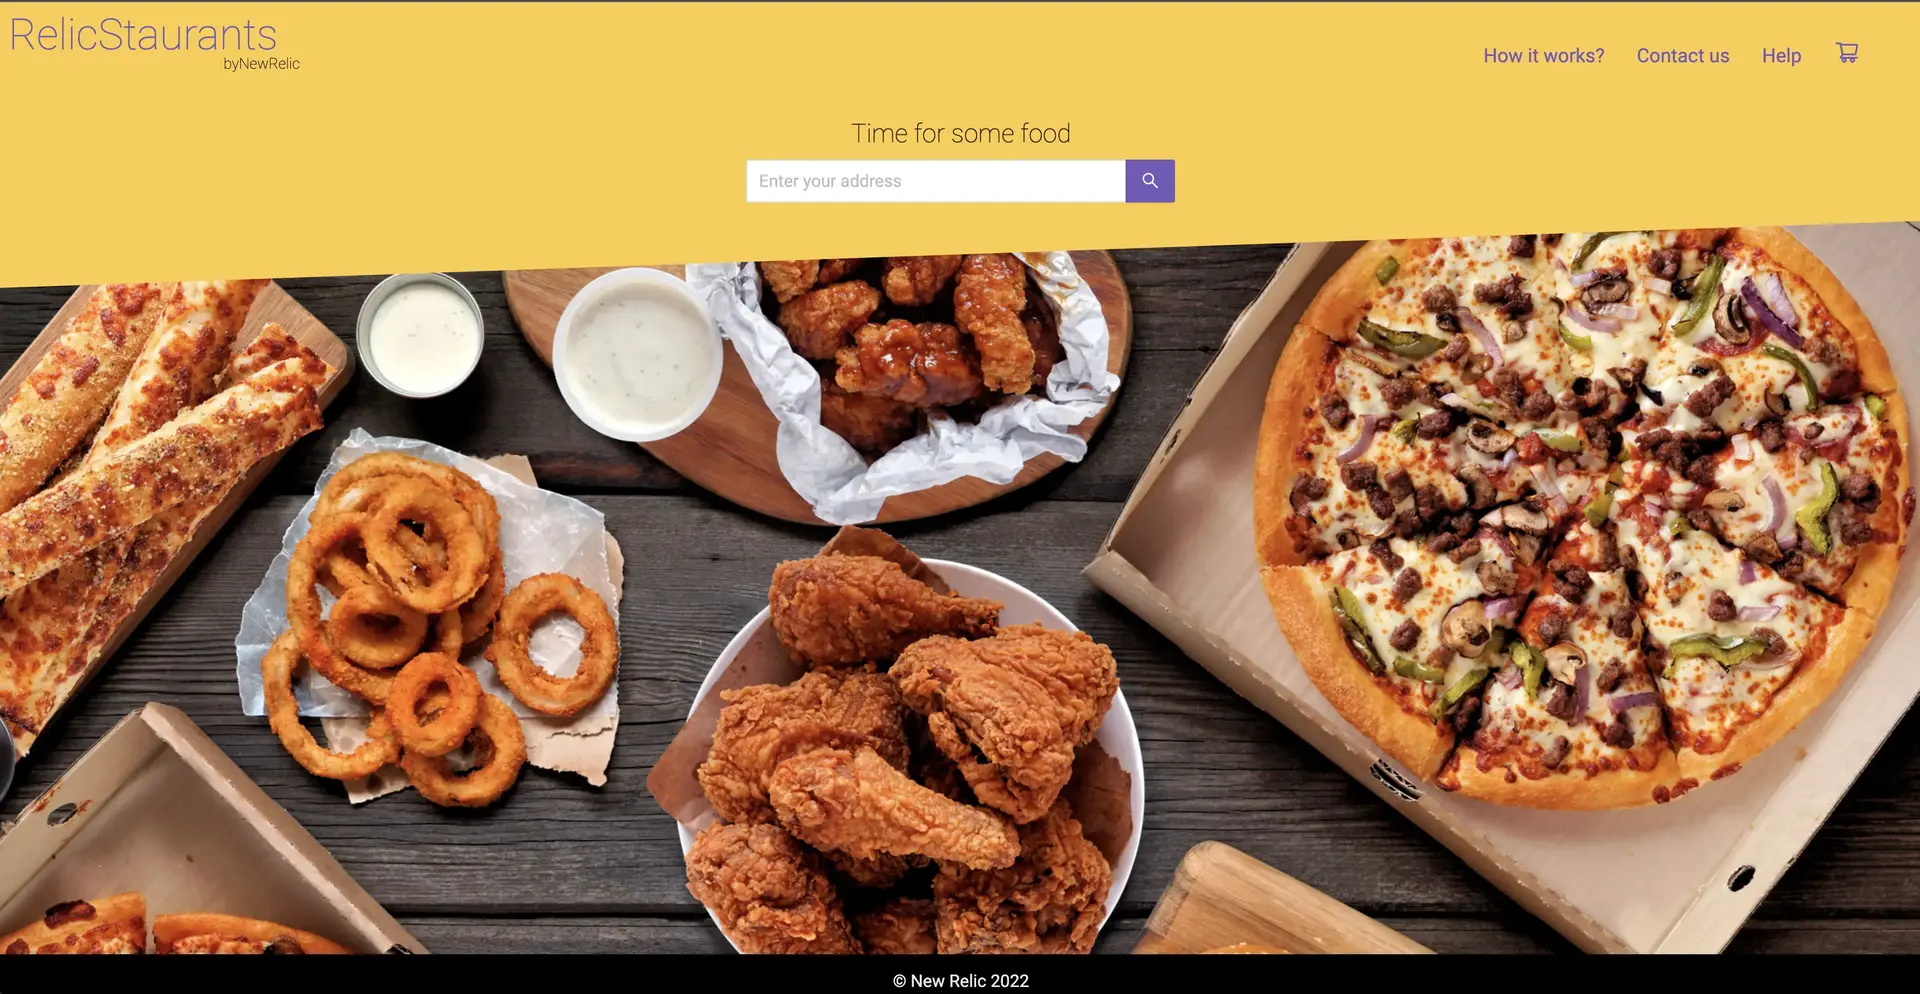 Enter your delivery address, and search for restaurants to get started.
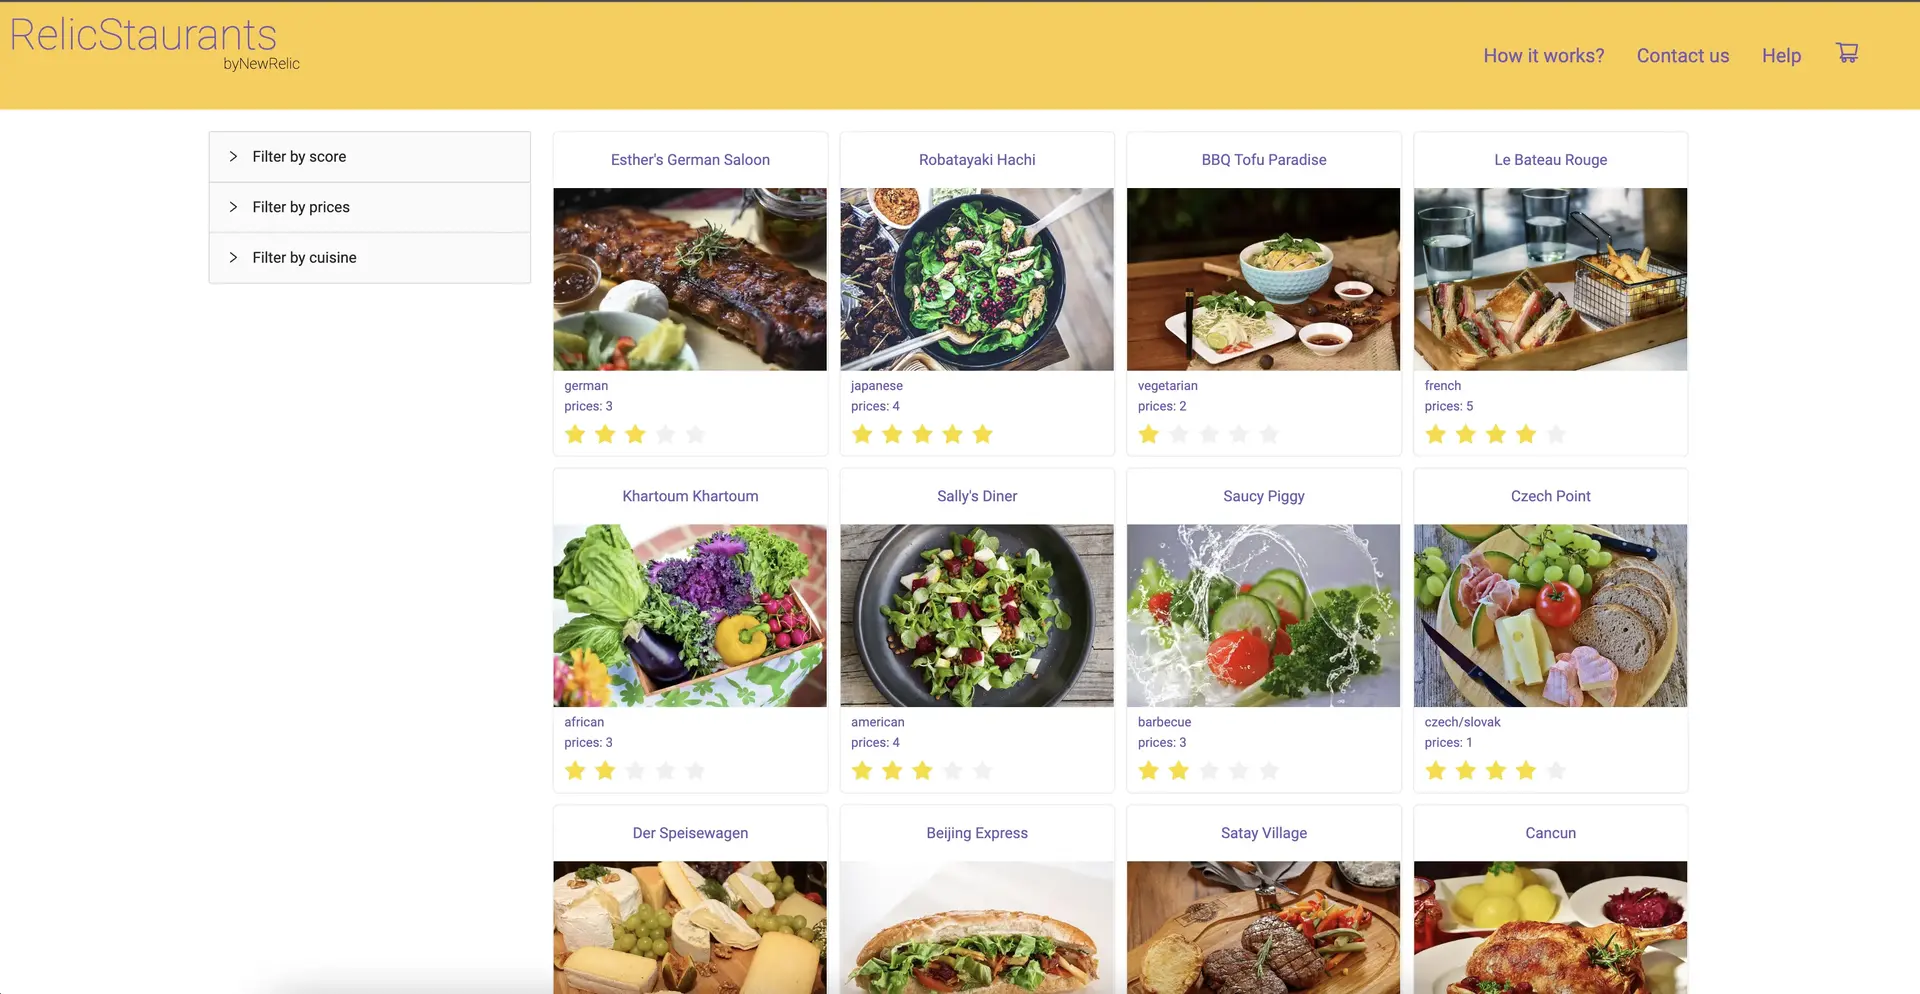 Here, you see a list of restaurants where you can order food.
````
4. Choose a restaurant.
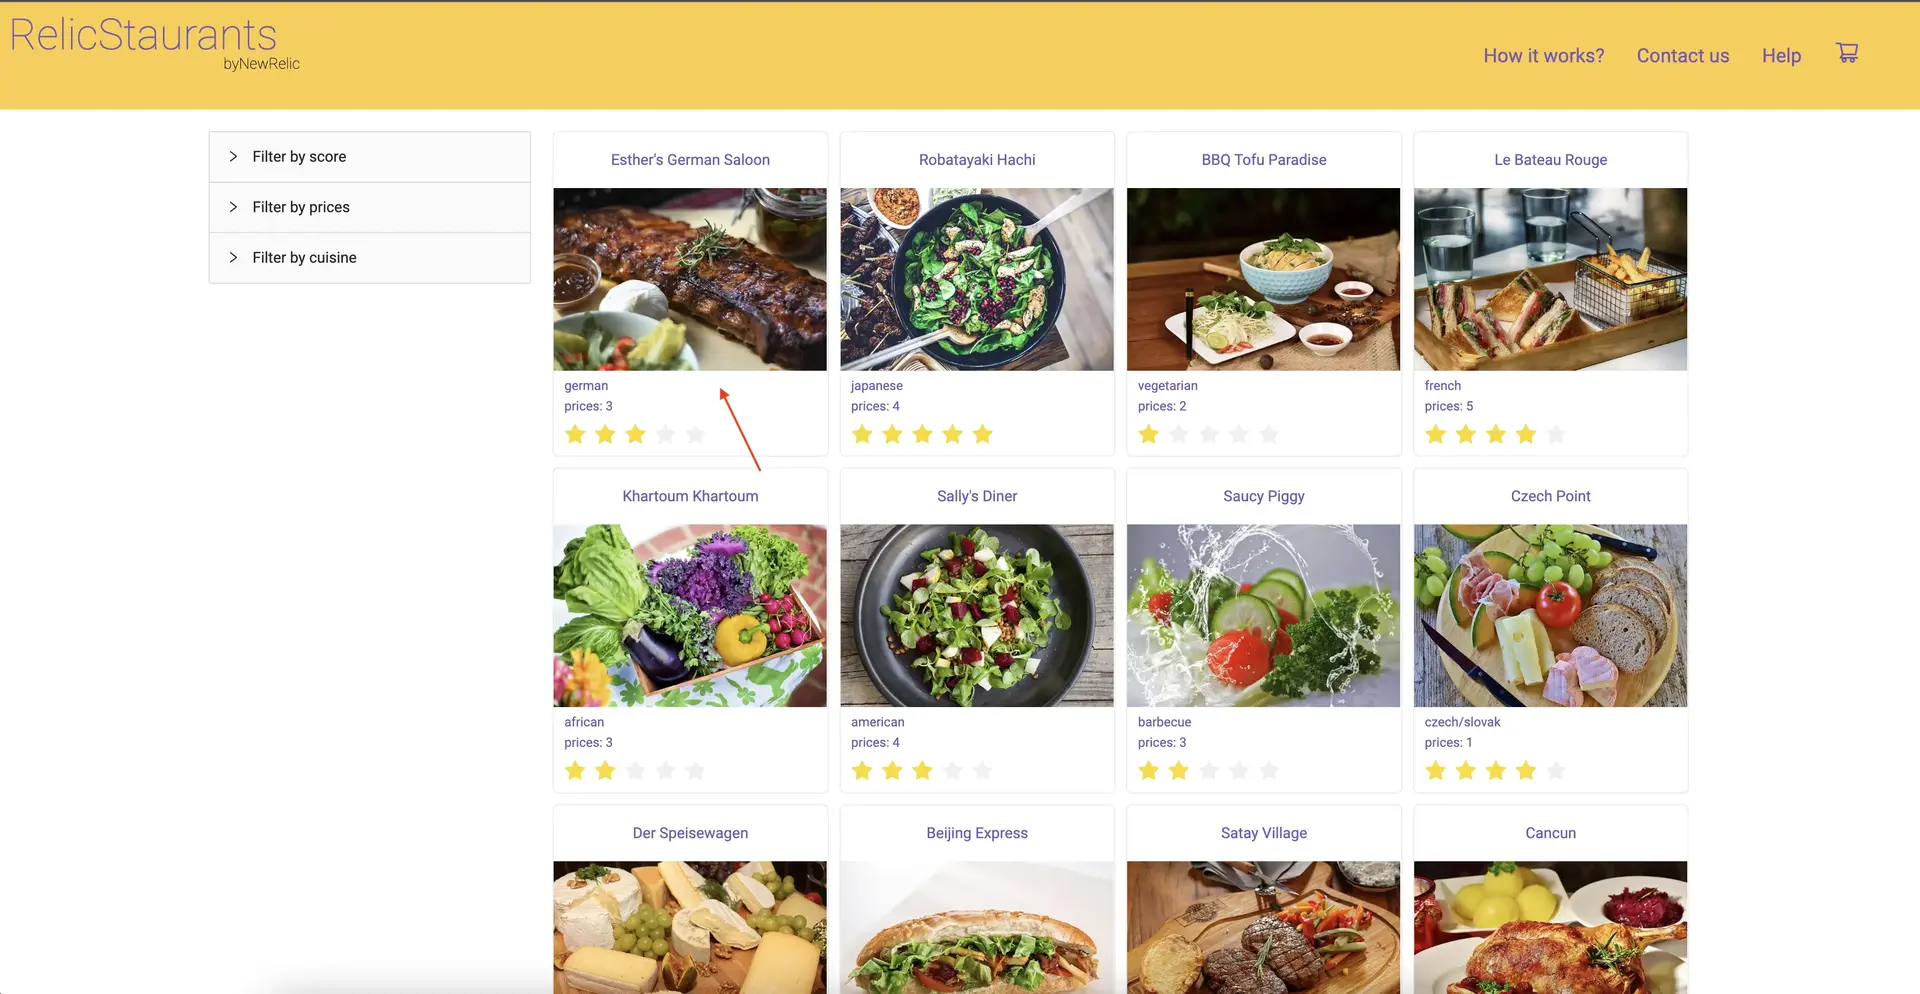
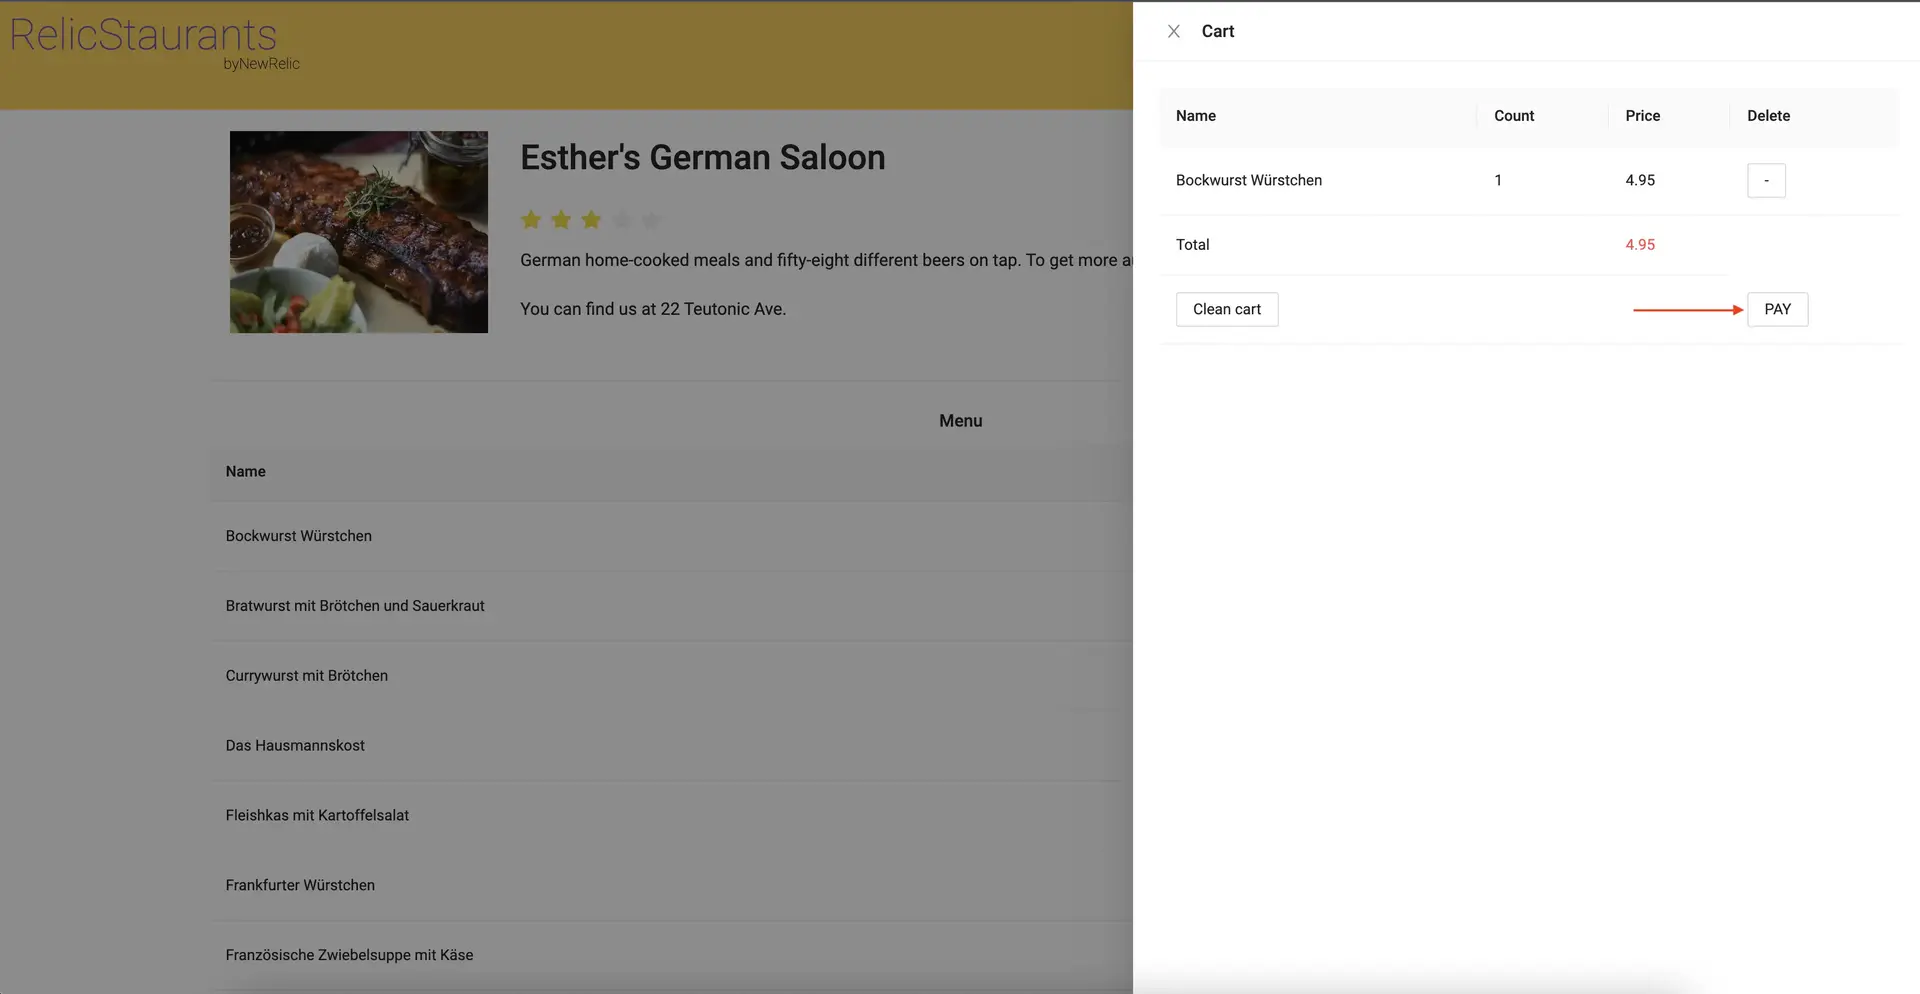
5. Select an item or two and click on cart.
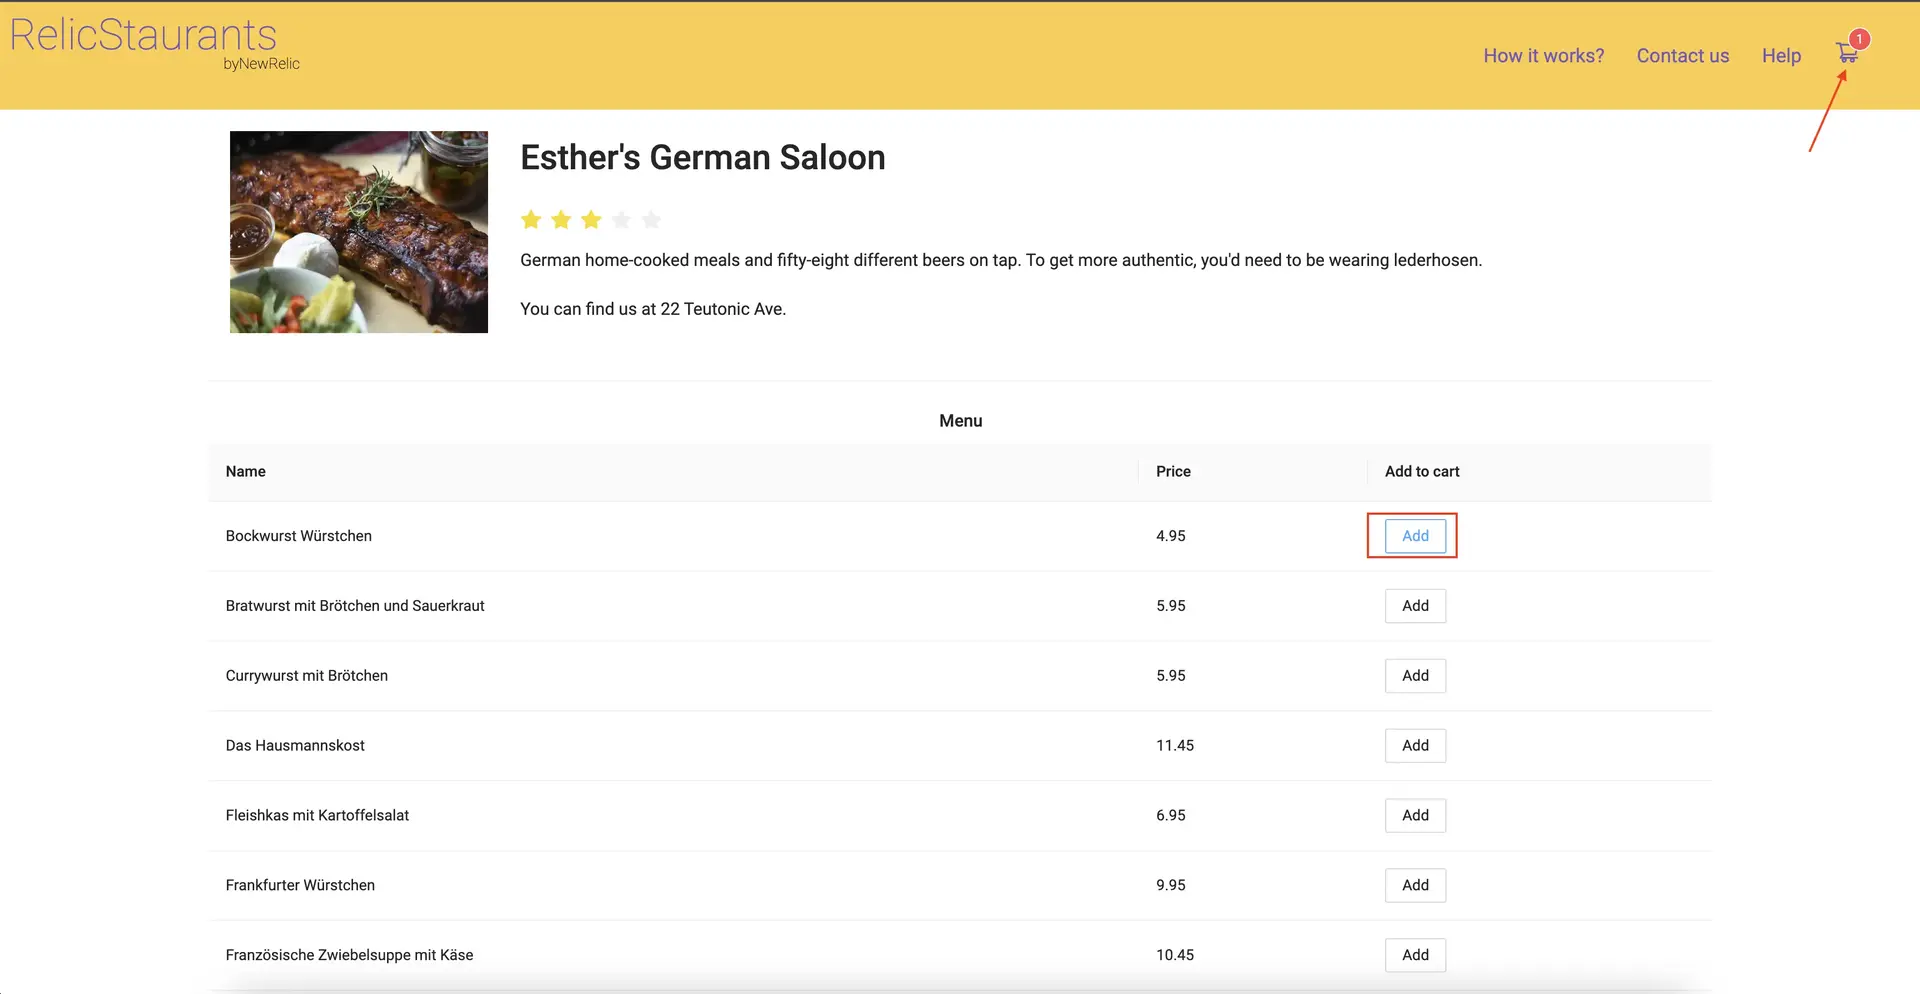
6. Click **PAY**.
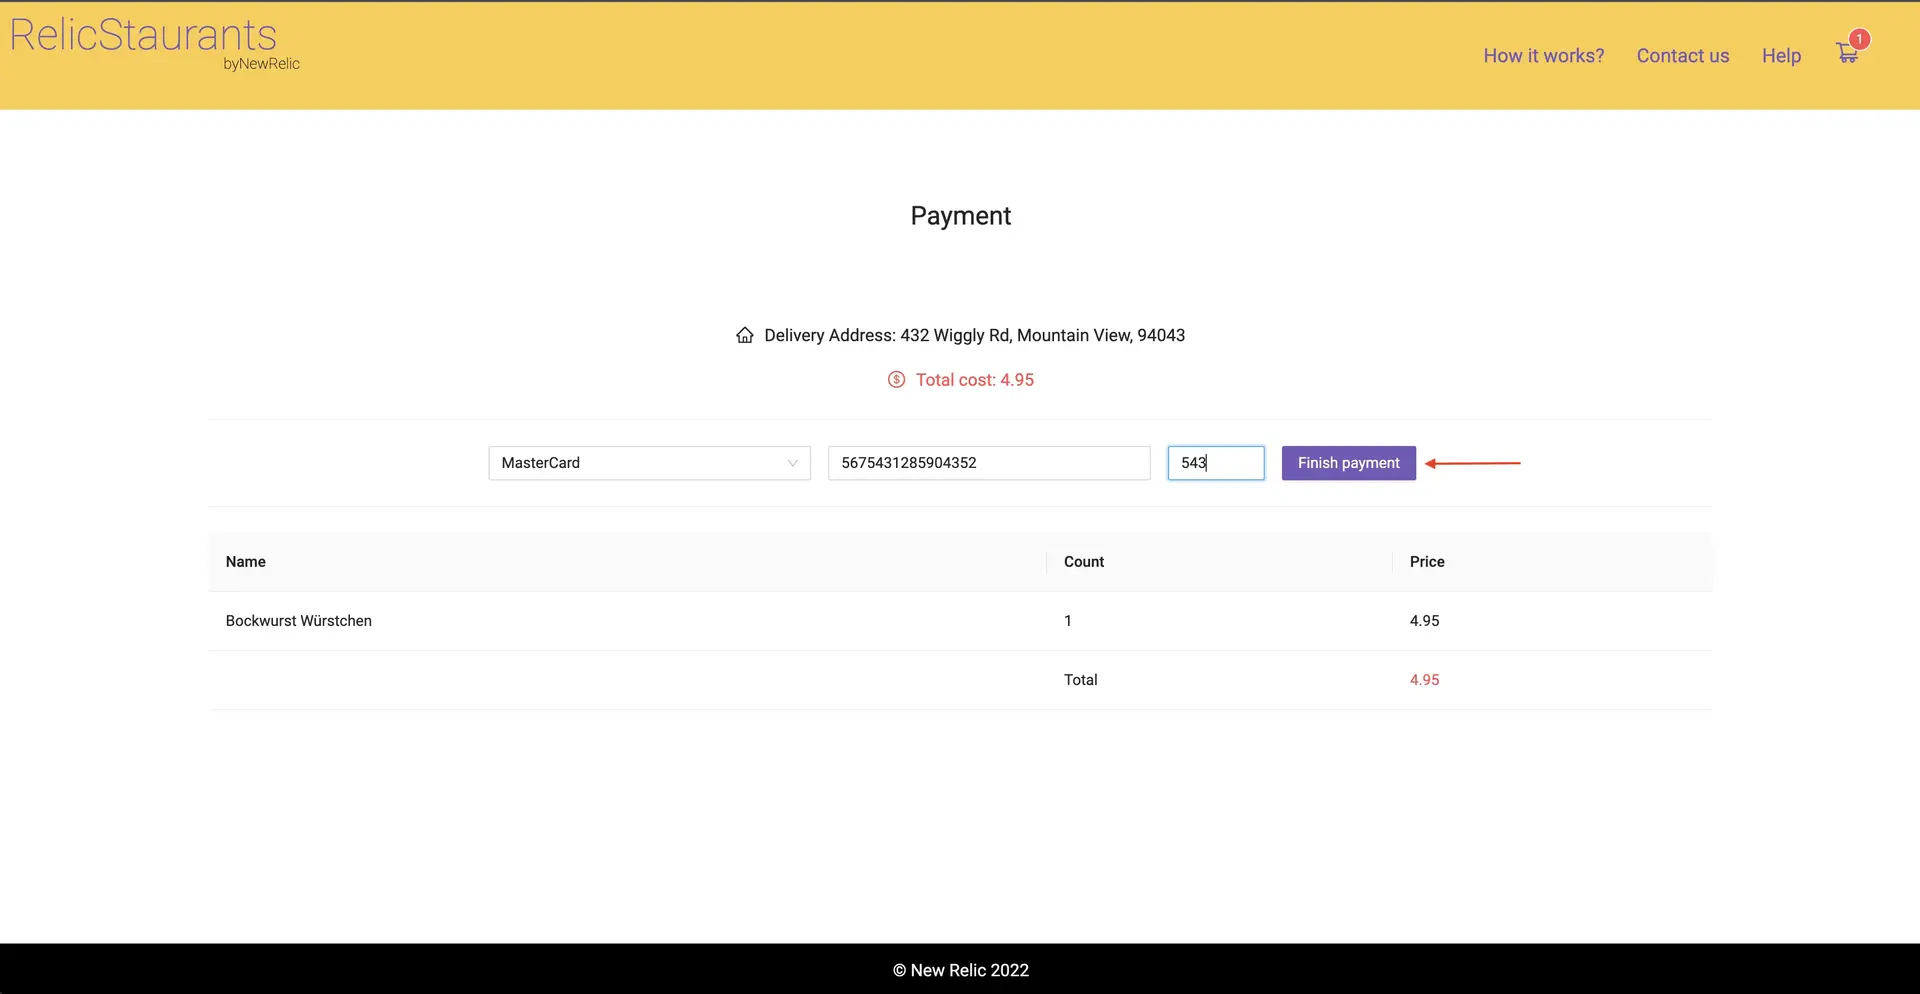
7. Enter the following fake card information and click **Finish payment** to place your order.
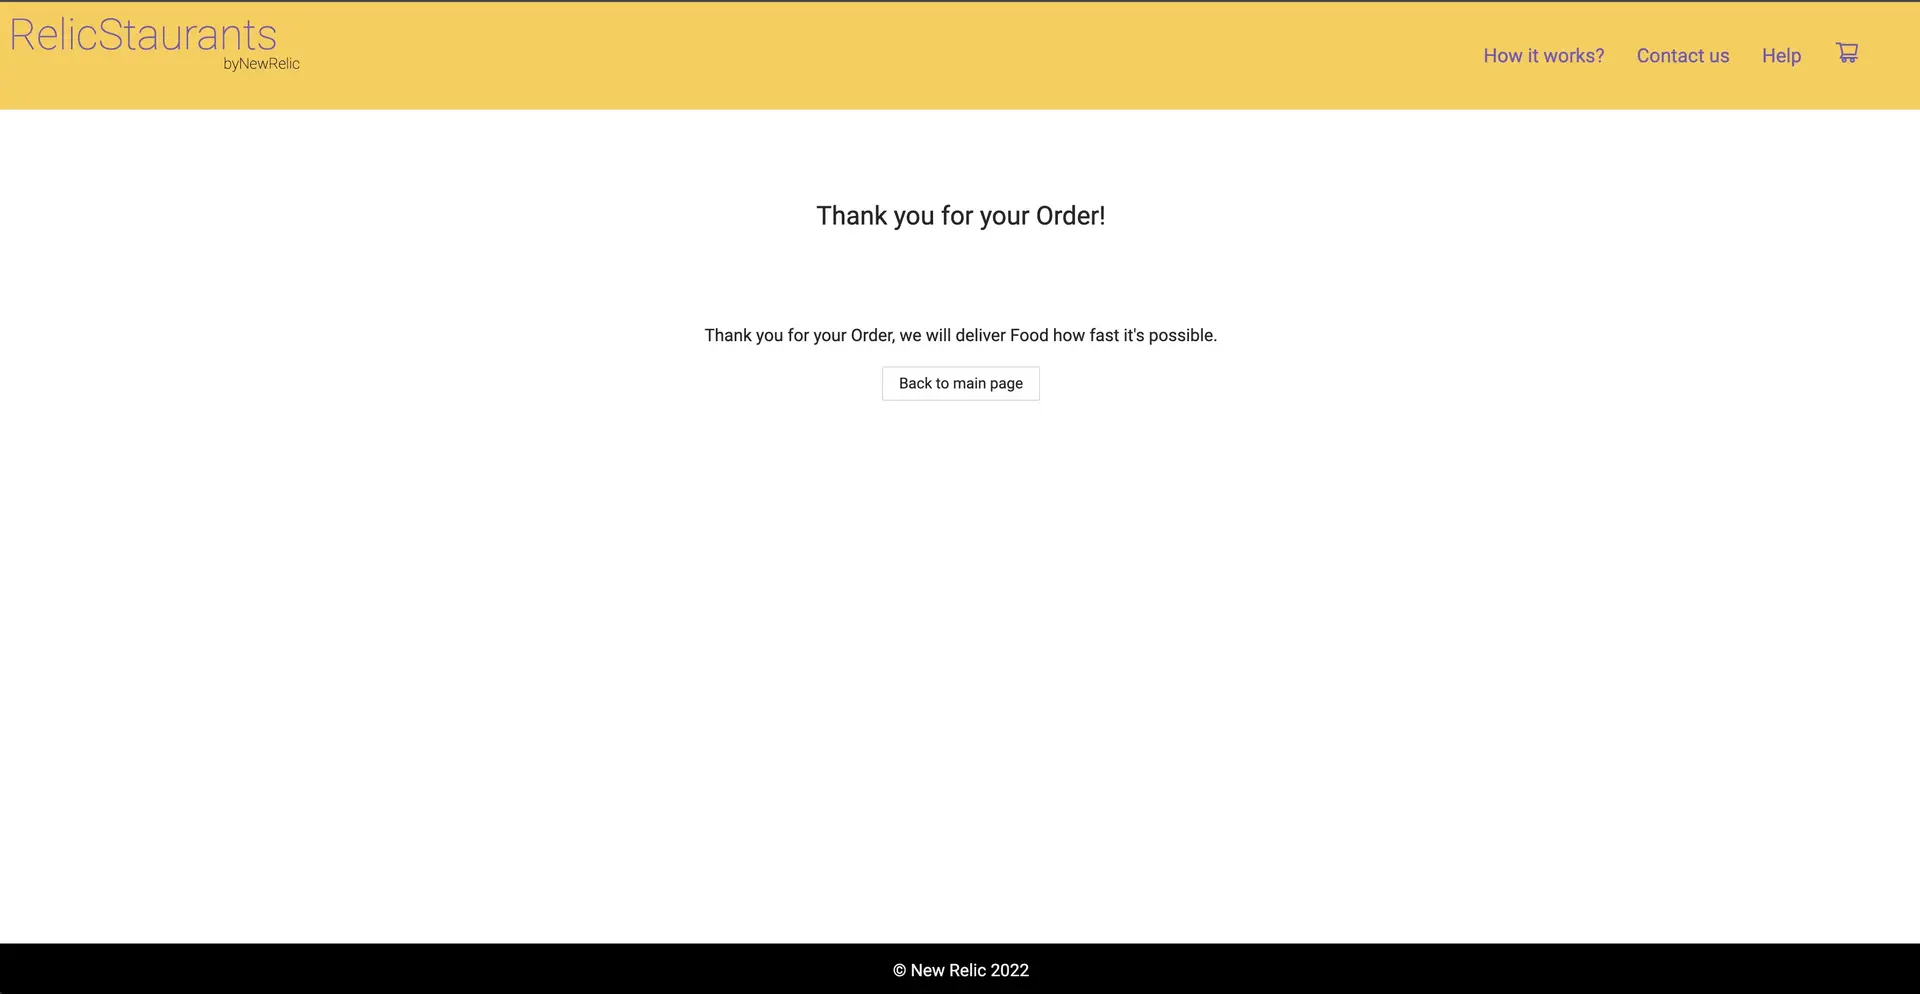
Your order is successfully placed.
Next, you use a simulator to generate more traffic to your application.
8. In another terminal window, navigate to the root directory of your application, and run the load generator.
````bash
# Navigate to the root directiory of your simulator
cd relicstaurants/simulator
# Switch to lab branch
git switch browser-pro-lab-material
[output]
# Install the simulator's dependencies
pip3 install -r requirements.txt
[output]
# Run the simulator
python3 simulator.py
[output] ====== WebDriver manager ======
[output] Current google-chrome version is 99.0.4844
[output] Get LATEST chromedriver version for 99.0.4844 google-chrome
```
This load generator assumes you have Google Chrome installed on your computer. If you're using a different browser, either skip this step and generate traffic manually, or [install Google Chrome](https://www.google.com/chrome/downloads/).
````
Now, that you know how to run your application, it's time to instrument it. In the terminal windows that are running your application and simulator, press `` to shut them down. With your app shut down, you'll be able to update your code to introduce monitoring tools.
> #### 💡 LAB
>
> This procedure is part of a lab that teaches you how to troubleshoot your web app with New Relic browser. Now that you've set up your environment, [instrument your application with browser agent](https://docs.newrelic.com/docs/browser/new-relic-browser/lab/install-browser-agent/).
Here, you see a list of restaurants where you can order food.
````
4. Choose a restaurant.

5. Select an item or two and click on cart.

6. Click **PAY**.

7. Enter the following fake card information and click **Finish payment** to place your order.

Your order is successfully placed.

Next, you use a simulator to generate more traffic to your application.
8. In another terminal window, navigate to the root directory of your application, and run the load generator.
````bash
# Navigate to the root directiory of your simulator
cd relicstaurants/simulator
# Switch to lab branch
git switch browser-pro-lab-material
[output]
# Install the simulator's dependencies
pip3 install -r requirements.txt
[output]
# Run the simulator
python3 simulator.py
[output] ====== WebDriver manager ======
[output] Current google-chrome version is 99.0.4844
[output] Get LATEST chromedriver version for 99.0.4844 google-chrome
```
This load generator assumes you have Google Chrome installed on your computer. If you're using a different browser, either skip this step and generate traffic manually, or [install Google Chrome](https://www.google.com/chrome/downloads/).
````
Now, that you know how to run your application, it's time to instrument it. In the terminal windows that are running your application and simulator, press `` to shut them down. With your app shut down, you'll be able to update your code to introduce monitoring tools.
> #### 💡 LAB
>
> This procedure is part of a lab that teaches you how to troubleshoot your web app with New Relic browser. Now that you've set up your environment, [instrument your application with browser agent](https://docs.newrelic.com/docs/browser/new-relic-browser/lab/install-browser-agent/).